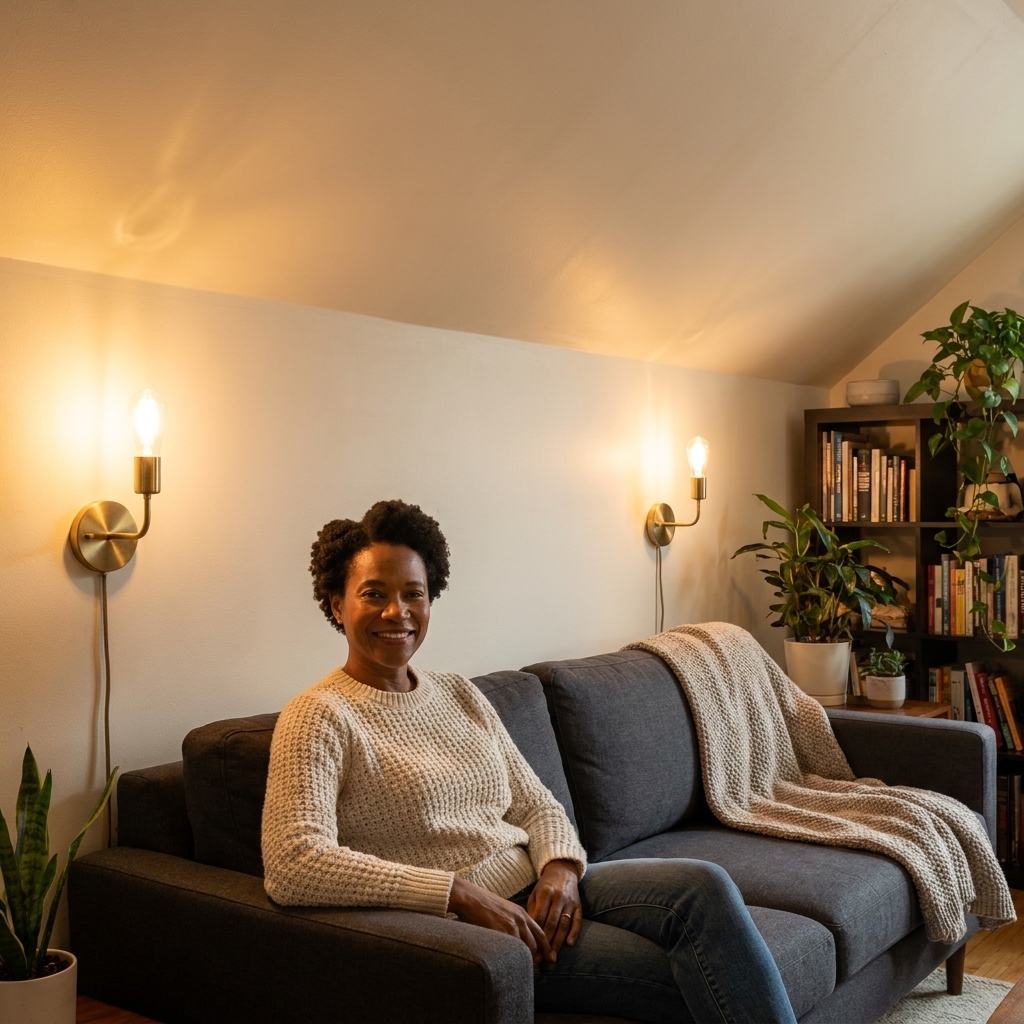
A renter-friendly breakdown of temporary wallpaper types, what actually removes cleanly, and the pattern tricks that visually lift low ceilings in tiny apart...
Space Ovo
Faux Architectural Details for a Featureless Studio
No trim, no charm, no problem. Add instant character to a plain studio with peel-and-stick wainscoting, temporary picture molding, and lightweight ceiling medallions, all renter-friendly and removable.

Maya Brooks
Maya Brooks is an interior stylist and layout enthusiast who believes square footage should never dictate your home's style. After a decade of navigating cramped city studios, she shares practical, renter-friendly decorating and storage solutions to help others maximize their tiny spaces.
Created October 17, 2026
Updated October 17, 2026
If your studio is giving “freshly assembled shoebox” energy, I see you. I have lived in the kind of rental where the only architectural detail was the smoke detector, centered proudly like it paid rent.
The good news is you can fake the good bones. With a few peel-and-stick products, lightweight materials, and a little measuring tape therapy, you can add the kind of character that makes a studio feel designed, not temporary.
This is my renter-friendly trio for turning a blank wall into a feature: peel-and-stick wainscoting, temporary picture molding, and a lightweight ceiling medallion. We will keep it removable, damage-minimized, and studio-sized.

Before You Start
I know you want to jump straight to the pretty part. A few prep steps will make everything look more expensive and come down more cleanly later.
Do a quick wall check
- Texture matters: Peel-and-stick products grip best to smooth or lightly textured walls. Heavy orange peel, knockdown, or brick texture can lead to peeling edges.
- Paint finish matters: Matte and flat paint can be delicate. Satin and eggshell typically hold up better to adhesive removal.
- Fresh paint warning: If your landlord just painted, wait at least 2 to 4 weeks before applying adhesives, and follow your paint and adhesive manufacturer instructions. Some paints take longer to fully cure.
Patch and clean
- Fill nail holes and dings, then sand smooth.
- Start with mild soap and water, then let the wall dry.
- If you want extra grip, do a light pass with rubbing alcohol only where adhesive will go, but spot test first. Alcohol can dull or soften some paints, especially flat finishes, if you scrub or oversaturate.
- Let it dry fully. Adhesive and moisture are not friends.
Do a test patch
Choose an out-of-the-way spot, apply a small piece of your tape or adhesive, leave it 24 hours, then remove slowly. If paint lifts easily, switch to lighter adhesion methods and use more contact points with less aggressive tape.
Quick Budget and Time
Studios reward projects that are fast, clean, and not emotionally expensive. Here are realistic ballparks.
- Peel-and-stick wainscoting: $40 to $200 for one wall, 2 to 5 hours, skill level: beginner to intermediate (measuring is the whole sport).
- Temporary picture molding: $25 to $120, 1 to 3 hours, skill level: beginner (cutting and keeping it level are the only “hard” parts).
- Ceiling medallion: $20 to $80, 30 to 90 minutes, skill level: beginner (with a strong preference for not messing with wiring).
Lease Reality Check
Even “removable” can still count as “alteration” in a lease, especially if paint comes off with it. If you want to keep your security deposit and your blood pressure:
- Skim your lease for language about adhesives, wall coverings, and painting.
- Take quick before photos of the wall and ceiling you are working on.
- Keep product packaging. If you need to patch later, you will want the exact brand and removal instructions.
- When in doubt, do a small test patch and commit to one wall only.
Project 1: Peel-and-Stick Wainscoting
Wainscoting is the fastest way to make a “blank box” feel like it has intention. In a studio, it also helps visually zone your space. One wall can suddenly read as “living room” even if your bed is ten feet away.
What to buy
- Peel-and-stick wainscoting panels or peel-and-stick trim strips designed for wall grid patterns
- Painter’s tape (for layout)
- Level or laser level
- Tape measure
- Utility knife and a cutting mat
- Smoothing tool (a plastic squeegee or even a credit card wrapped in a cloth)
- Optional: paintable peel-and-stick panels and a small foam roller
Choose the right height
For small spaces, I like one of these approaches:
- Classic: 32 to 36 inches high. Makes ceilings feel taller.
- Furniture-aligned: line the “cap” height up with the back of your sofa, your console, or your desk surface for a built-in look.
- Statement: two-thirds wall height if you want drama. Use this on one wall only in a studio so it does not feel busy.
How to install
Trust your level, not your baseboards. Old buildings love a little chaos.
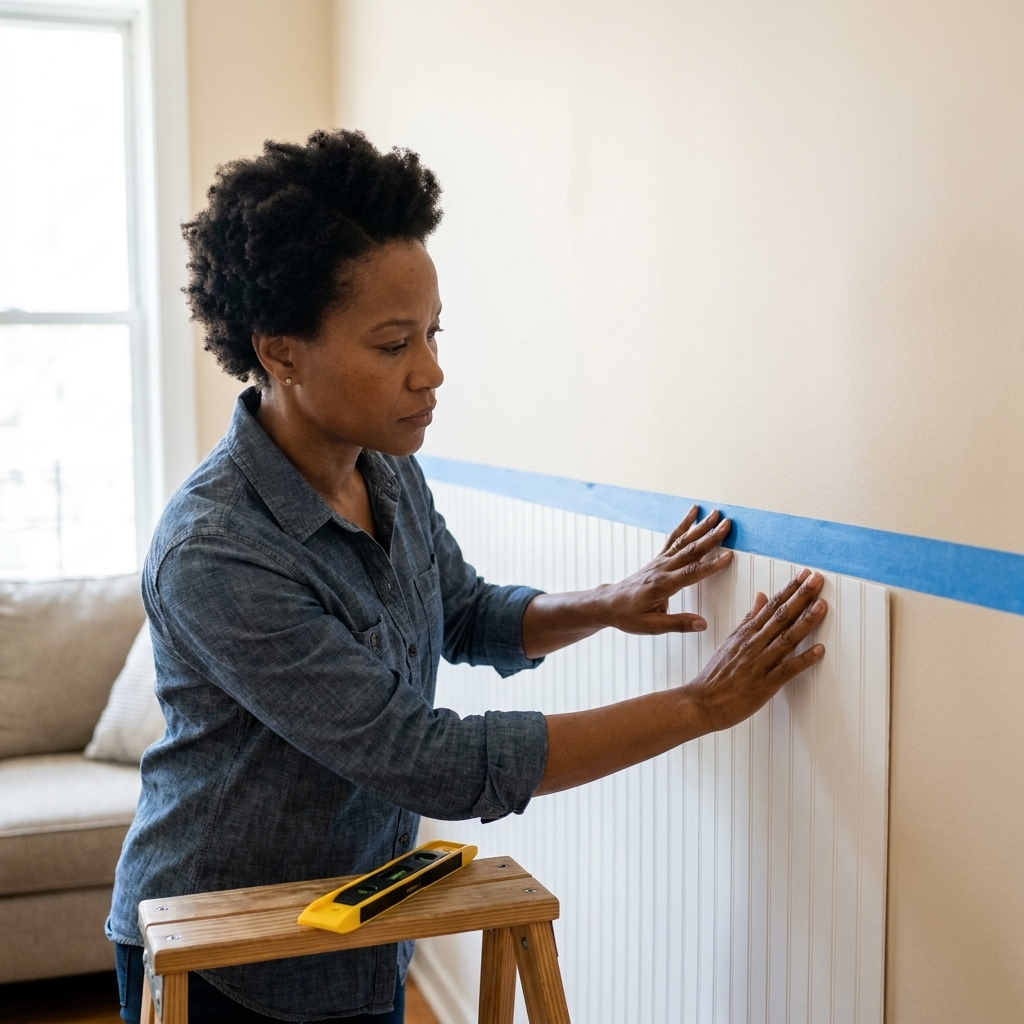
1) Mark a level top line
Use a level and painter’s tape to mark the top of your wainscoting. This tape line is your visual anchor.
2) Dry-plan the layout
Before you peel anything, measure the wall width and plan where seams land. Try to avoid ending with a skinny sliver of panel at one edge. If you must trim, split the difference so both end pieces are similar widths.
3) Start from the most visible corner
Peel a few inches of backing, align to your level line, then smooth outward as you go. Work in small sections, pressing firmly to avoid bubbles.
4) Smooth and babysit the edges
Once the panel is up, do a final smoothing pass in multiple directions. If an edge wants to lift, warm it slightly with a hair dryer (low heat) and press again. Do not overheat paint.
5) Add a simple cap
A top trim strip (if your kit includes one) makes the whole thing read more real. Keep it minimal in a studio. You want charm, not a theme park.
Project 2: Temporary Picture Molding
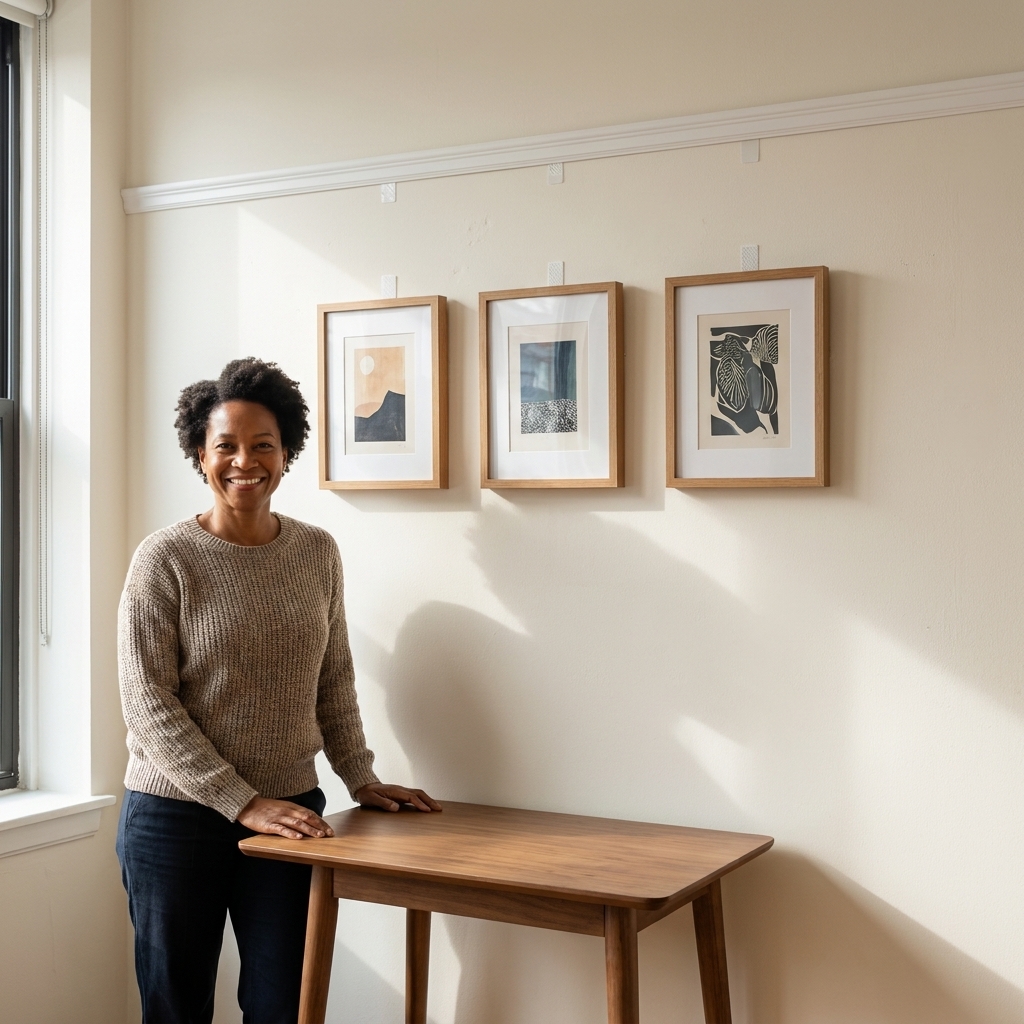
Picture molding is the secret weapon for rentals because it gives you that historic-apartment vibe without committing to a full wall treatment. In a studio, it can also lift the room visually by creating a horizontal line that draws the eye around the perimeter.
Materials that stay renter-friendly
- Foam or lightweight PVC molding: easiest to cut, light enough for strip-based mounting
- Wood molding: still doable, but heavier and more likely to need nails. In most rentals, I save wood for when I can use tiny brads.
How to attach it
Your best choice depends on your wall paint and the weight of the molding:
- Removable mounting tape: good for lightweight foam or PVC. Look for “removes cleanly” labeling and respect weight limits.
- Picture hanging strips: great because you can use multiple pairs along the run and remove with stretch-release tabs.
- Painter’s tape barrier trick: a last-resort, short-term hack for ultra-light foam only. You apply painter’s tape to the wall first, then put your mounting tape on top. It can fail because painter’s tape is not meant to be a structural substrate, and some tapes still pull paint. Test it and do not use it where a falling piece could hit a lamp, a pet, or your head.
Studio placement that looks intentional
- 8 to 12 inches below the ceiling: makes ceilings feel taller and keeps things airy.
- Aligned to door trim height: if your studio has one decent trim element, let that set the rule.
- Use it to zone: run picture molding only across the living wall to define that area.
How to install
Think of this as decorative molding unless you install it like true picture rail with mechanical fasteners into studs. For most rentals, we are after the look, not a load-bearing system.
1) Mark a straight line
Use a level to mark a guideline. If your ceiling slopes or your floor is off, a level line will still look right to the eye.
2) Measure and pre-cut
Cut molding pieces to length before removing any adhesive backing. For corners, miter cuts are ideal, but in rentals I often do clean butt joints. If you are allowed to use paintable caulk, a tiny touch at seams can help. If you cannot caulk, tight cuts and careful alignment are your best friend.
3) Apply strips in sections
Add strips or tape every 10 to 16 inches, plus near each end. Press firmly for the time recommended by the product.
4) Style it safely
Hang frames below it with removable strips, or keep it as a quiet architectural line and let your furniture do the talking. Unless you have properly installed picture rail hooks and a rail designed to hold weight, do not hang heavy art from this molding itself.
Project 3: Lightweight Ceiling Medallion
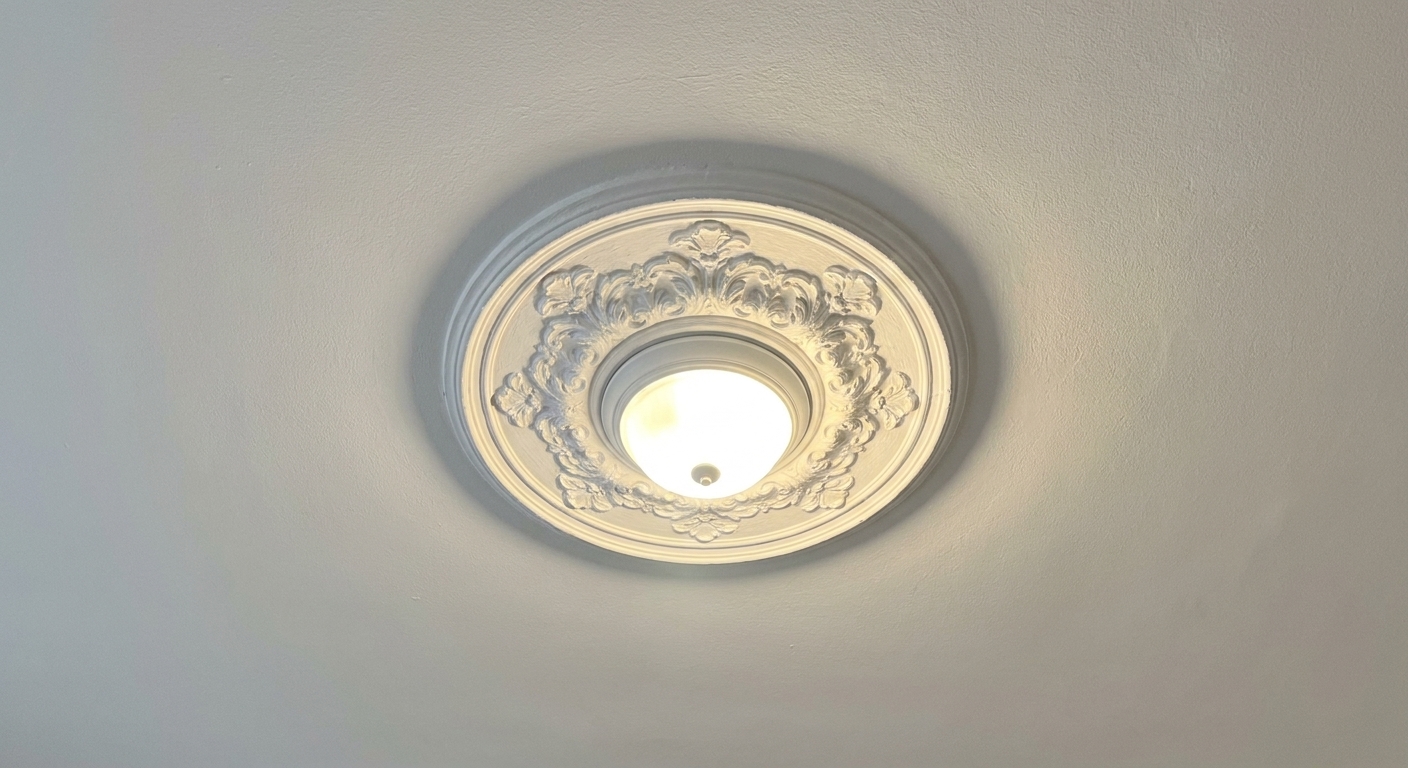
Ceiling medallions are wildly underused in rentals. A lightweight medallion can make even a basic flush-mount light look custom, and it draws the eye up, which is always a win in a small space.
What to buy
- Lightweight medallion (foam or polyurethane)
- Renter-safer adhesive option that is labeled for clean removal where possible, or stretch-release hanging strips if the medallion shape allows enough flat contact
- Painter’s tape (for temporary support while adhesive sets)
- Optional: paint to match ceiling or to highlight the detail
Safety and reality check
- Turn off power at the breaker if you are touching anything near wiring or a fixture.
- Ceilings are fragile: ceiling paint is often flatter and more delicate than wall paint, so test your adhesive plan first.
- Avoid “forever” adhesives: many construction adhesives are not truly removable, especially overhead. If you cannot confirm clean removal, skip it or accept that you may need touch-up paint later.
- Do not force a medallion behind a tight fixture canopy unless you know how it disassembles safely.
- Textured ceilings: choose a medallion with a slightly wider edge to hide gaps. If your ceiling is older and textured, do not scrape, sand, or disturb it unless you know it is safe to do so.
How to install
1) Dry-fit and center
Dry-fit the medallion around your fixture canopy (or around the junction box area if the fixture is minimal). Mark center points lightly with painter’s tape.
2) Paint first if needed
If you want it ceiling-white, paint it on the floor before installing. Trying to cut in overhead in a studio is how I end up wearing ceiling paint.
3) Attach with a light touch
Use the least aggressive method that will still hold. If using strips, distribute them evenly and press firmly per directions. If using a removable adhesive, use it sparingly. Then use painter’s tape like temporary hands while it sets.
4) Clean up edges
If there is a tiny gap, you can often hide it with careful paint touch-up. If you need maximum removability, skip caulk.
Order of Operations
When you are adding multiple faux details, the order matters. Here is the sequence I use so nothing fights and you do not redo work:
- 1) Picture molding first (it sets the top line of the room).
- 2) Wainscoting second (it sets the bottom line and can align with furniture).
- 3) Ceiling medallion last (it is the jewelry, and it looks best once the walls are established).
And yes, you can do only one. In a studio, one strong detail done cleanly beats three okay ones every time.
Removal Tips
I decorate like I will someday have to undo it all quickly. Because I will.
- Go slow: Pull adhesives back over themselves at a low angle, not straight out from the wall.
- Use gentle heat: A hair dryer on low can soften adhesive and reduce paint pull.
- Support as you remove: For molding, have one hand supporting the piece while the other releases the strips.
- Patch like a pro: If you get tiny paint lifts, smooth them with fine sandpaper, spot prime, then dab on matching paint.
Troubleshooting
My peel-and-stick edges are lifting
- Clean the wall again with mild soap and water, let dry, then spot test rubbing alcohol before using it.
- Warm the edge slightly, then press and hold.
- Add small extra adhesive tabs on corners where tension is highest, staying within product weight limits.
My wall is textured and the pattern looks bumpy
- Choose larger-scale wainscoting designs or thicker panels.
- Use picture molding instead of full panels, since it touches less surface area.
- Focus the treatment on the smoothest wall, often the one without patched repairs.
Nothing looks straight in my old building
- Make your lines level even if the ceiling is not. The eye forgives the building, not the install.
- When in doubt, align to the most visible reference point (usually a window frame or the dominant wall).
I have baseboard heaters
- Avoid peel-and-stick products directly behind or above heaters since heat can soften adhesives over time.
- Check your adhesive temperature rating and keep treated areas a safe distance away.
- If the heater wall is your only option, consider picture molding higher up instead of wainscoting down low.
Styling That Sells It
Once your faux architecture is up, styling is what makes it feel real.
- Repeat the trim color: echo it in a lampshade, curtain, or throw pillow.
- Keep wall decor lighter: wainscoting plus a heavy gallery wall can feel crowded in a studio. Pick one hero moment.
- Use one metal finish near the ceiling: a brass flush mount plus a medallion looks intentional, not random.
- Let negative space exist: the whole point is to feel more breathable.
FAQ
Will peel-and-stick wainscoting damage paint?
It can, especially on flat paint or poorly prepped walls. Testing first, cleaning gently, and removing slowly with low heat makes a huge difference. If your paint is fragile, consider picture molding only, since it uses less adhesive coverage.
Can I do this on plaster walls?
Yes, with caution. Plaster can be more brittle and paint layers vary wildly. Test adhesives in a hidden spot and lean toward lighter pieces with multiple small removable strips instead of one aggressive tape strip.
Do I need to paint peel-and-stick panels?
Not always. Some look great as-is. Painting can make them look more realistic, especially if you match your existing trim color. If you paint, let the panels cure fully before sticking them up so you do not trap tacky paint against the wall.