Make a studio feel like separate rooms using rugs, screens, and greenery. Practical sizing, placement, and renter-friendly tips that keep natural light flowing.
Space Ovo
Zoning a Studio Apartment
Turn one open room into a home that feels intentional. Learn how to zone a studio apartment with rugs, lighting, kitchen containment, and renter-friendly dividers to create clear living, sleeping, and dining areas.

Maya Brooks
Maya Brooks is an interior stylist and layout enthusiast who believes square footage should never dictate your home's style. After a decade of navigating cramped city studios, she shares practical, renter-friendly decorating and storage solutions to help others maximize their tiny spaces.
Created October 17, 2026
Updated October 17, 2026
If you have ever stood in the middle of your studio and thought, “Why does my bed feel like it is in my kitchen,” welcome. Zoning is the design trick that makes one open room behave like three. You are not shrinking your space with fake walls. You are giving it structure so your brain can relax.
My rule of thumb after a decade of closet-sized rentals: a studio feels bigger when every square foot has a job. Let’s map yours into clear zones using rugs, lighting, and temporary dividers that keep things lease-friendly.
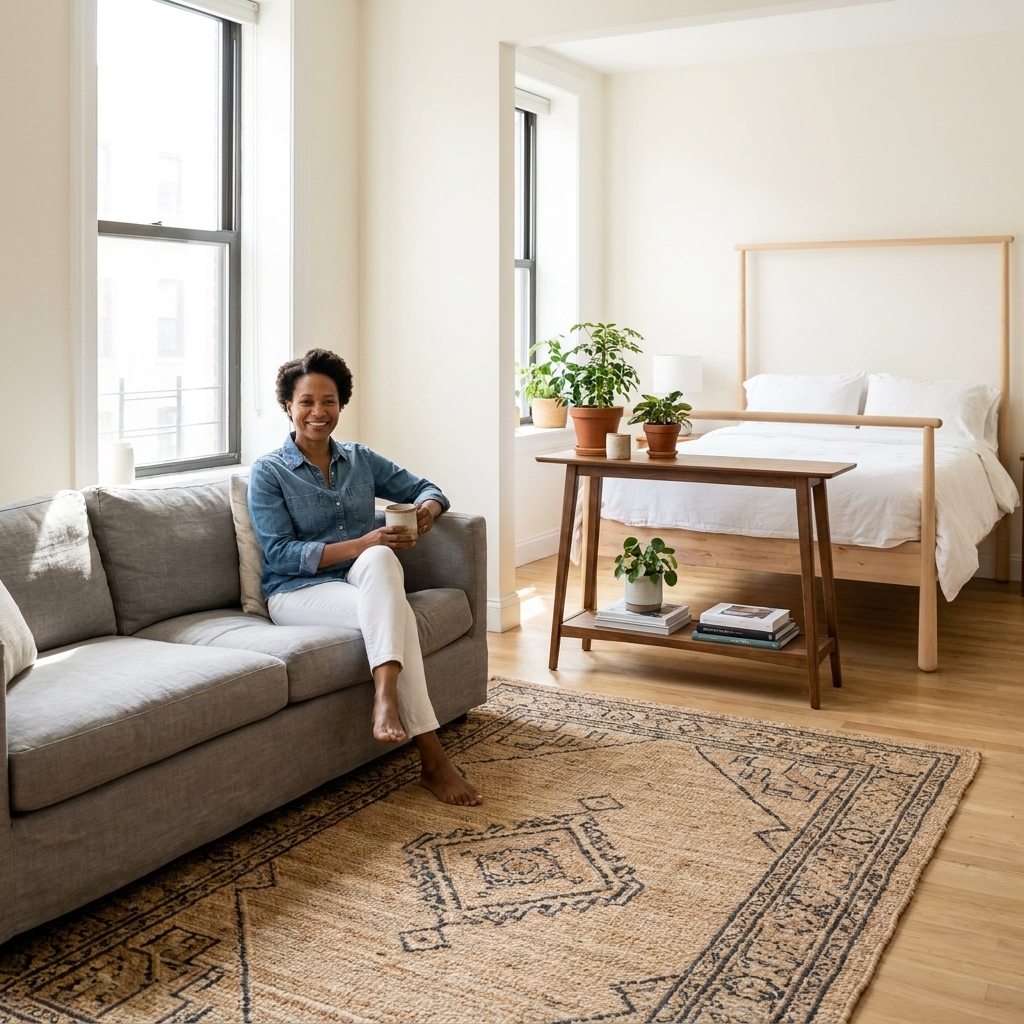
Start with a quick plan
Before you buy anything, do this 15-minute layout pass. It saves money and prevents the classic mistake of buying a rug that is basically a bath mat.
Step 1: List your non-negotiables
- Sleep: bed plus a landing spot for phone, water, and glasses.
- Lounge: somewhere to sit that is not your bed.
- Eat or work: a surface that fits your real life, even if it is tiny.
- Storage: a home for coats, laundry, shoes, and floating clutter.
- Kitchen: a contained spot for daily cooking stuff so it does not spread everywhere.
Step 2: Identify your anchors
An anchor is the biggest, least flexible piece. Usually it is the bed, then the sofa (or loveseat), then the desk or table. Place anchors first and let everything else follow.
- Put the bed where you can protect it. A corner is gold because it gives you two walls for free.
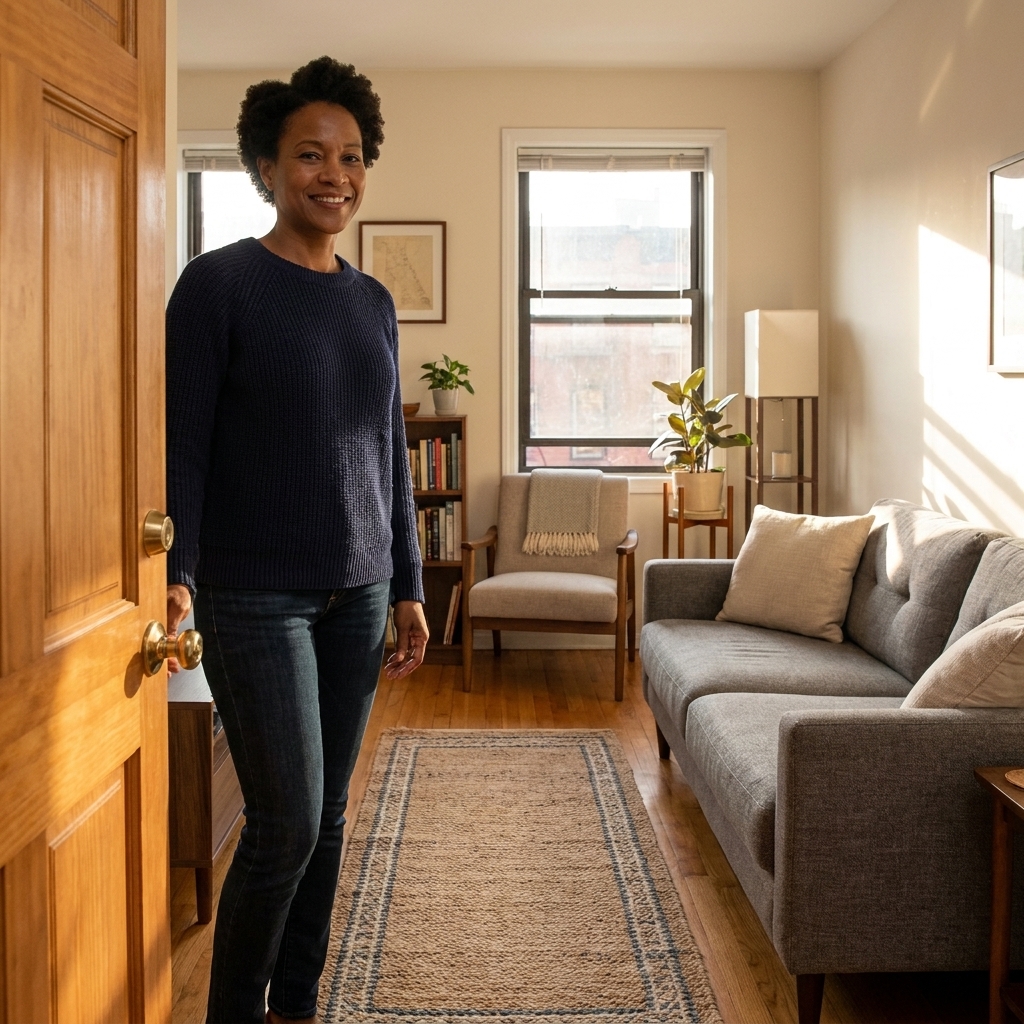
- Keep the main walking path clear. You want one obvious route from the door to the window and to the bathroom. If you are constantly sidestepping, the studio will feel smaller.
Step 3: Sketch zones, not furniture
On paper or your phone notes, draw three blobs: sleep, lounge, eat-work. If you have a kitchenette, add a small fourth blob for kitchen. Make sure each blob has a little breathing room around it. Then start assigning furniture.

Measure before you buy
A few numbers go a long way in a studio. Use these as aiming points, not hard rules.
- Main walkway: try for about 30 to 36 inches if you can. If you are tighter, keep the route straight and uncluttered.
- Rug sizing shortcut: measure your seating footprint, then add 6 to 12 inches on each side so it feels connected instead of chopped up.
- Desk and dining clearance: plan about 24 to 30 inches behind a chair so you can actually sit down without a shuffle.
- Rug-to-wall spacing: leaving a border of visible floor (often 6 to 12 inches) can look intentional, even in small rooms.
Zone with rugs
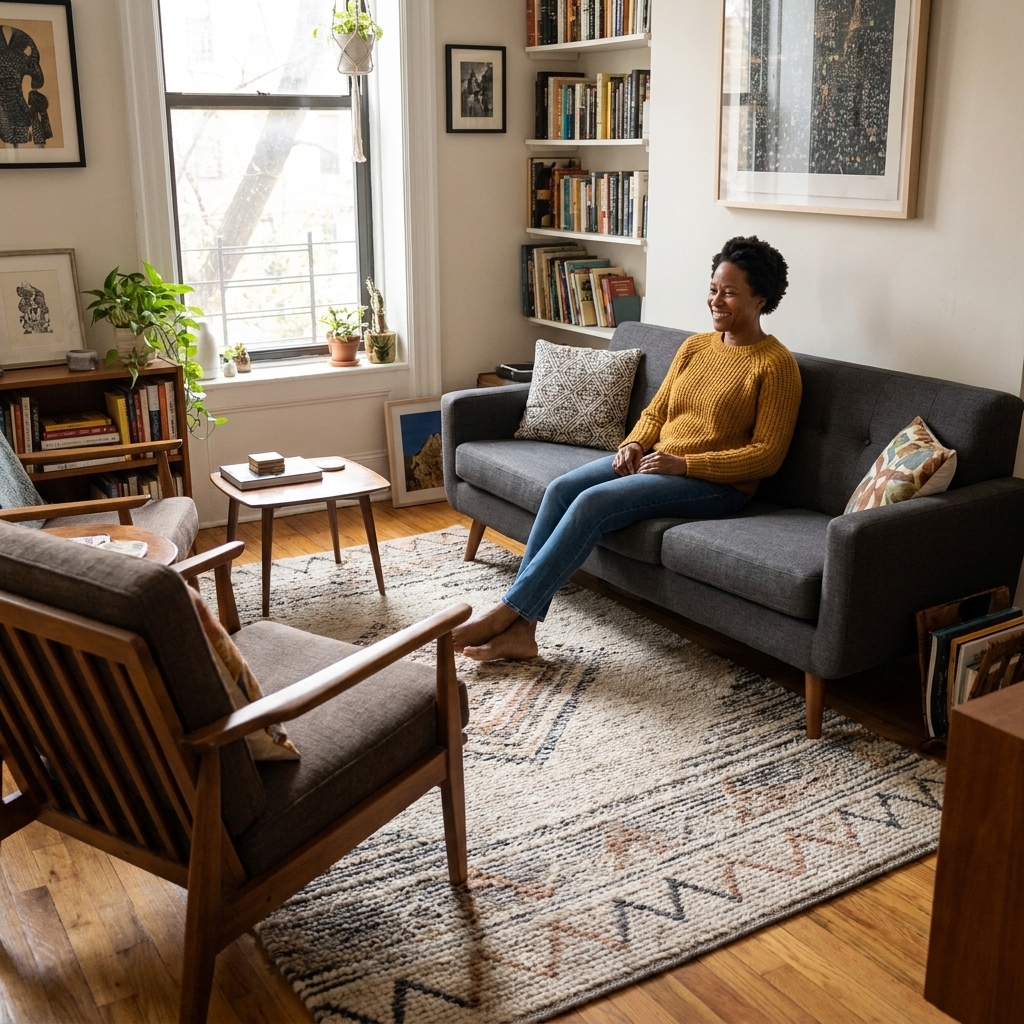
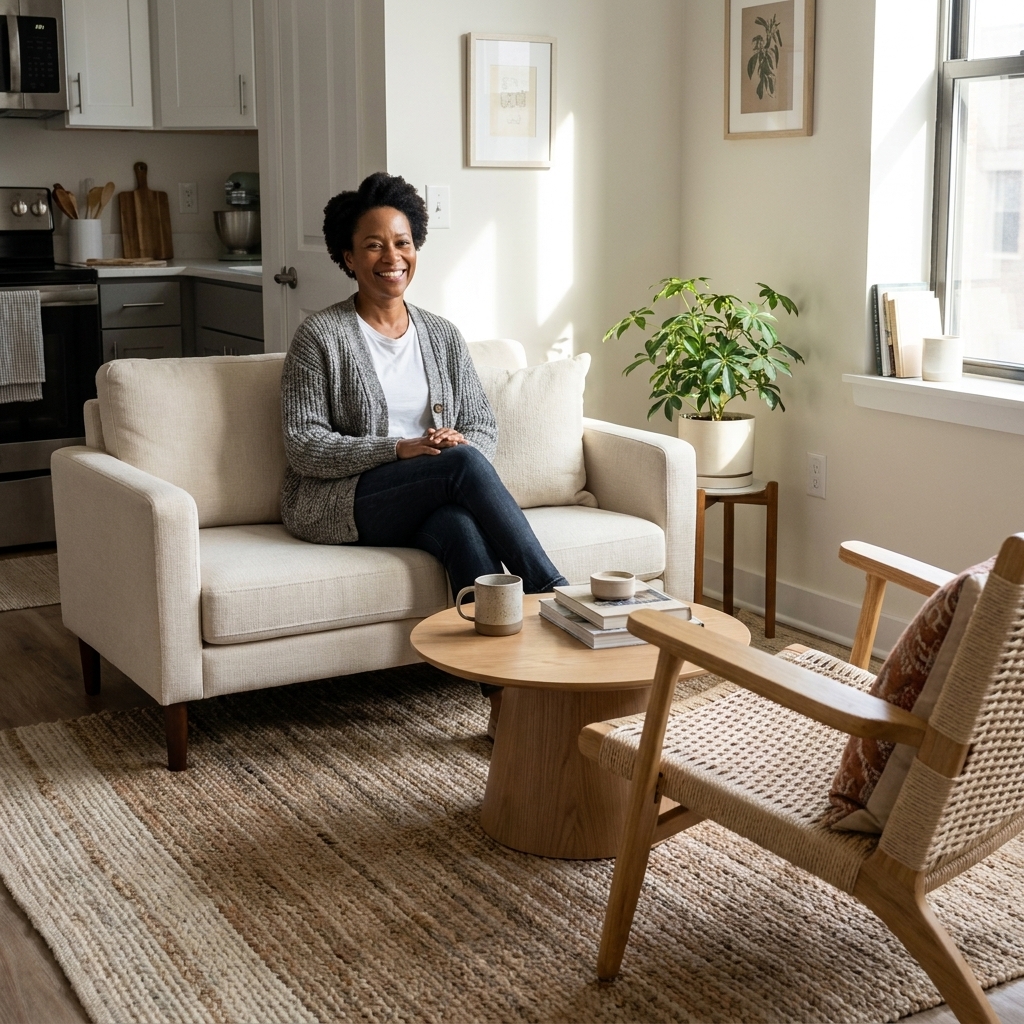
If I could give every studio dweller one tool, it would be a properly sized rug. Rugs tell your eye, “This area belongs together.” They also soften echo, which makes a studio feel calmer instantly.
Living zone rug
Best practice: choose a rug big enough that at least the front legs of your seating sit on it.
- Common sizes to consider: 5x8 for many loveseat setups, or a 6x9, 6x8, or 8x10 if your studio can handle it. Let your measurements decide.
- Small-space trick: a bigger rug often makes the whole room feel bigger because it reduces visual chop.
- Budget tip: buy a neutral flatweave and spend the personality money on pillows and art.
Bedroom zone rug
You have three renter-friendly options that look intentional:
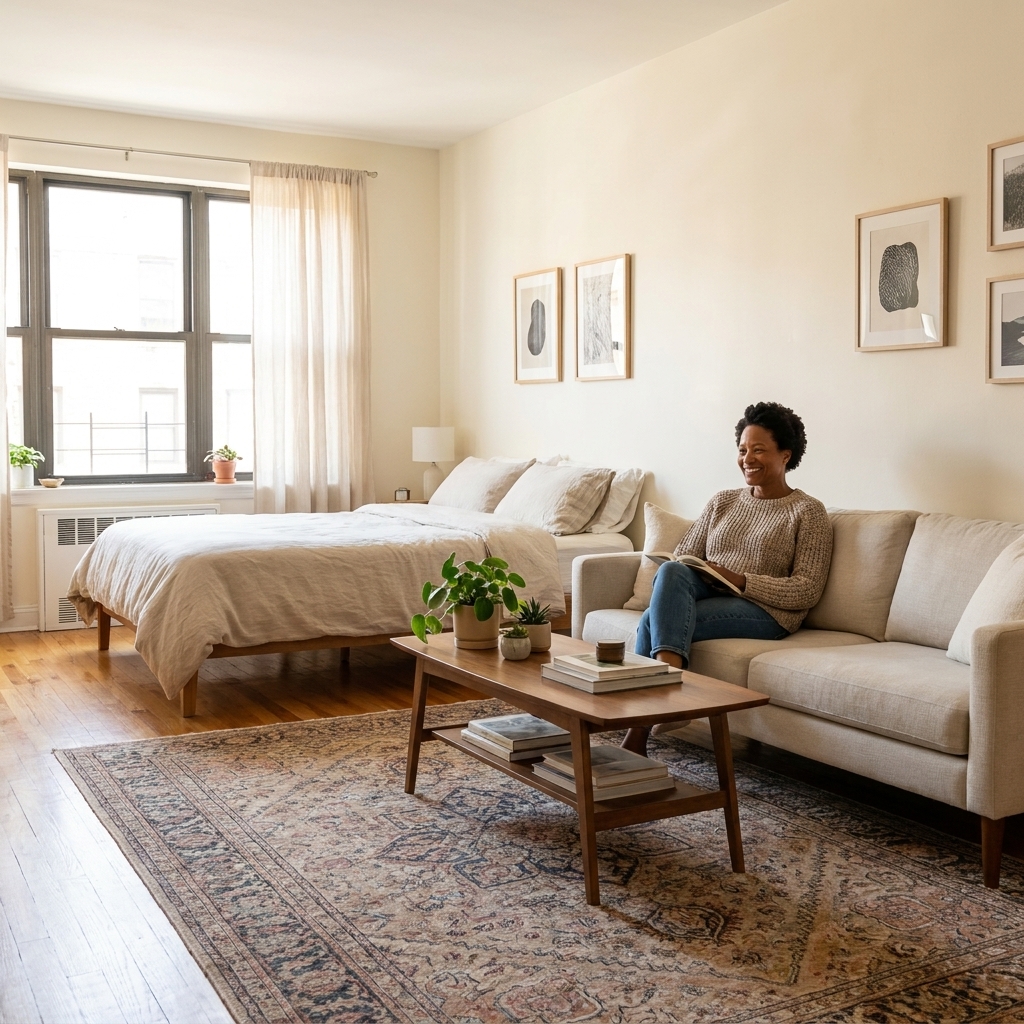
- One large rug under the bed: best for maximum polish. Aim for the rug to extend ideally 18 to 24 inches beyond the sides of the bed you step out of, if the room allows.
- Two runners: one on each side of the bed. Great when you cannot fit a large rug due to door swings or closets.
- One landing rug: if your bed is tucked in a corner and you only exit from one side, place a runner or 2x6 on the open side.
Dining or work zone rug (optional)
If your table or desk floats in the room, a small rug underneath makes it feel like its own destination. Go low pile so chair legs move easily.
Zone with lighting
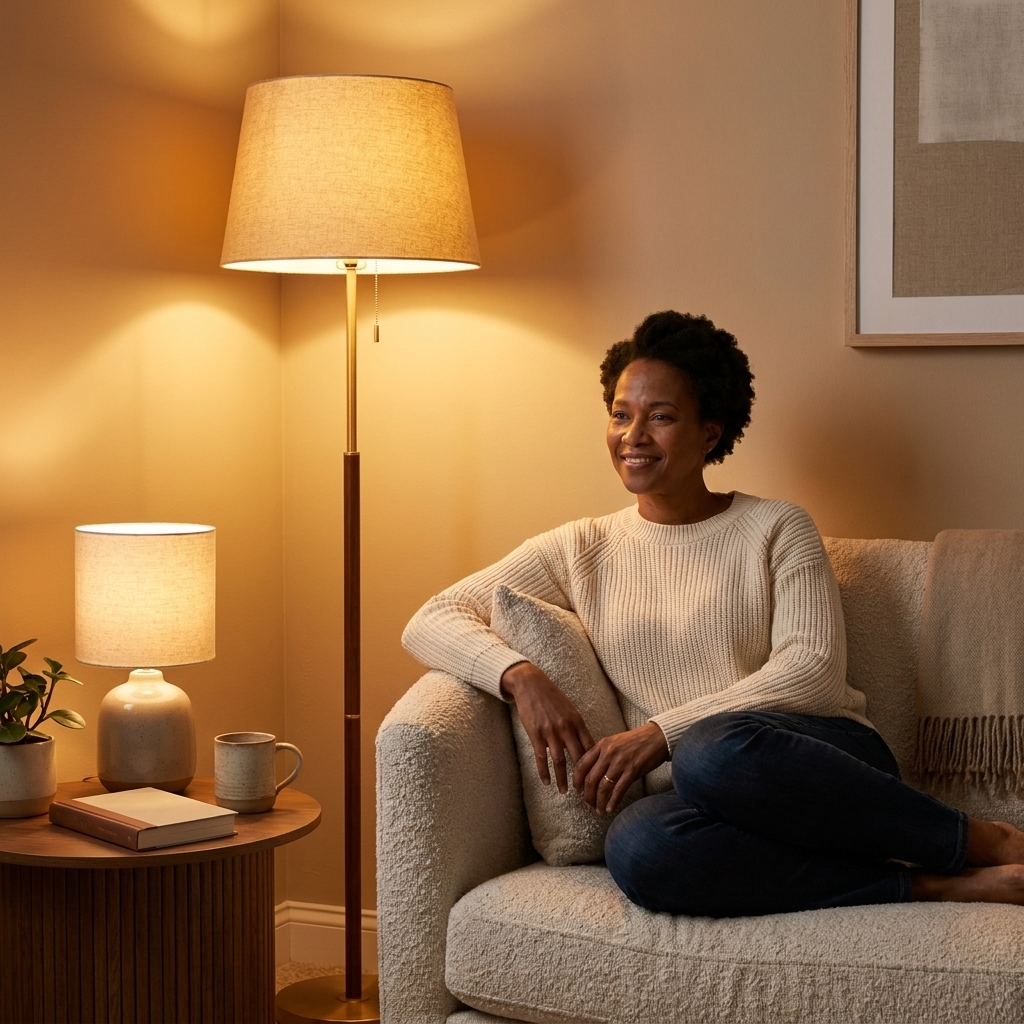
One overhead light can make everything feel like a single multipurpose box. Overhead lighting is not bad, but it rarely does the whole job on its own. Layered lighting lets each zone feel distinct, even if the furniture is only a few feet apart.
Use a lighting recipe per zone
- Living: one floor lamp plus a table lamp or plug-in wall sconce. Warm bulbs (around 2700K) keep it cozy.
- Sleep: two bedside lights if you can swing it. If not, one lamp plus a clip-on reading light.
- Dining/work: a focused task light, like an adjustable desk lamp or a pendant-style plug-in light centered above the table.
- Kitchen: add under-cabinet puck lights (battery or plug-in) or a bright counter lamp to keep the cooking zone feeling separate and functional.
My favorite renter-friendly moves
- Plug-in sconces: they give built-in energy without hardwiring. Use adhesive cord covers to keep it tidy.
- Battery picture lights: instant glow above art, and it helps the wall read as its own moment.
- Smart bulbs: set a Work scene for daylight brightness and a Night scene for warm dim light. It is like changing the room’s setting with one tap.
Dividers that keep light
A divider’s job is to create privacy and boundaries without making your studio feel like a cave. The best ones are easy to move, easy to remove, and still let light travel.
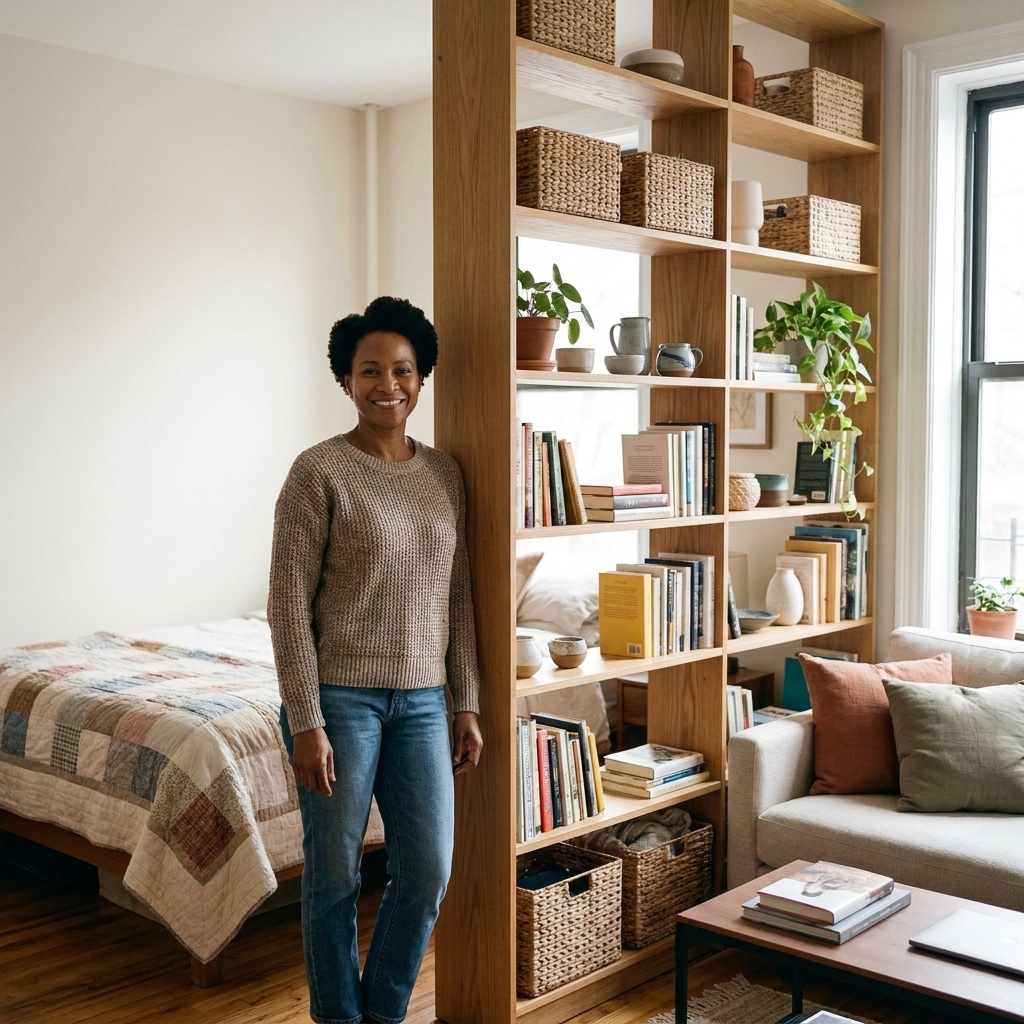
Option 1: Open shelving
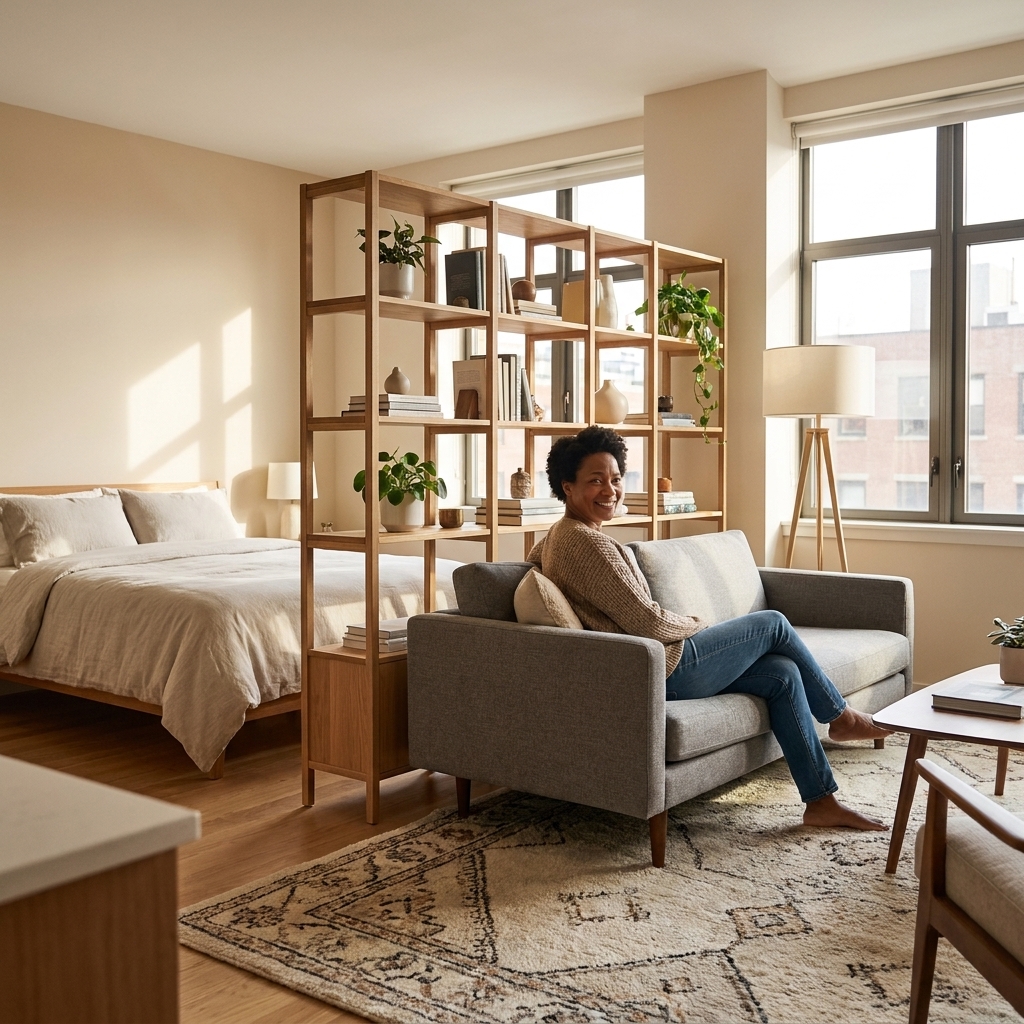
A bookshelf or cube unit works hard because it zones and stores.
- Best for: separating bed from living area.
- What to look for: open-backed shelves, not a solid bookcase. Use baskets on the lower shelves to hide clutter.
- Safety note: anti-tip hardware often anchors to the wall. If your lease is strict, choose a lower, wider unit, avoid overloading the top, and ask your landlord before drilling anything. If you can use a couple of small holes, patching later is usually straightforward.
Option 2: Curtains
A curtain is one of the simplest ways to add bedroom energy, especially when you want privacy at night but openness during the day.
- Best for: creating a sleep zone you can close at night and open in the morning.
- Fabric tip: linen-look or light-filtering panels keep things airy. Blackout is great for sleep, but it can make the room feel smaller when closed.
- Rental-friendly install: some tracks mount with small screws (easy to patch), while tension systems work for certain layouts. If ceilings are off-limits, a freestanding garment rack plus curtains can do the same job.
Option 3: Folding screens
The classic. It is not always the most stable, but it is the easiest to move around when you are experimenting.
- Best for: hiding the bed during the day or creating a dressing nook.
- Pro styling move: choose a taller screen than you think you need so it feels architectural, not like a temporary partition.
Option 4: Plants
A line of tall plants on stands or a narrow console can suggest separation without blocking light. If you have a history of plant casualties, try a hardy option like snake plant or ZZ plant.
Set up three clear zones
Let’s get specific. Here is how I would set up each zone so it looks designed, not accidental.
Living area
- Define the seating group: sofa plus one extra seat if possible, even a small pouf.
- Add a surface: coffee table or nesting tables. If space is tight, do a C-table that tucks under the sofa.
- Use one grounding element: a rug or a coffee table that visually centers the zone. You do not need both if your room is tiny.
- Create a focal point: TV, art wall, or a tall bookcase. Studios feel calmer when your eye has a landing spot.
Sleeping area
- Give the bed a boundary: divider, curtain, or even a headboard that visually frames it.
- Use a bedside ledge: a slim nightstand, wall shelf, or stack of sturdy books if you are in a pinch.
- Hide sleep clutter: under-bed bins, a lidded basket for pajamas, and a dedicated charging spot.
- Keep it hotel-simple: two pillows you love, one throw, one bedside light. Too many micro-items make it feel messy fast.
Dining or work area
If your studio cannot support a dining table and a full desk, choose the one you actually use most. Then make it excellent.
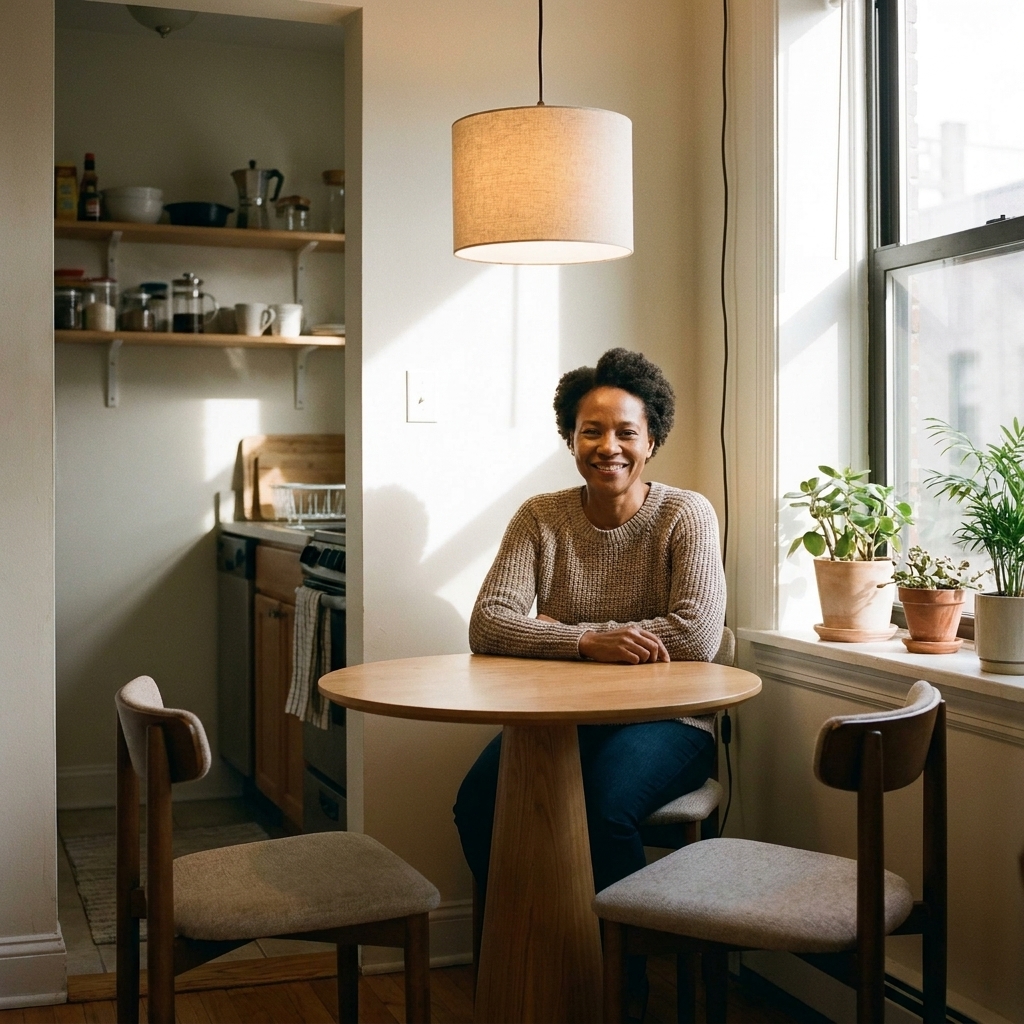
- For dining-first: a small round pedestal table is a space saver because there are no corner legs to bump into.
- For work-first: prioritize a comfortable chair and task lighting. A floating shelf desk can work if your laptop life is light.
- For hybrid: a drop-leaf table or wall-mounted fold-down table gives you flexibility.
Do not ignore the kitchen
The kitchen zone is where studios tend to unravel. When the counter becomes a mail station and the dish rack becomes a permanent sculpture, the whole room starts feeling like a utility space. The fix is containment.
Easy kitchen zoning moves
- Use a runner: if your kitchenette is along one wall, a washable runner helps signal, this is the kitchen, not the living room.
- Add a boundary piece: a slim island cart or narrow console can separate cooking from lounging, and it adds storage without building anything.
- Create a drop zone: a tray or small bowl near the entry keeps keys and receipts from migrating onto the counter.
- Control countertop sprawl: corral daily items (oil, salt, utensils) on one tray. Everything else goes in a cabinet or bin.
Make zones feel bigger
Zoning is not only about dividing. It is also about making each mini-area feel breathable.
Keep sightlines open
- Choose legs: furniture with visible legs shows more floor, which reads as more space.
- Float pieces when possible: even a few inches of space behind a sofa helps airflow and walking paths.
- Avoid blocking the window: natural light is your studio’s best free upgrade.
Repeat materials
Zones should feel distinct, but still part of one home. Repeat one or two finishes across the room, like light wood and black metal, or oak and warm brass.
Use mirrors strategically
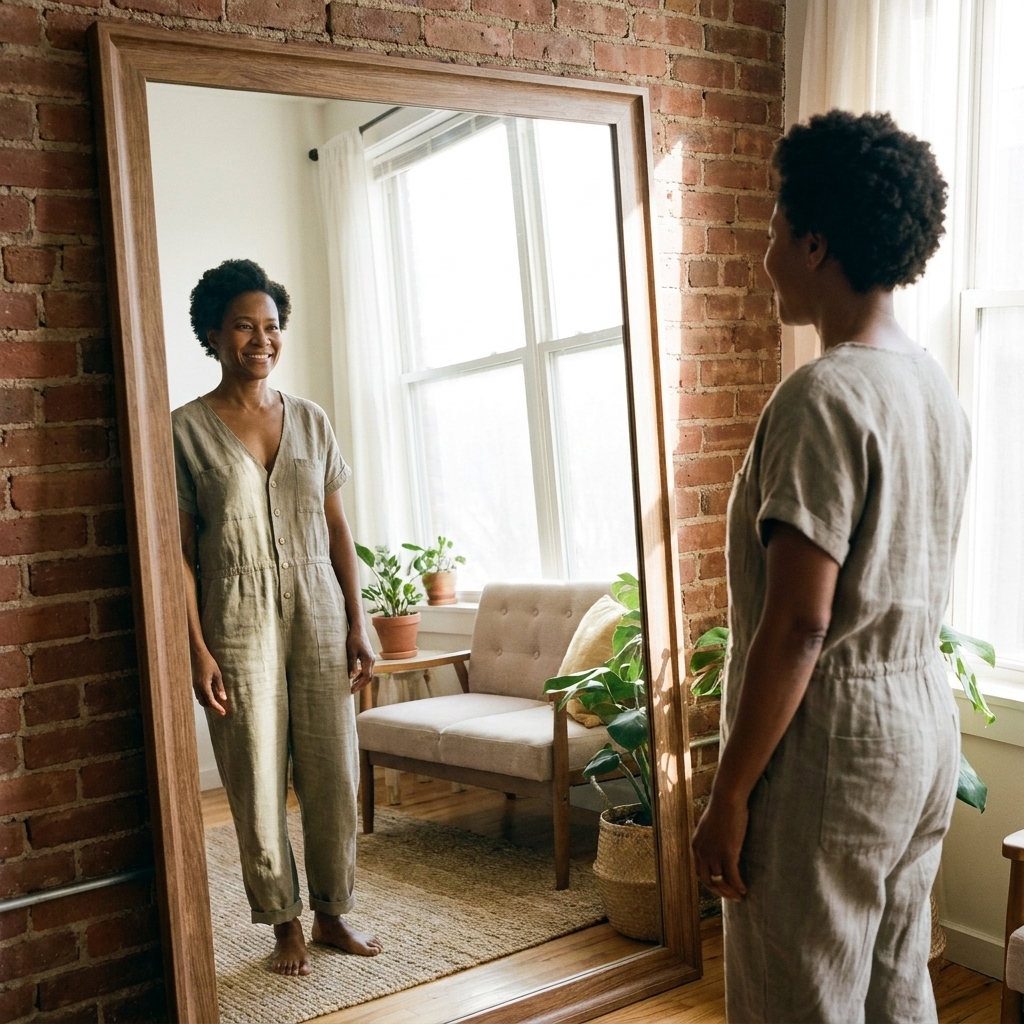
Place a mirror where it bounces window light back into the room, like opposite a window or near your darkest corner. This expands the feel without adding clutter.
Sound and smell fixes
Studios are honest. Noise travels. Cooking smells linger. If your goal is a calmer space, these two realities matter as much as furniture placement.
- Soften sound: rugs, curtains, and upholstered pieces reduce echo. Even one thick rug can make the whole room feel quieter.
- Handle odors: run the vent fan, crack a window when you cook, and consider a small air purifier near the kitchen zone if smells hang around.
- Close it down: a curtain divider can double as a practical barrier so your bed does not absorb every dinner scent.
Common mistakes
My rug is too small
Fix: size up, or layer a smaller statement rug on top of a larger neutral one. Layering is a reliable workaround when your dream rug is out of budget in a bigger size.
My divider makes everything dark
Fix: switch to an open shelf, a lighter curtain, or a screen with negative space. Then add a lamp on the darker side of the divider.
My studio feels like a storage unit
Fix: move visual clutter behind closed doors: baskets, lidded boxes, under-bed containers, and one closed cabinet. In a studio, what you can see is what you feel.
Nothing feels anchored
Fix: add one focal point per zone. A large piece of art over the sofa, a headboard, or a bold lamp gives the eye an obvious structure.
Rental-friendly rules
Studios are easiest to zone when you keep your lease in mind. A quick reality check now saves you from patching panic later.
- Check your walls and ceilings: some buildings are fine with small nail holes, others are not. Ceilings are often the strictest.
- Know your adhesives: follow weight limits on Command strips and similar products, and use the right strips for your surface. On delicate or older paint, test in an inconspicuous spot first.
- Choose freestanding when unsure: screens, shelves, carts, and lamps do a lot of zoning with zero drilling.
Studio zoning checklists
5-minute reset
- Clear the bed and fold throw blanket.
- Return dishes to the kitchen zone.
- Put charging cords back in one basket.
- Fluff sofa pillows and clear coffee table.
- Turn on one lamp in the living zone to set the mood.
Shopping list
- One correctly sized living area rug
- Two to three lamps (floor, table, task)
- One divider solution (open shelf, curtain, or screen)
- Baskets or bins for zone clutter
- Command hooks and cord covers for clean lines
FAQ
How do I separate my bed in a studio without building a wall?
Use an open bookshelf, a ceiling track curtain, or a tall folding screen. If you want it to feel airy, choose something that lets light through and add a bedside lamp so the sleep zone still feels warm.
Should a studio have one big rug or multiple rugs?
Either works, but it depends on your goal. One big rug can make a studio feel larger and more cohesive. Multiple rugs make zoning more obvious. If you do multiple, keep them in a compatible color family so it feels intentional.
What is the best layout if my studio is long and narrow?
Think train car. Put the living zone closer to the window for light, tuck the bed to one side or into a corner, and keep the main walkway along one edge. A narrow console behind the sofa is a great subtle divider in this shape.
How can I create a dining area in a tiny studio?
Go small and round if possible. A round pedestal table, a wall-mounted drop-leaf, or a bistro table with two slim chairs can carve out a dining zone without stealing your walking path.