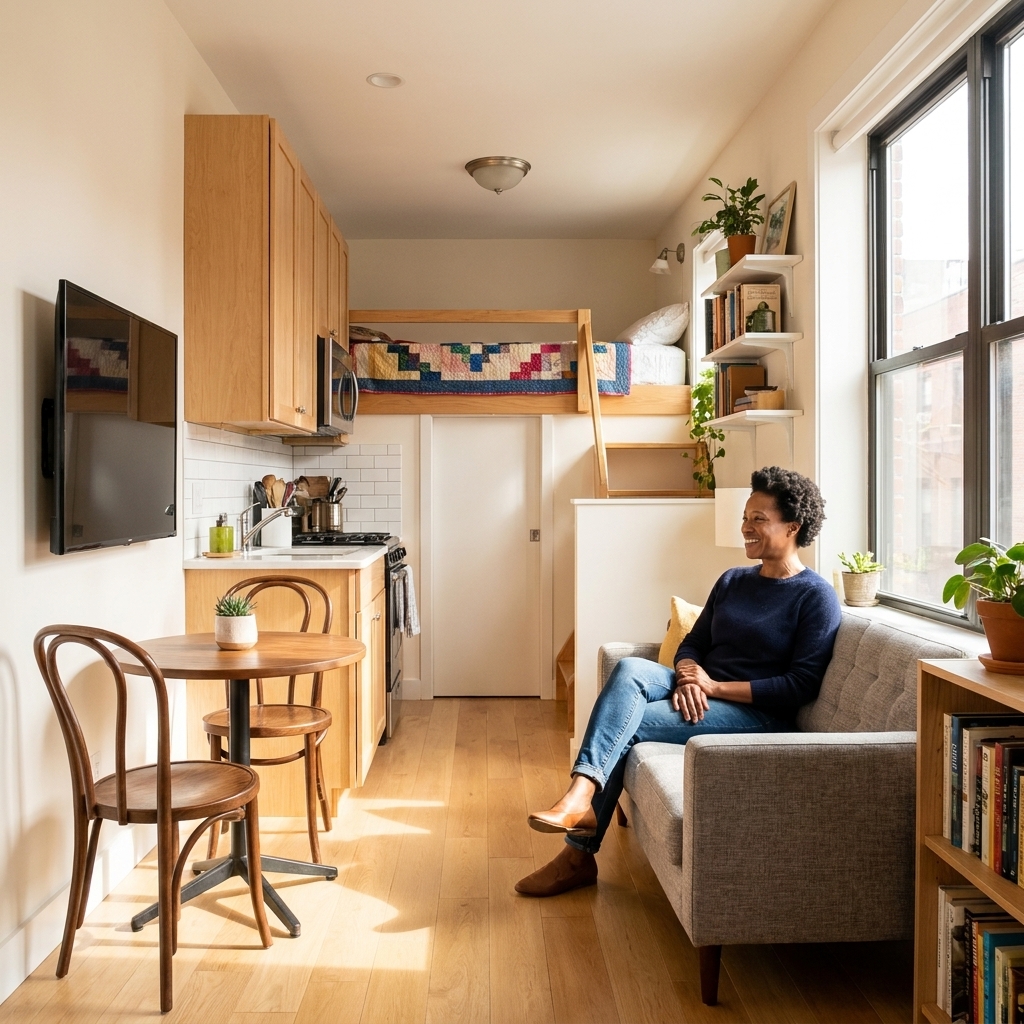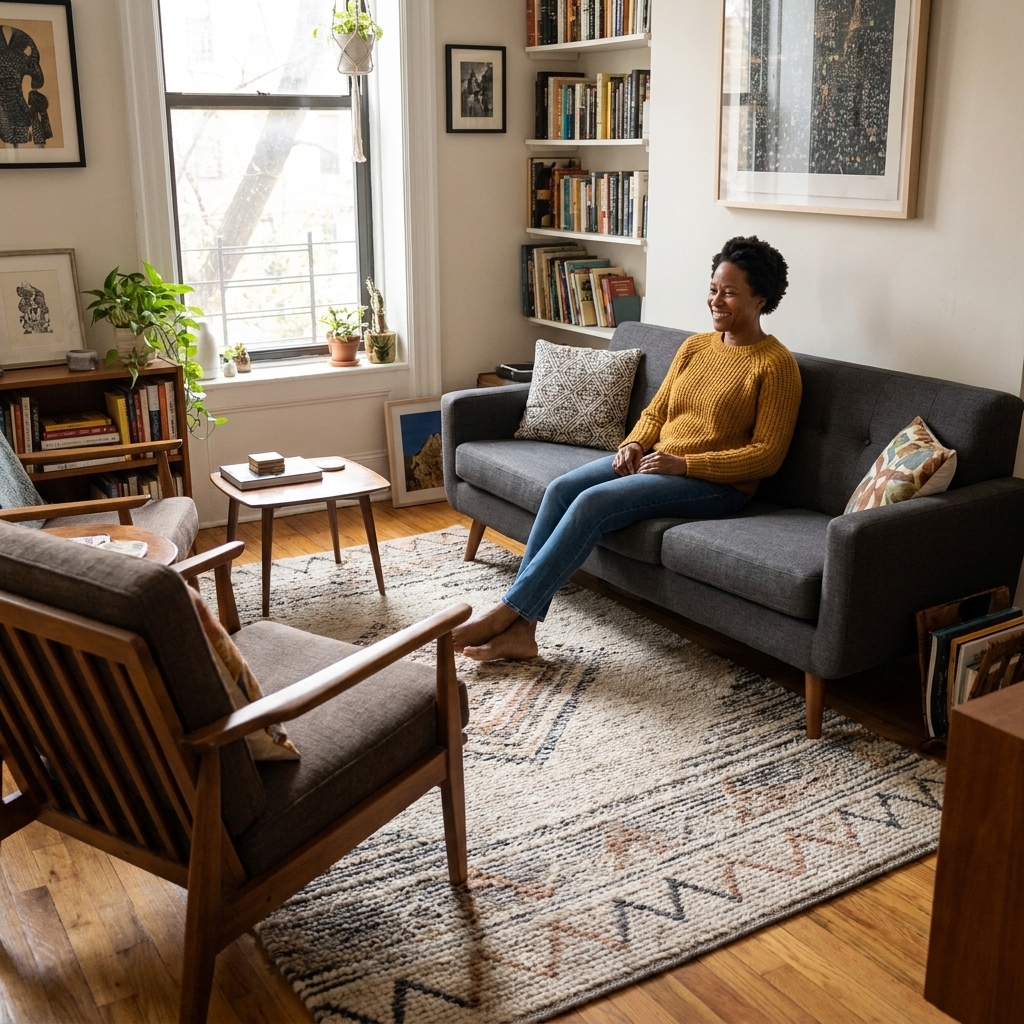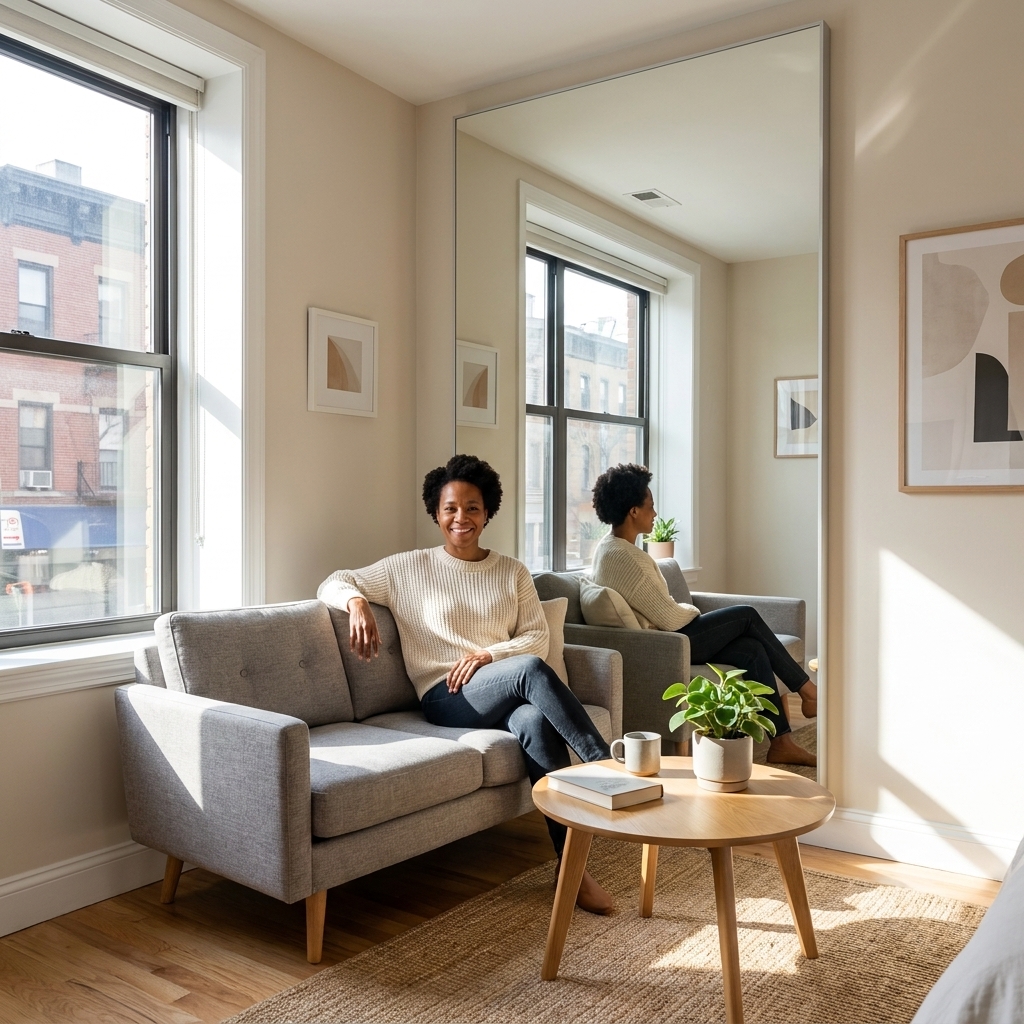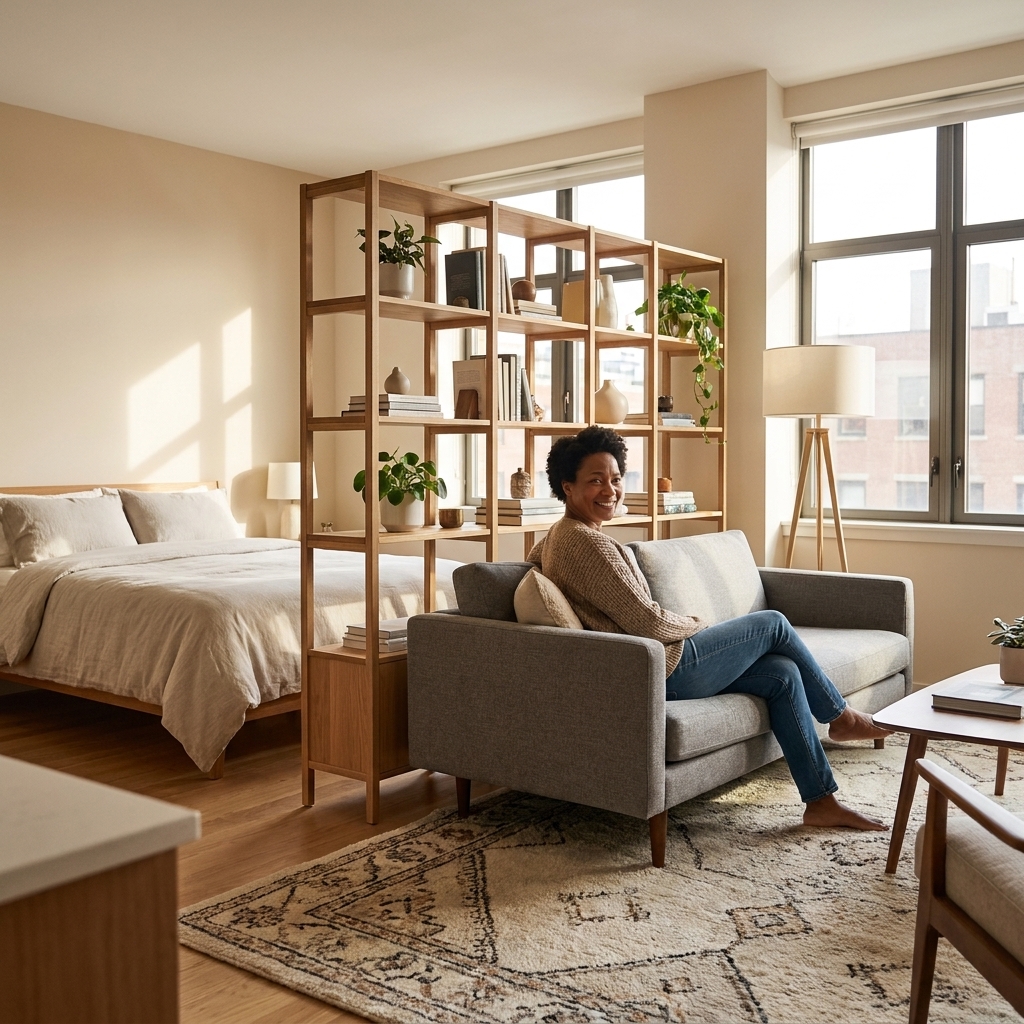
Create distinct zones in a one-room studio with renter-friendly dividers: rugs, curtains, shelving, and layout tricks that keep your space open and breathable.
Space Ovo
Studio Apartment Zoning With Rugs, Screens, and Plants
Define your sleeping, living, and dining zones in a studio without losing light. Use rugs, screens, and plants with simple layout rules, sizing tips, and renter-friendly tricks.

Maya Brooks
Maya Brooks is an interior stylist and layout enthusiast who believes square footage should never dictate your home's style. After a decade of navigating cramped city studios, she shares practical, renter-friendly decorating and storage solutions to help others maximize their tiny spaces.
Created October 17, 2026
Updated October 17, 2026
If you live in a studio, you already know the weird emotional whiplash of one room trying to be everything. Living room by day, bedroom by night, dining corner whenever you remember to eat at a table. The good news: you don’t need walls to make it feel intentional. You need clear boundaries, repeatable layout rules, and a few light-friendly dividers that won’t turn your place into a cave.
I like to think of zoning as giving each part of your studio a job description. Rugs define the “floor plan,” screens create privacy, and plants soften transitions while still letting light travel.
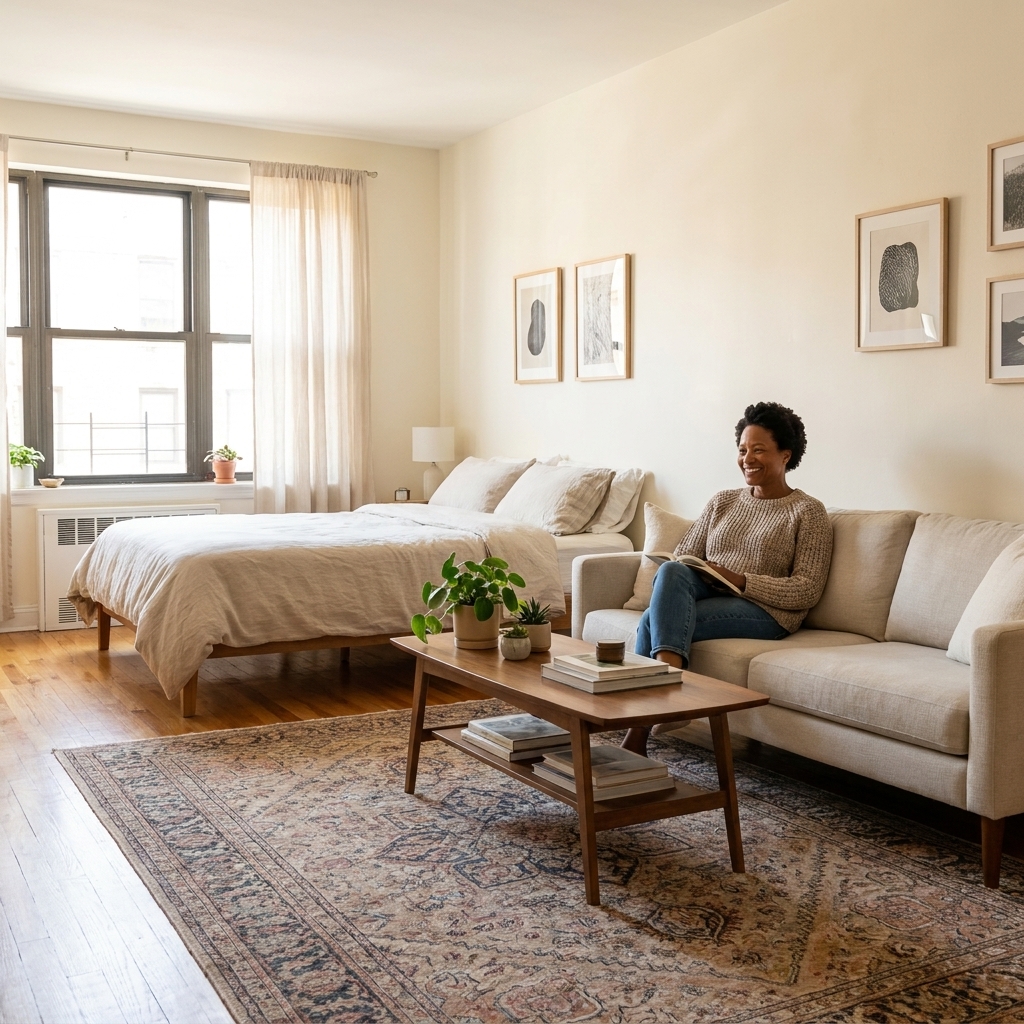
Start with a quick zoning plan (5 minutes, no buying)
Before you drag furniture around like you’re auditioning for a moving company, do this:
- Pick your anchor zones: sleep, lounge, eat, work (if needed). Most studios can realistically handle three. Four is possible, but only if one zone is very compact.
- Identify the light path: stand at your window and look toward the door. That’s your “daylight highway.” Try not to place tall, solid pieces directly across it.
- Choose one visual “front door view”: what you see when you walk in should feel calm. Usually that means seeing the living zone first, not the bed.
- Commit to circulation: a good target for a main walkway is around 30 to 36 inches if you can. In super-tight studios, about 24 inches can work if it’s not a high-traffic pinch point. If you need an accessible route (wheelchair, walker, stroller), plan wider and keep turns clear.
Now you’re ready for the three best zoning tools: rugs, screens, and plants.
Rugs: the easiest way to draw invisible walls
Rugs are my favorite studio cheat because they define space without adding visual height. The room stays airy, and your brain still reads “separate rooms.”
Rule 1: One rug per zone, not one rug for the whole studio
A single rug floating in the middle can make everything feel like one undecided waiting room. Instead:
- Living zone rug: big enough that the sofa’s front legs (at minimum) sit on it.
- Dining zone rug (optional): only if your dining setup is stable and you’re not constantly moving it. Choose low-pile for chair sliding.
- Bedroom zone rug: either a rug under the front two-thirds of the bed or runners along the sides if space is tight.
Rule 2: Size up until it feels almost too big
In small spaces, tiny rugs look like islands. A larger rug makes the zone feel deliberate and, oddly, makes the room feel bigger.
- Most studio living zones: 5x8 can work for a loveseat, but 6x9 or 8x10 often looks better if you can fit it.
- Under a full or queen bed: 8x10 is a common “standard” look, while 6x9 can work in tighter rooms (especially if the bed is against a wall). Rule of thumb: aim for about 18 to 24 inches of rug showing at the sides and foot when possible.
Measuring tape tip: mark rug sizes with painter’s tape on the floor first. It saves you from the “why does this look like a bath mat?” moment.
Rule 3: Use rug placement to “aim” your furniture
In a studio, your sofa placement does a lot of zoning work. A rug can help you justify putting the sofa not flush against a wall.
- Place the rug so it sits square to the sofa and coffee table.
- Let the rug edge become the “wall line” between living and sleeping.
- If possible, float the sofa with its back toward the bed zone. Even a few inches of space behind the sofa makes the living area feel like a real room.
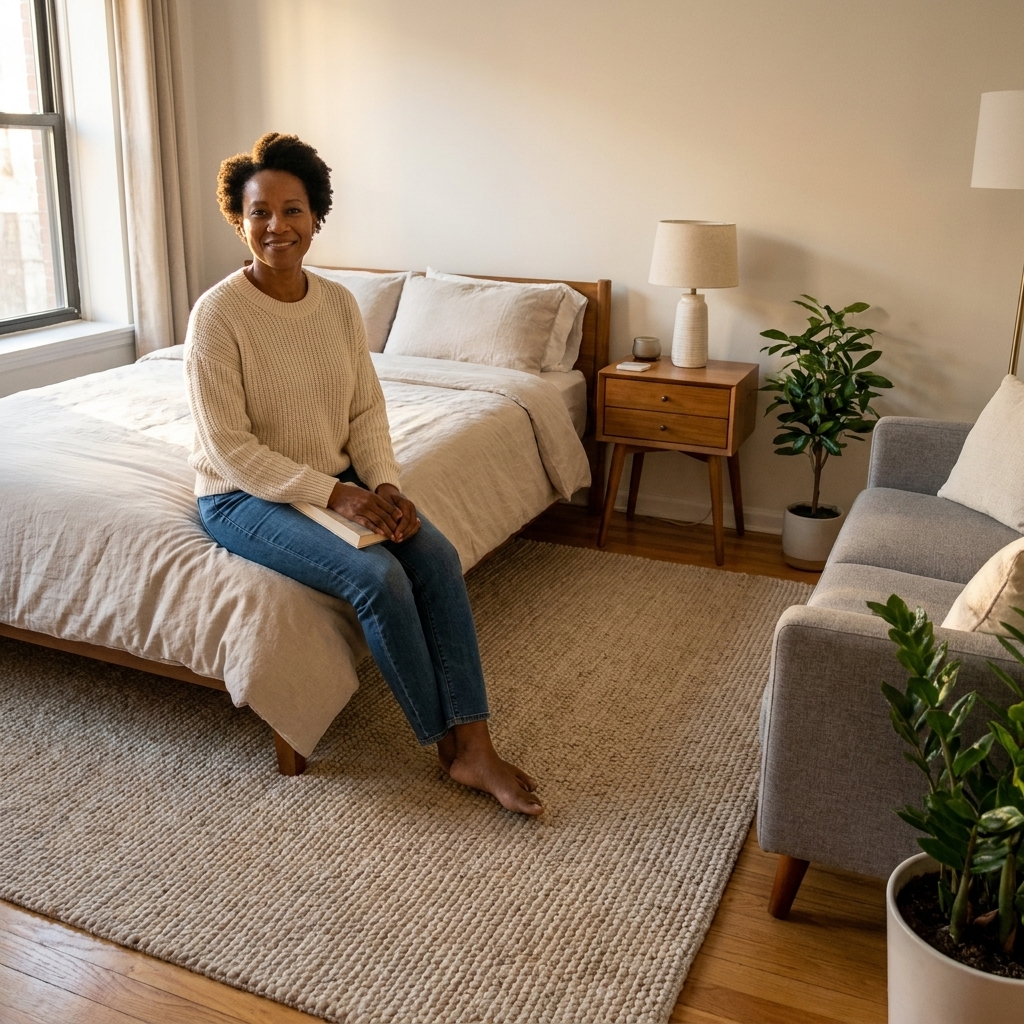
Best rug styles for light, airy zoning
- Low contrast patterns: they define zones without visual noise.
- Flatweave or low pile: easier to layer and easier to vacuum in tight layouts.
- Similar undertones across rugs: you can mix patterns, just keep undertones aligned (warm with warm, cool with cool) so zones feel connected, not chaotic.
Screens: privacy and separation without shutting down the sun
Screens are the studio classic for a reason. They create a moment of “ahh, this is my bedroom” without construction. The trick is choosing screens that block views more than light.
Pick the right screen type for your layout
- Open weave (cane, rattan, slatted wood): my top pick for keeping daylight moving.
- Shoji-style or translucent panels: gives privacy with a glow. Great near windows, just keep panels away from heat sources (radiators, baseboards, space heaters) and don’t block airflow.
- Textile panels: cozy and soft, but can feel heavier. Better when you’ve got plenty of natural light.
- Bookcase-as-screen: works, but choose an open-back shelf and don’t overstuff it if you want light flow.
Where a screen works best in a studio
Try one of these placements:
- At the foot of the bed: separates sleep from living without boxing the bed in.
- Beside the bed: creates a “hallway” effect when your bed is visible from the entry.
- Behind a desk: gives work-from-home boundaries so your bed isn’t your office backdrop.
Screen height and spacing guidelines
- Go tall enough to block sightlines: about 5 to 6 feet is usually enough to hide a bed from the entry view.
- Leave breathing room: a few inches between the screen and the wall or furniture helps it feel lighter.
- Avoid pinning it in front of the only window: if you must place near a window, pick cane or translucent so it filters light instead of stopping it.
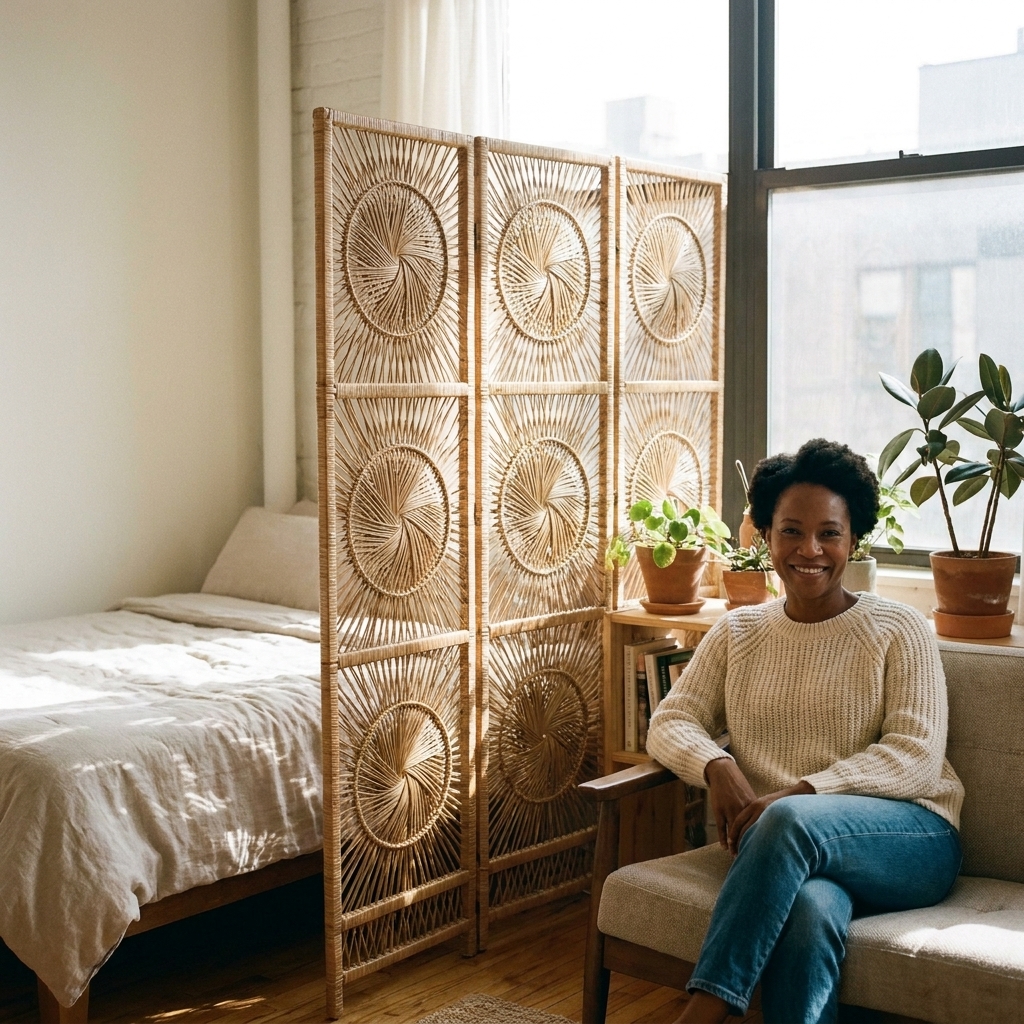
Renter-friendly stability tips (so it doesn’t topple)
- Use furniture grippers or a thin rug pad under the screen feet if you have slippery floors.
- Place the screen so one panel lightly touches a wall or a heavy piece of furniture for subtle support.
- If you’ve got pets, kids, or a bouncy floor, consider a freestanding slatted divider with a wider base instead of a delicate folding screen.
Plants: the softest way to divide space (and make it feel alive)
Plants are zoning magic because they create a boundary that feels welcoming, not barricaded. They also hide awkward corners and instantly add depth, which is a big deal in a one-room home.
Choose plants that act like “green curtains”
Think height, fullness, and how the leaves filter light.
- Best tall floor plants: rubber plant, dracaena, fiddle-leaf fig (if you’re brave), kentia palm.
- Best medium, bushy plants: pothos on a moss pole, peace lily, ZZ plant.
- Low light tolerant options: ZZ plant, snake plant, pothos. Quick note: “low light” usually means they’ll tolerate it, not thrive. If you can give them bright, indirect light, they’ll generally grow faster and look happier.
Three plant zoning setups that work in real studios
- The plant “buffer line”: place 2 to 3 floor plants in a row to mark the edge of your sleeping zone. Keep them slightly staggered so it feels organic.
- The corner anchor: a tall plant in the corner between zones creates a natural stopping point for the eye.
- The shelf garden divider: line plants along an open bookshelf to soften it and make it feel intentional from both sides.
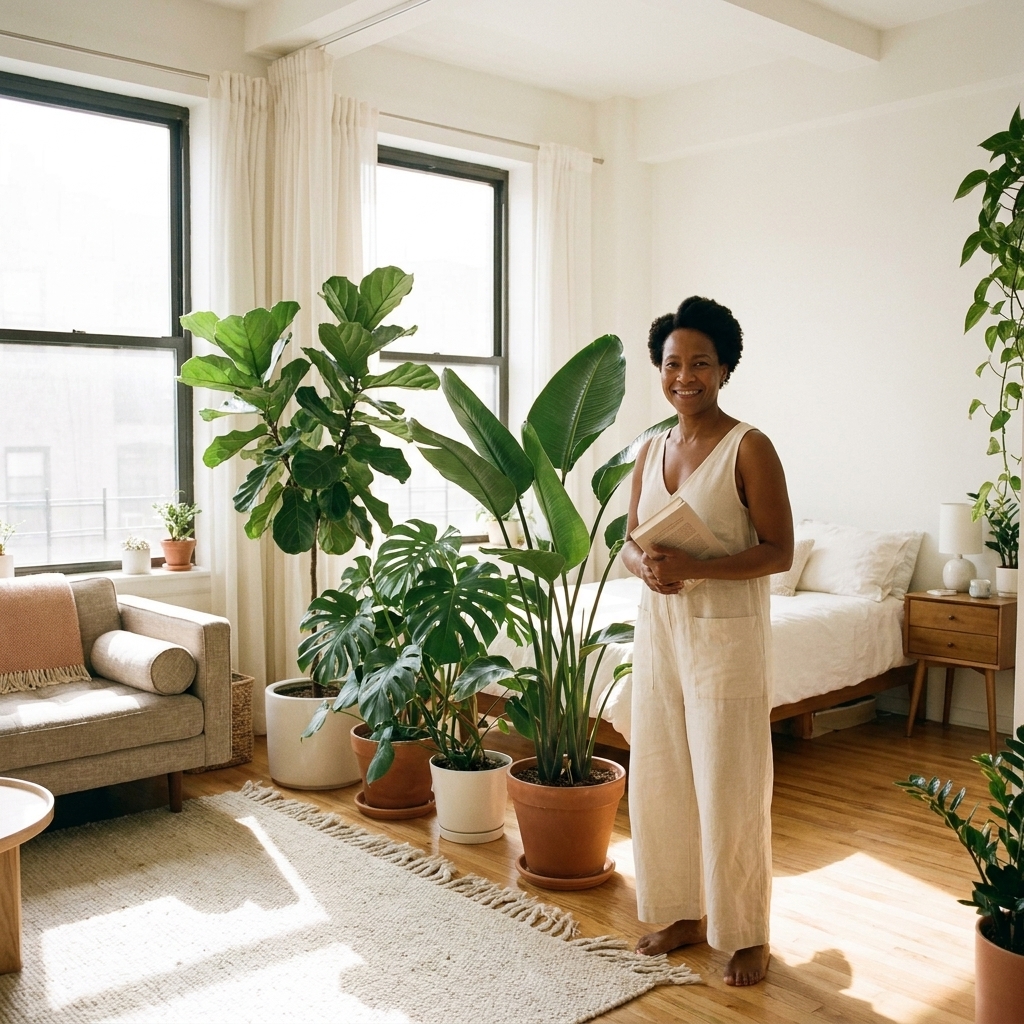
Planters and stands: small details that make zoning look designed
- Use stands to vary height: it creates a layered divider that still feels light.
- Stick to a tight planter palette: matching or coordinating pots make the divider look cohesive even if the plants are different.
- Add saucers and trays: especially on wood floors. Your security deposit will thank you.
- Keep it stable: if you’re using tall plants as dividers, go for heavier pots (or wider bases) so they’re less likely to tip if you brush past them.
Put it together: three studio zoning recipes
Layout 1: Bed by the window (privacy-first)
- Rug: living rug defines the sofa zone closer to the entry.
- Screen: place a cane or slatted screen near the bed edge to block the entry sightline.
- Plants: a tall plant at the screen’s end to soften the divider and keep it airy.
This is a great setup if you want your bed to feel like a separate room but still want daylight in the whole studio.
Layout 2: Bed in the back (hotel vibe)
- Rug: a larger rug under the bed zone to make it feel tucked away and intentional.
- Screen: screen at the foot of the bed for a subtle “headboard wall” effect.
- Plants: use one medium plant near the screen to create a transition into the living zone.
Layout 3: Work-from-home zone (so your bed isn’t your office)
- Rug: small flatweave under the desk and chair to define the work corner.
- Screen: screen behind the desk to create a backdrop and separate work from sleep.
- Plants: one plant beside the desk to soften the “office” feeling.
Real-world constraints (the stuff that always gets in the way)
- No entry hallway: create a tiny “landing strip” right at the door, like a small rug plus wall hooks, or a slim console with a catch-all tray. It keeps the rest of the studio from feeling like a pass-through.
- Don’t block vents: screens, bookcases, and even big plant groupings can mess with airflow. Keep HVAC returns, radiators, and AC units clear so your studio doesn’t turn into a hot box.
- Budget-friendly divider swaps: a tension rod with a sheer curtain, a sofa table behind the couch, or a plug-in wall sconce (to free up floor space) can do a shocking amount of zoning work without a big spend.
Light-saving tricks (because studios need every ray)
- Keep dividers leggy: furniture and screens with visible space under them feel lighter.
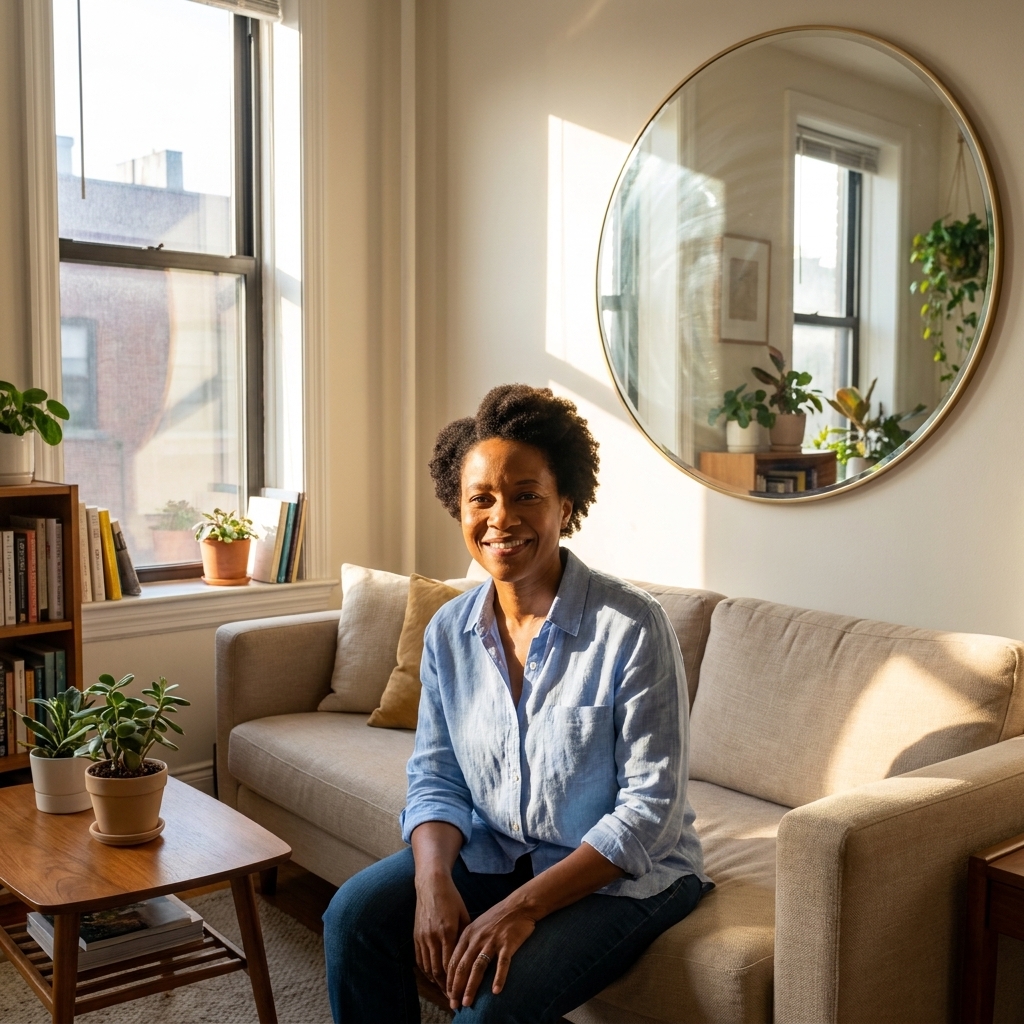
- Use mirrors strategically: hang a mirror where it can bounce window light deeper into the room, often across from or adjacent to the window.
- Choose sheer layers: if you use curtains as a divider, pick airy linen or sheers and keep them open when you can.
- Mind the top third of the room: keep tall dividers away from the window line so light can travel above.
Common zoning mistakes (I’ve made all of these)
- Rugs that are too small: they shrink your zones and make furniture look misplaced.
- Blocking the main walkway: zoning should guide movement, not create obstacle courses.
- Too many dividers: one strong divider plus one soft divider usually beats three strong dividers.
- Ignoring scale: a massive screen in a micro studio can feel like a wall. Try a lighter material or a partial divider.
- Forgetting the “view from bed”: you see your studio most from the bed. Make that angle peaceful.
Quick FAQ
How do I divide a studio without making it dark?
Use low-height boundaries first (rugs), then light-filtering dividers (cane, slats, translucent panels), then soft boundaries (plants). Avoid tall, solid bookcases directly between your window and the rest of the room.
What’s the best way to hide a bed in a studio?
A folding screen or slatted divider placed to block the entry sightline is the fastest fix. Pair it with a bedroom-zone rug so it feels like a real “room,” not just a bed behind a screen.
Can I use multiple rugs in a small studio?
Yes, it’s often the best move. Keep undertones consistent and leave a little bare floor between rugs so each zone reads clearly.
Do plants really work as room dividers?
They do, especially in studios where you want separation without heaviness. Use taller plants or raise medium plants on stands to create a visual line.
A final pep talk from your resident furniture Tetris player
Zoning isn’t about pretending your studio is a two-bedroom. It’s about making your one room feel organized, breathable, and yours. If you remember nothing else, remember this trio: a properly sized rug, a light-friendly screen, and a bit of greenery. That combo can turn “everything everywhere all at once” into a home with actual rhythm.
If you’re sketching your own layout, start with the front door view and the daylight highway, then build your zones outward from there. You’ll feel the difference fast.