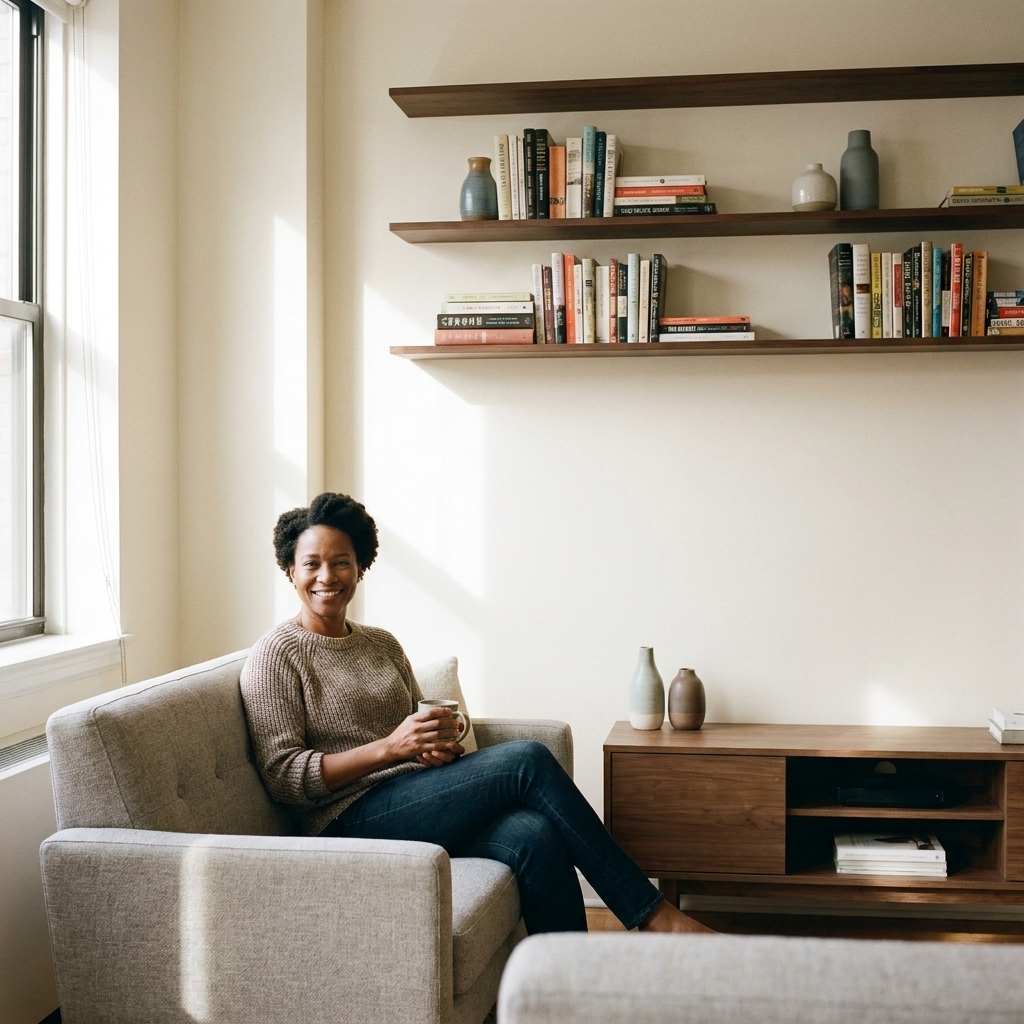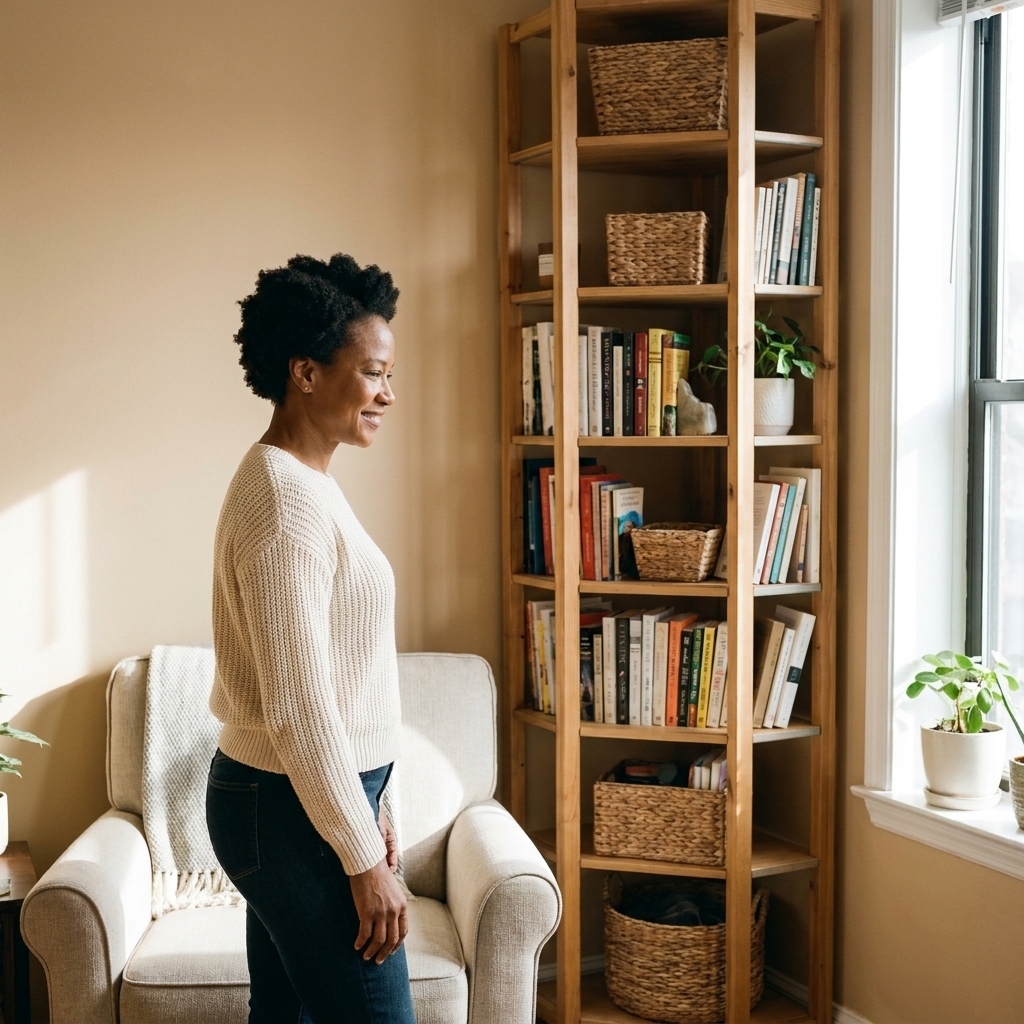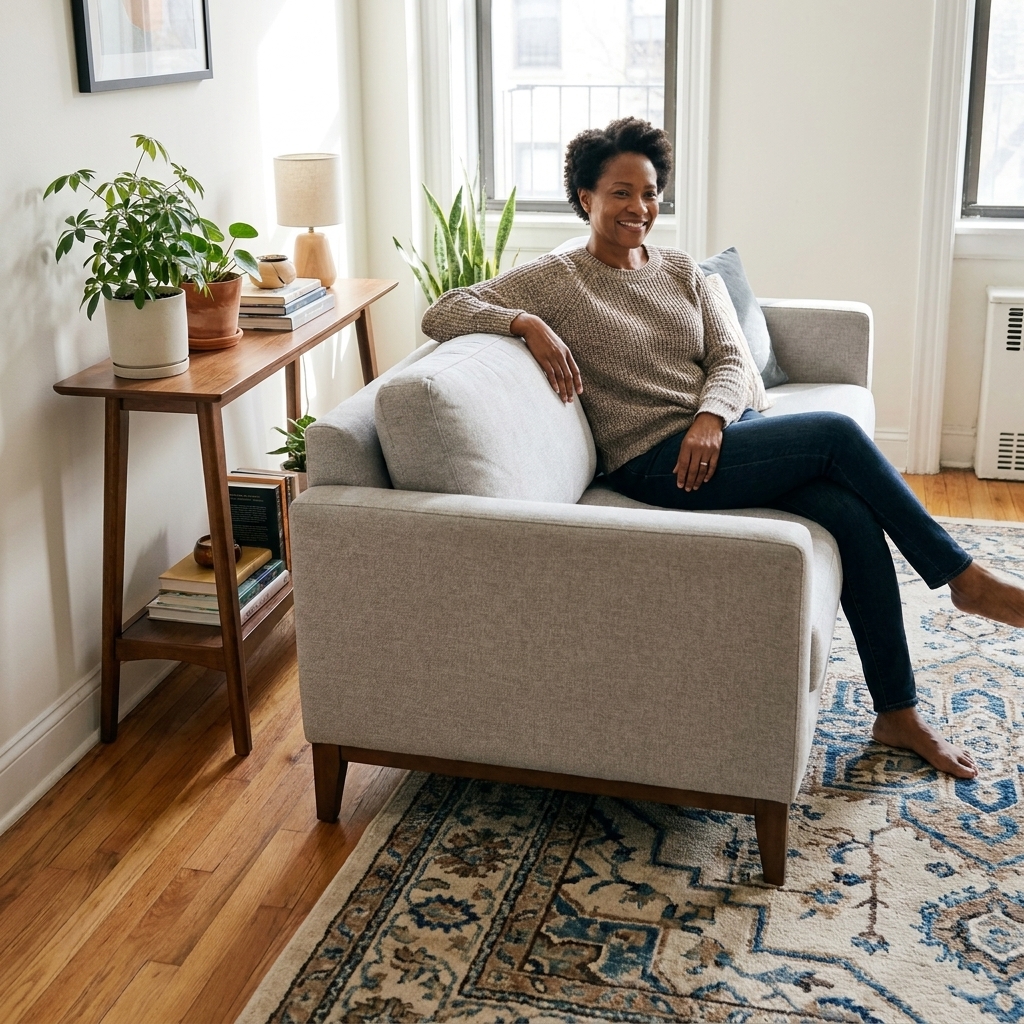
Pull furniture away from the walls to open up circulation, define zones, and make a small room feel bigger. Here’s how to float your sofa without losing fu...
Space Ovo
How to Divide a Studio Apartment Without Building Walls
Use rugs, curtains, open shelving, and smart furniture placement to carve out a living room, bedroom, and work zone in a studio without building walls.

Maya Brooks
Maya Brooks is an interior stylist and layout enthusiast who believes square footage should never dictate your home's style. After a decade of navigating cramped city studios, she shares practical, renter-friendly decorating and storage solutions to help others maximize their tiny spaces.
Created October 17, 2026
Updated October 17, 2026
Every studio apartment has the same little identity crisis: it wants to be a bedroom, living room, office, dining room, and storage unit, all at once. The good news is you don’t need drywall (or a very understanding landlord) to make it feel like you live in separate rooms. You just need a few strong visual boundaries, the right furniture “anchors,” and a layout that flows.
I’ve lived through the 350-square-foot puzzle more times than I can count. My biggest lesson: division is less about blocking space and more about defining zones. Think: “This is where I sleep,” “this is where I lounge,” “this is where I work,” even if it’s all technically one room.
Start with zones, not dividers
Before you buy a single curtain rod, map your studio into 3 to 5 zones based on how you actually live. Most studios need:
- Sleep zone (bed plus bedside essentials)
- Lounge zone (sofa or chairs plus a landing spot for drinks, remotes, and feet)
- Work zone (even if it’s a tiny desk or wall-mounted surface)
- Eat zone (bistro table, drop-leaf, or a bar counter setup)
- Entry zone (a place to drop keys, shoes, and bags)
Quick layout rule I swear by: put the bed far from the front door when you can. It often makes the apartment feel more “home” and less “one big room you sleep in.” That said, don’t force it if it creates problems with egress, blocks a window you rely on for light, crowds a radiator, or leaves you without outlets where you need them.
If you only do three things
- Define the lounge first with a properly sized rug and a sofa that faces “into” the living zone.
- Create one real divider moment, like curtains around the bed or a bookcase between bed and sofa.
- Light zones separately with 2 to 3 lamps instead of relying on one overhead light.
A 10-minute measuring tape check
Measure your main walkways before committing to a divider. As a rule of thumb, aim for:
- 30 to 36 inches for primary paths (door to kitchen, door to bathroom)
- 24 inches minimum for secondary squeeze-by paths (bedside access, around a chair)
If your home needs to accommodate a wheelchair or mobility device, you’ll likely want more clearance than that. Building codes and egress requirements vary, too, so treat these numbers as a starting point, not a law of physics.
One more non-negotiable: don’t place dividers where they block exits, vents, radiators, or sprinklers. A cozy zone isn’t worth a safety headache.
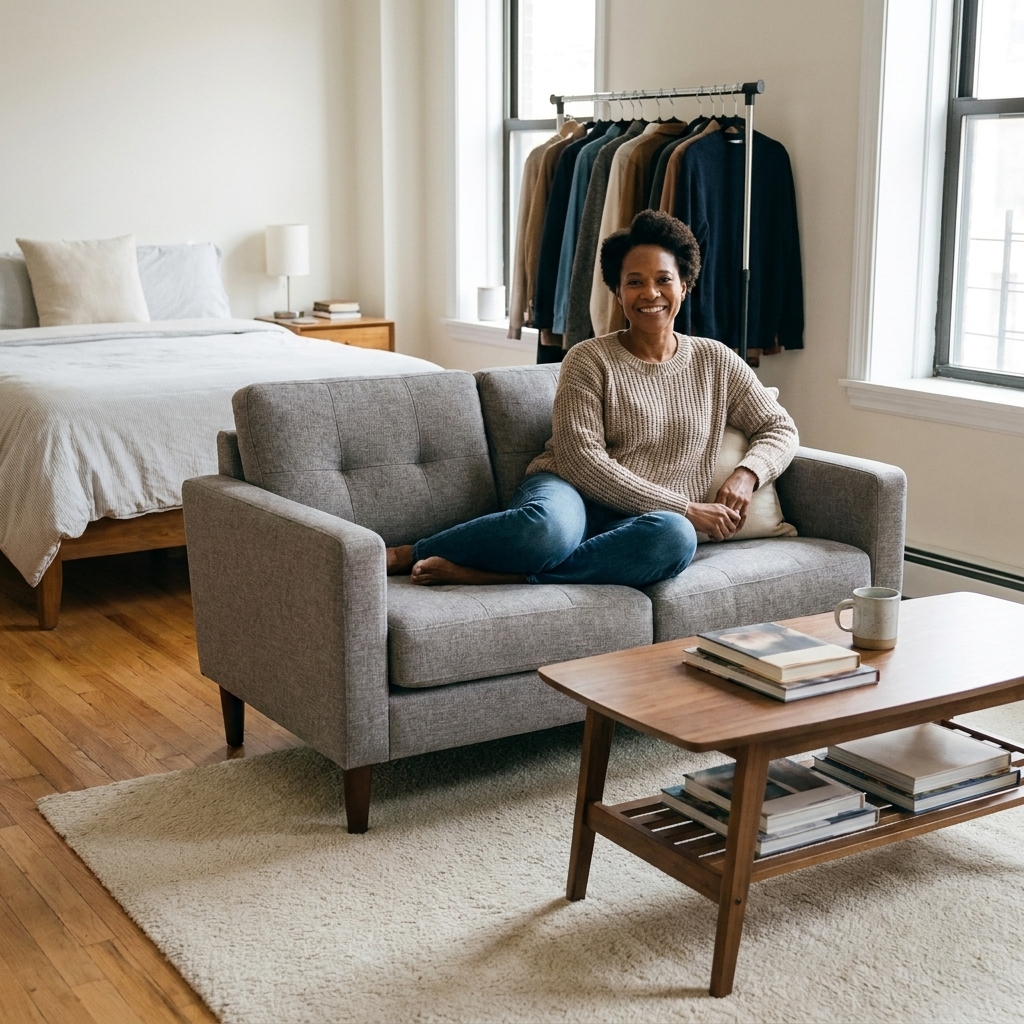
Use rugs to draw rooms
Rugs are the most underrated studio divider because they create boundaries without adding bulk. They tell your brain, “This area is for lounging,” even if nothing else changes.
Simple rug sizing that works
- 5x8: Great for very small living zones or a loveseat setup.
- 6x9 or 8x10: The sweet spot for many studios with a full sofa, especially if you want the front legs of seating on the rug.
Quick measuring trick: for the lounge zone, try to pick a rug that’s at least as wide as your sofa, or close to it. That’s what makes it read like a room, not a postage stamp.
My favorite rug zoning setups
- One large living rug: Place it under the front legs of your sofa and any chairs. This makes the living zone feel intentional and pulled together.
- A runner as a hallway: If your studio has an entry corridor or a long main path, a runner creates a pass-through zone so your bed area feels more separate.
- Layer a smaller rug near the bed: Great if your bed zone sits adjacent to your living zone. It’s a soft landing and a subtle boundary.
Pro tip: If you can only afford one rug, spend it on the living zone. A defined living room does more for separate-rooms energy than a tiny rug under the bed.
Hang curtains for a soft wall
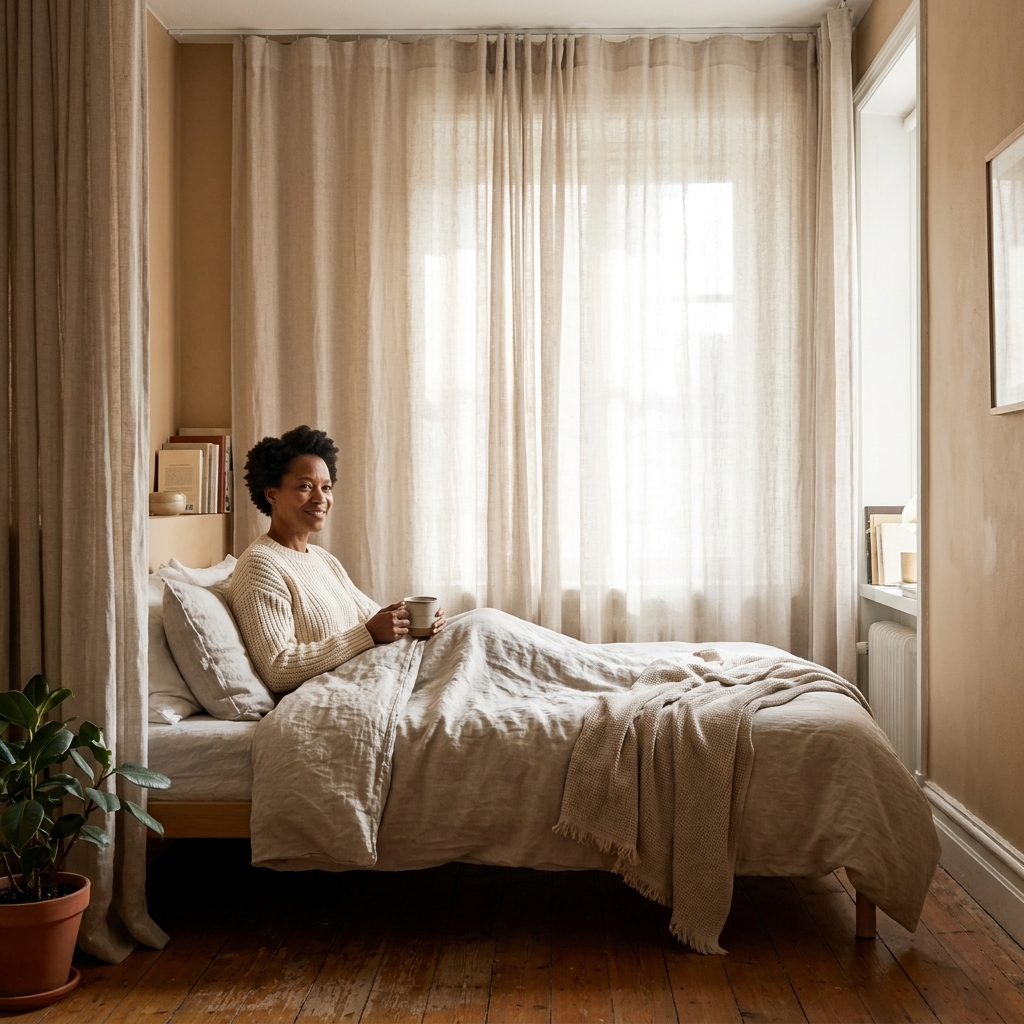
Curtains are my go-to when you want true separation, especially for sleep. They’re flexible, renter-friendly, and they make a studio feel calmer because you can hide the bed when you’re “done” with the day.
Two renter-friendly ways to hang them
- Tension rod: Works best for narrow spans, like between two walls or inside an alcove. No holes, no drama.
- Ceiling-mounted track (with permission): If you can use small anchors, a ceiling track looks sleek and glides better than a standard rod.
If you’re mounting to the ceiling, double-check what you’re working with (drywall, plaster, concrete) and what weight it can handle. Use the right anchors, follow the manufacturer’s limits, and be realistic about patching when you move out.
Pick the right curtain fabric
- Sheer or semi-sheer: Keeps light flowing, defines space without making it feel chopped up.
- Thicker linen or blackout: Best if your bed is right next to your living area and you want privacy and better sleep.
Reality check: Curtains can soften sound, but they won’t soundproof your studio. If noise is a big issue, heavier curtains help a bit, and a bookcase (especially one with a backing panel) can do more acoustically than a thin screen.
Styling trick: Hang curtains high and wide. If the rod (or track) extends past the bed area, you get a more room-like envelope and less temporary-divider vibe.
Use open shelving for storage
In a studio, every piece should earn its footprint. Open shelving is a Tetris-master move because it creates separation and adds storage at the same time.
What works best
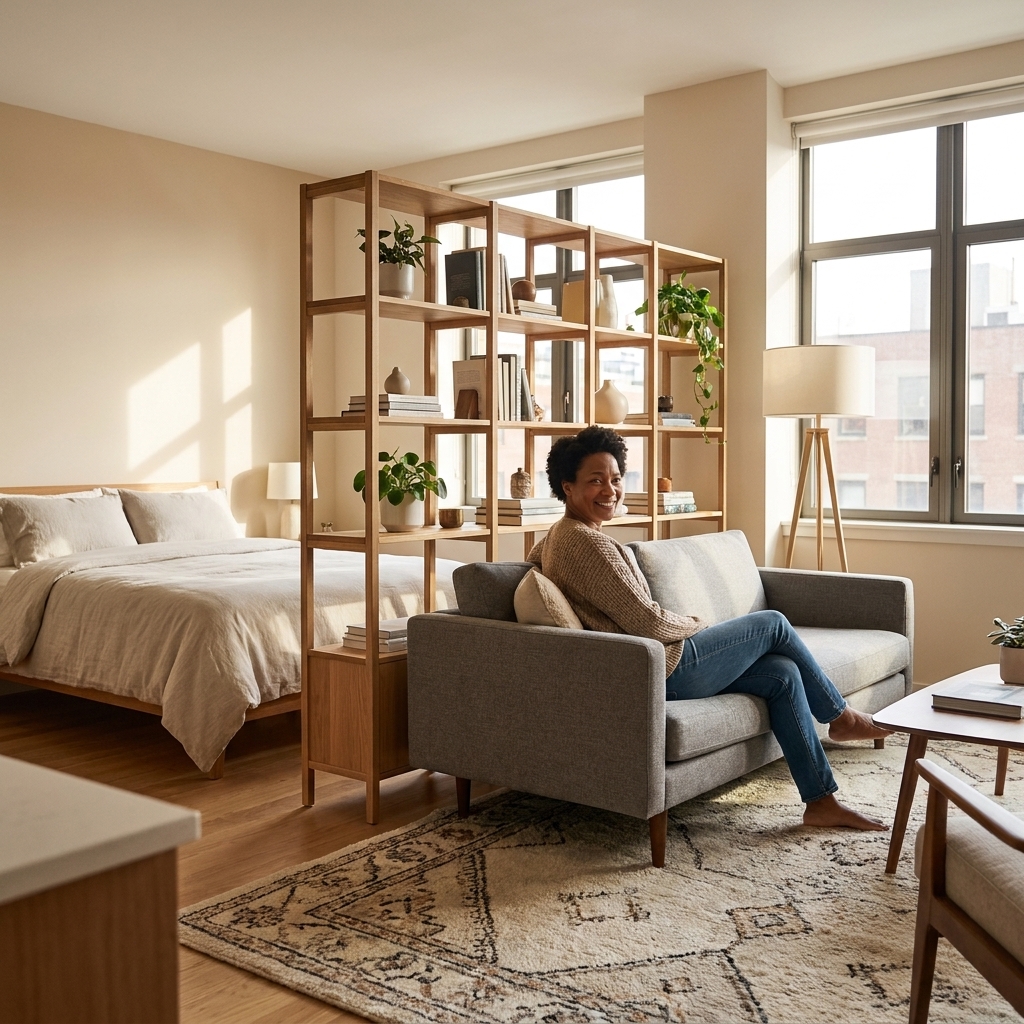
- Tall open bookcase: Place it perpendicular to the wall to split the room into two zones.
- Cube storage units: Great for a lower, airier divider. Add bins on the messy side, leave some cubes open for light.
- Etagere-style shelving: These have open frames that divide without blocking light.
Make it look intentional from both sides
This matters: a divider is visible from multiple angles, which means you’re styling the back of furniture too.
- Mix books + baskets + a few decorative objects so it reads curated, not like a storage avalanche.
- Leave 20 to 30 percent of shelves with negative space. Your studio needs visual breathing room.
- Anchor with one or two larger pieces (a basket, a stack of art books, a plant) so it doesn’t look fussy.
Safety note: If you have pets, kids, or even just clumsy city-living moments, secure tall shelving to the wall when possible, or choose a wide-base unit that feels stable.

Use your sofa as a divider
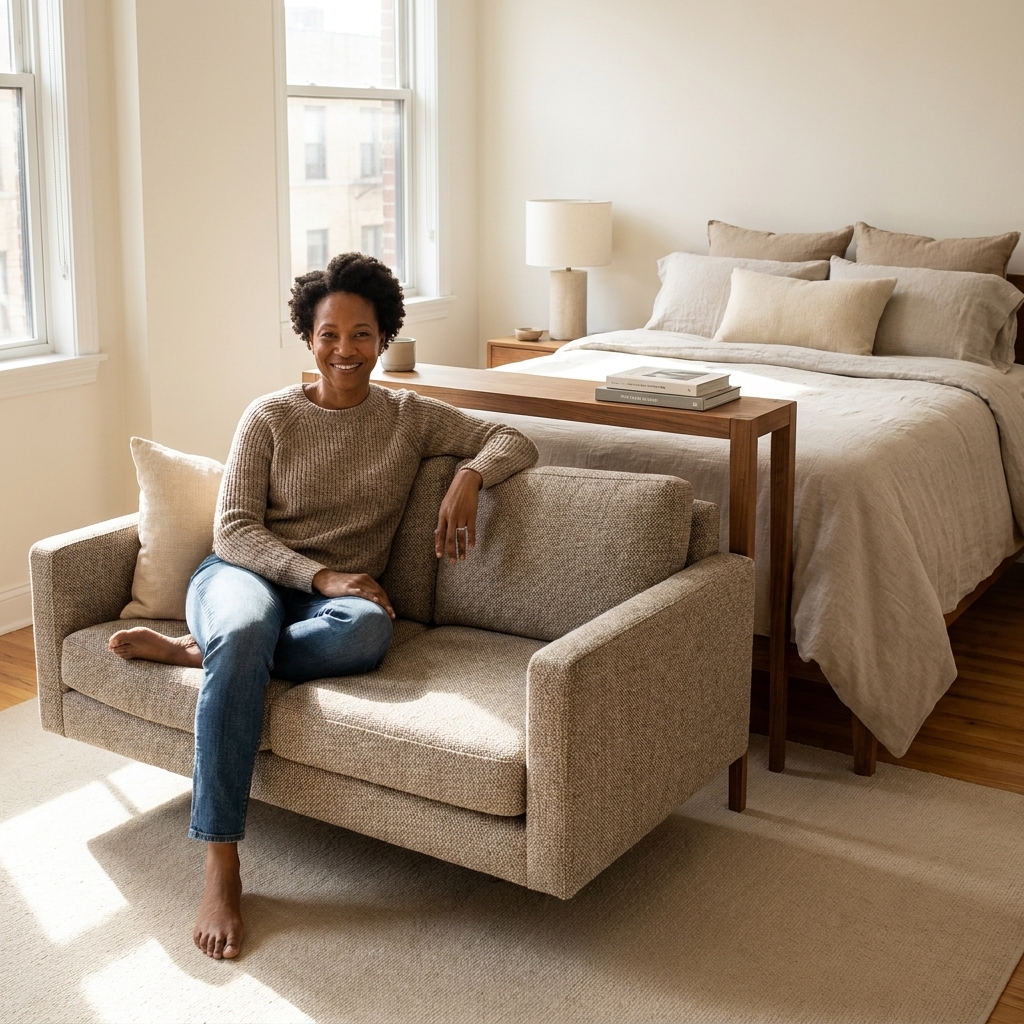
If your studio is one rectangle, the simplest wall might already be in your living room. Floating the sofa with its back toward the bed creates a clear boundary and instantly makes the space feel like two rooms.
How to place it cleanly
- Float the sofa 6 to 12 inches off the rug edge for a natural boundary line.
- Add a slim console table behind the sofa to create a landing strip for lamps, books, and charging.
- Protect the main walkway from entry to kitchen or bathroom so you’re not constantly cutting through the sleep zone.
My favorite combo: Sofa back as the divider + a rug defining the living zone + a lamp on the sofa-side console. It reads like a real living room, not furniture shoved in a corner.
Go vertical with tall pieces
When you can’t expand outward, define zones upward. Vertical elements pull the eye up and create that separate-area feeling without closing the room in.
Great non-wall dividers
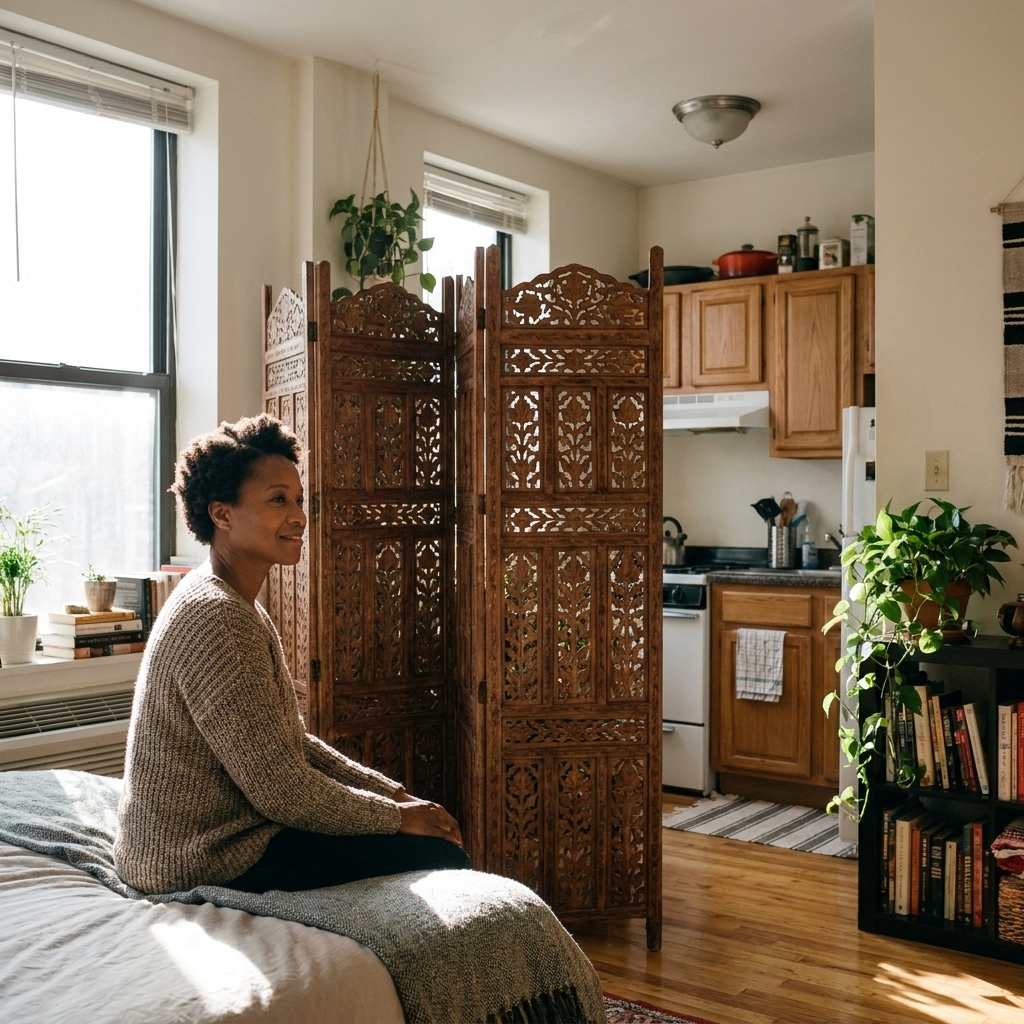
- Folding screens: Fast, flexible, and ideal for hiding a bed during the day. Look for sturdy hinges and a wide stance.
- Tall plants: A big plant in a pot (or two medium ones) can act like a living divider with way less heaviness than furniture.
- Coat rack or garment rack: Perfect if your studio has zero closet space. It divides and stores, which is my love language.
Small-space reality check: Avoid too many tiny vertical dividers. One strong screen or one strong plant moment works better than five skinny things fighting for attention.
Rethink the bed setup
If you’re open to changing the bed itself, you can transform how the whole studio functions. It’s not required, but it can be a game changer.
Options that feel less bed-in-the-room
- Daybed: Reads like a sofa during the day. Add oversized pillows so it feels loungey, not like you’re always one throw away from bedtime.
- Murphy bed: The ultimate space flip. It costs more, but it can give you a true living room by day. If you rent, get permission and make sure it’s properly installed into studs (or per the manufacturer’s specs). Safety first.
- Loft bed (if ceilings allow): Creates a work or lounge zone underneath. Look for guardrails, follow weight limits, and make sure you’ve got enough headroom to sit up safely. If it needs wall attachment, check with your landlord.
Styling tip: No matter what bed you have, invest in a comforter cover you love and keep it simple. Busy bedding patterns can make a studio feel visually crowded fast.
Light each zone separately
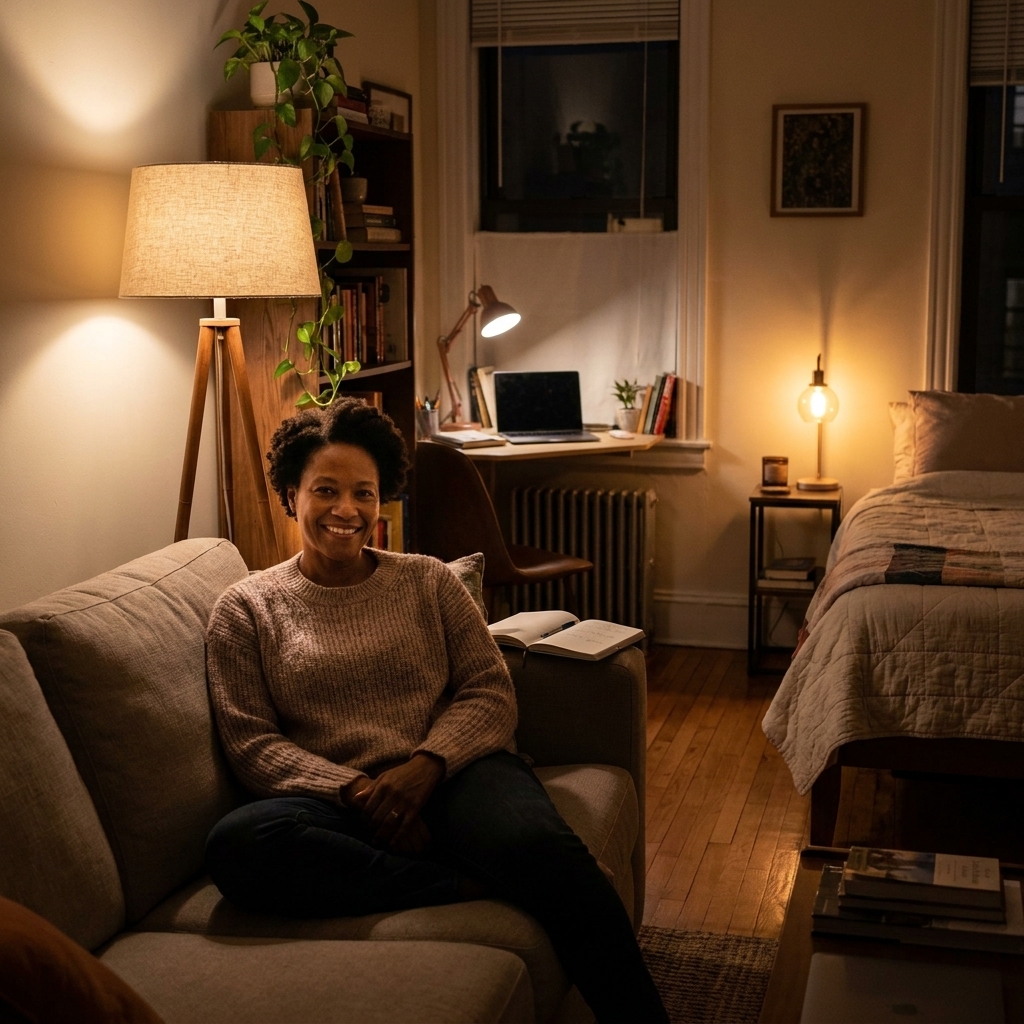
Lighting is a sneaky divider. When each zone has its own light source, your studio stops feeling like one big overhead-lit box.
A simple lighting plan
- Living zone: floor lamp or table lamp (warm bulb)
- Bed zone: wall-mounted plug-in sconce or small bedside lamp
- Work zone: task lamp with a brighter bulb
If you do nothing else, do this: turn off the overhead light and rely on 2 to 3 smaller lamps. Your studio will instantly feel more layered, calmer, and more like separate spaces.
Mix dividers for best results
The best studios rarely rely on one divider. They use two or three subtle cues together so the room still feels open.
My favorite combos
- Rug + sofa back: The easiest living room appears combo.
- Curtain + rug: Curtain hides the bed, rug defines the lounge.
- Open shelving + lighting: Shelving divides, lighting sells the illusion of separate rooms.
- Screen + plant: Screen gives privacy, plant softens the edge.
As a rule, if your divider blocks light, choose something else in the room that adds light back in. A mirror, a lighter rug, or airy curtains can keep things balanced.
Quick layout notes
- Long-and-narrow studios: Think in a straight line. Use a runner to create a clear path, then place the lounge on one side of that path and the sleep zone on the other.
- Alcove studios: Treat the alcove like a built-in bedroom. Curtains or a tension rod are perfect here, and the rest of the room can fully commit to living and dining.
- L-shaped studios: Lean into the corner. Put the bed or desk in the short leg of the L so it naturally reads as its own zone.
- Railroad-style layouts: Keep the middle corridor open. Use low or open dividers that don’t choke the path from front to back.
Common mistakes
- Mistake: Pushing everything against the walls.
Do instead: Float one key piece (usually the sofa) to create a natural boundary and better flow. - Mistake: Choosing a divider that’s too solid.
Do instead: Use open shelving, slatted screens, or curtains so light can move through the space. - Mistake: Creating zones you have to squeeze through.
Do instead: Protect the main walkway first, then place dividers around it. - Mistake: Trying to hide everything.
Do instead: Hide the truly messy stuff in closed storage, and style the rest. A studio needs visual simplicity, not total invisibility.
Quick FAQ
What’s the cheapest way to divide a studio?
A rug plus strategic furniture placement, especially turning the sofa to face away from the bed. If you need privacy, add a tension rod and curtain, which is usually cheaper than buying a large divider.
How do I divide a studio without blocking light?
Pick dividers that let light pass through, like open shelving, an etagere, slatted screens, or sheer curtains. Keep tall pieces away from the window side when possible.
How can I hide my bed in a studio?
Curtains are the easiest, followed by a folding screen. If you want a more permanent day-to-night switch, consider a daybed approach or a Murphy bed.
Can I use a room divider if I rent?
Yes. Rugs, screens, plants, shelving units, and furniture placement are fully renter-friendly. For curtains, use tension rods or get landlord approval for ceiling tracks and any wall or ceiling anchors.
Final pep talk
Dividing a studio isn’t about pretending you live in a two-bedroom. It’s about making your one room feel like it has purpose and rhythm, so your brain can rest. Start with a rug, float one piece of furniture, and let your layout do the heavy lifting. Once your zones are clear, the whole place feels bigger, calmer, and more like you.