
Storage, lighting, and decor ideas that make a corridor-style kitchen feel bigger and function better, without a renovation.
Space Ovo
Tiny Rental Kitchen Updates That Won’t Cost Your Deposit
Upgrade a cramped rental kitchen without risking your security deposit. Learn how to add a peel-and-stick backsplash, swap hardware safely, and build vertical storage that works in tiny spaces.

Maya Brooks
Maya Brooks is an interior stylist and layout enthusiast who believes square footage should never dictate your home's style. After a decade of navigating cramped city studios, she shares practical, renter-friendly decorating and storage solutions to help others maximize their tiny spaces.
Created October 17, 2026
Updated October 17, 2026
If you have ever stood in a rental kitchen so small you can open either the oven or the fridge, but not both at the same time, hi. I have lived there. The good news is you can make a tiny rental kitchen feel fresher, brighter, and way more functional with upgrades that are typically reversible and easy to undo at move-out.
The trick is simple: every upgrade needs to be reversible, repairable, and easy to remove when you move out. Below are my go-to, deposit-safe updates, with the exact order I like to do them in.
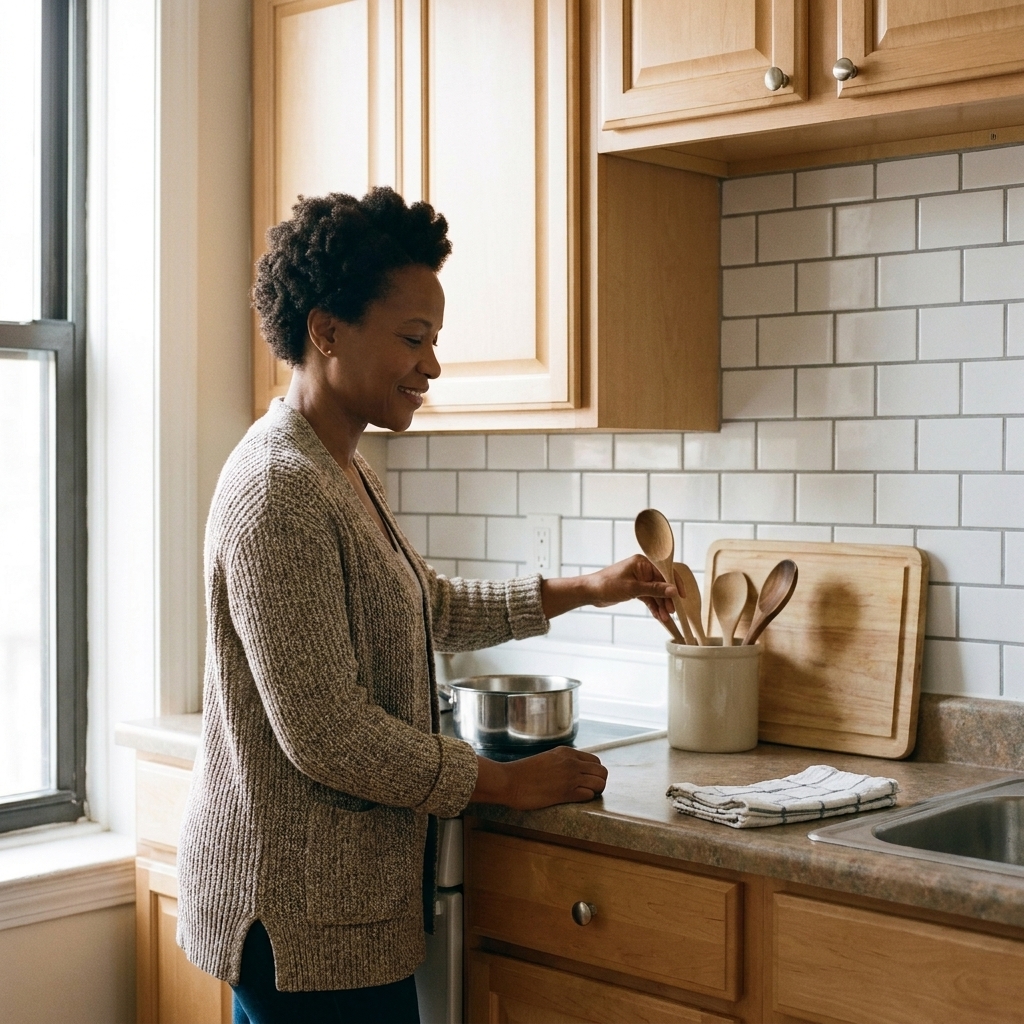
Before you start: the 15-minute deposit-saver checklist
Do this once and you will thank yourself later.
- Read your lease for rules on painting, drilling, and fixture changes. Some rentals allow small nail holes, some do not.
- Take quick photos of your kitchen as-is, especially the backsplash area, cabinet fronts, and any existing damage.
- Choose “removable first” products: removable wallpaper, Command-style adhesive strips, tension rods, and freestanding storage.
- Test in a hidden spot before committing: inside a cabinet, behind the fridge, or under an upper cabinet lip.
- Save every original part in a labeled bag: knobs, pulls, screws, outlet covers, and even shelf pins if you swap them.
Step 1: Add a peel-and-stick backsplash that stays put
A backsplash gives you the biggest visual payoff for the least commitment, which is why I start here. It makes even a dated kitchen feel intentional and “designed,” and it protects the wall behind your sink or stove from splatters.
One important renter reality check: peel-and-stick products often come off cleanly, but not always. Paint condition, wall texture, and the specific adhesive matter. Test first, and assume you might do a little patching if your wall paint is fragile.
Pick the right peel-and-stick
- For smooth walls: peel-and-stick vinyl tiles or sheets usually adhere well, but removal can vary based on paint and prep.
- For lightly textured walls: look for flexible sheets (not rigid thick tiles) and expect to use extra smoothing.
- For high-heat zones: only use products that are specifically heat-rated for kitchens, and follow the manufacturer’s clearance guidance. Many adhesives are not a great idea near open flame or sustained high heat, so when in doubt, keep peel-and-stick to the sink and prep areas.
Tools you will want (nothing fancy)
- Rubbing alcohol or a degreasing cleaner
- Microfiber cloth
- Measuring tape
- Level (or a level app)
- Utility knife with fresh blade
- Plastic smoothing tool or an old gift card
- Painters tape
Install, step by step
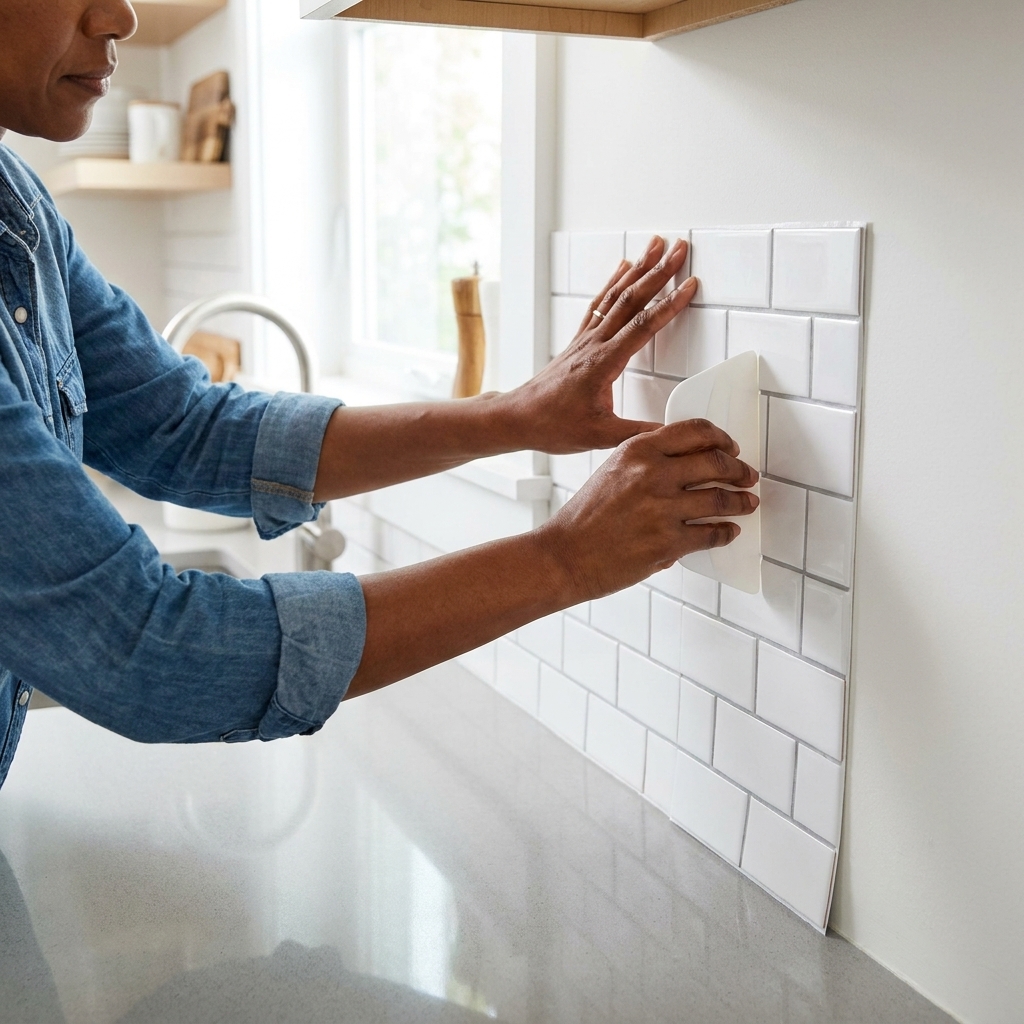
- Deep-clean the wall. Kitchens have invisible grease. Wipe the area with a degreaser, then do a final pass with rubbing alcohol. Let it dry fully.
- Plan your layout. Start from the most visible spot, usually the section above the counter that you see first when you walk in. Dry-fit pieces with painters tape.
- Mark a level baseline. Counters are often not perfectly level. Use a level to draw a light guideline so your first row looks straight.
- Peel slowly, stick slowly. Peel a few inches of backing at a time. Smooth as you go to prevent bubbles.
- Cut around outlets neatly. If you are removing outlet covers, turn off power at the breaker first. If you are not comfortable doing that, skip cover removal and cut carefully around the plate instead.
- Seal edges with pressure. Run your smoothing tool firmly along seams and edges so they do not curl.
If your wall paint feels fragile or chalky, keep adhesive off the wall by applying the backsplash to a thin removable backing first, like a cut-to-size panel mounted with heavy-duty removable strips. It is one extra step, but it can save you a lot of patching later.
Step 2: Swap cabinet hardware without leaving a trace
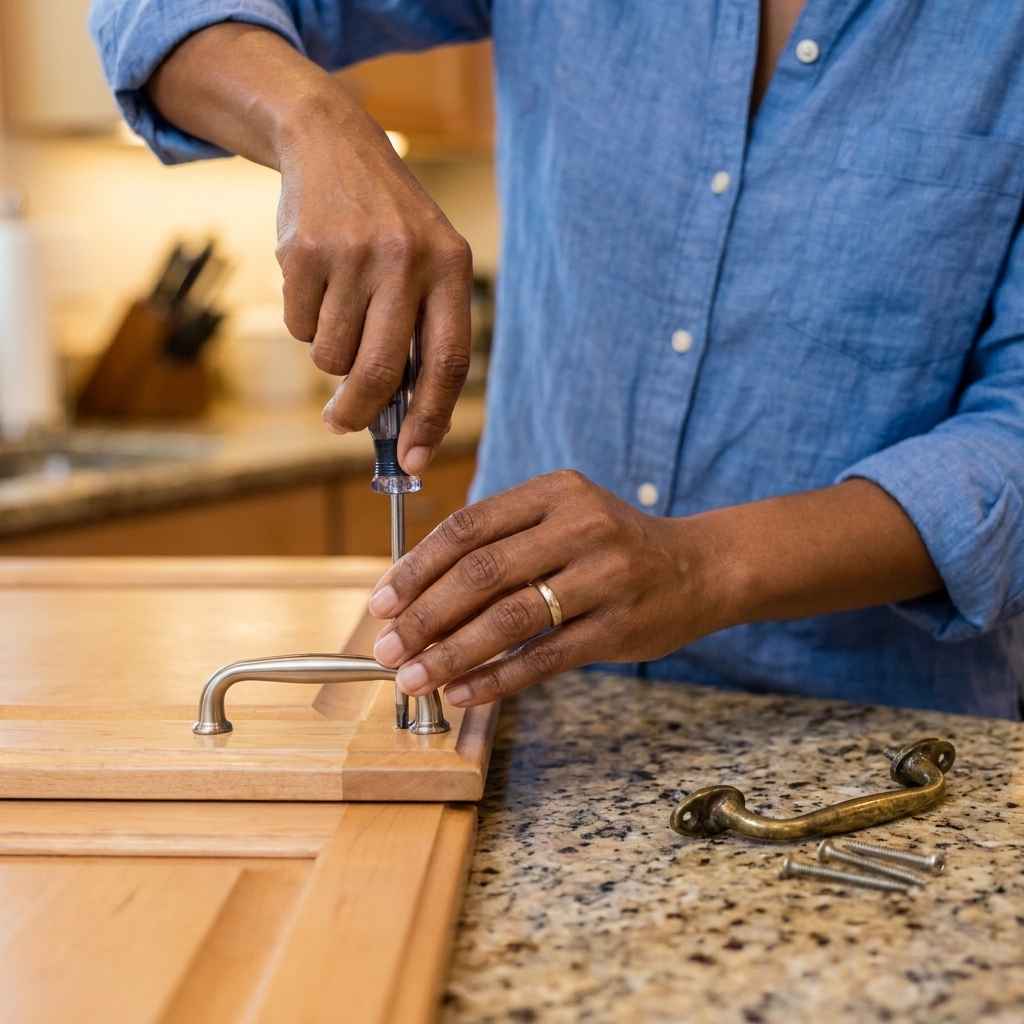
Old hardware can make cabinets look tired even when they are structurally fine. Replacing knobs and pulls is one of the most deposit-safe upgrades, as long as you use the existing holes.
How to choose hardware that fits
- Measure the center-to-center distance for pulls (the distance between screw holes). Match it exactly.
- For knobs, measure the existing screw length and thickness. Most are standard, but not all.
- Choose a finish that plays nice with what you cannot change: appliance color, faucet finish, countertop tone.
Swap safely
- Remove one piece first and bring it with you to the store, or use it as your ordering reference.
- Install one new pull as a test. Make sure screws are the right length. If screws are too long, do not force them. Get shorter screws.
- Hand-tighten only. Over-tightening can crack older cabinet doors or strip particleboard.
- Bag and label originals. I use one zip bag per cabinet run, then stash them in a moving box labeled “Kitchen Originals.”
If your cabinets have mismatched holes from previous tenants, you have two renter-friendly options: choose hardware with a backplate that covers old marks, or stick to knobs that hide small imperfections.
Step 3: Max out vertical storage
In small kitchens, the issue is rarely “not enough stuff,” it is “not enough places to put it.” Vertical storage is how you get your counters back and stop playing cabinet Jenga every time you need a skillet.
Option A: Peel-and-stick or Command rails
For renters who cannot drill, adhesive rails can hold lightweight essentials.
- Mount a small rail near the stove for a spatula, tongs, and a mini oven mitt.
- Add hooks inside cabinet doors for measuring spoons or pot lids (if the door still closes).
- Keep weight realistic. Adhesives are great for tools, not your cast-iron collection.
Option B: Tension rods
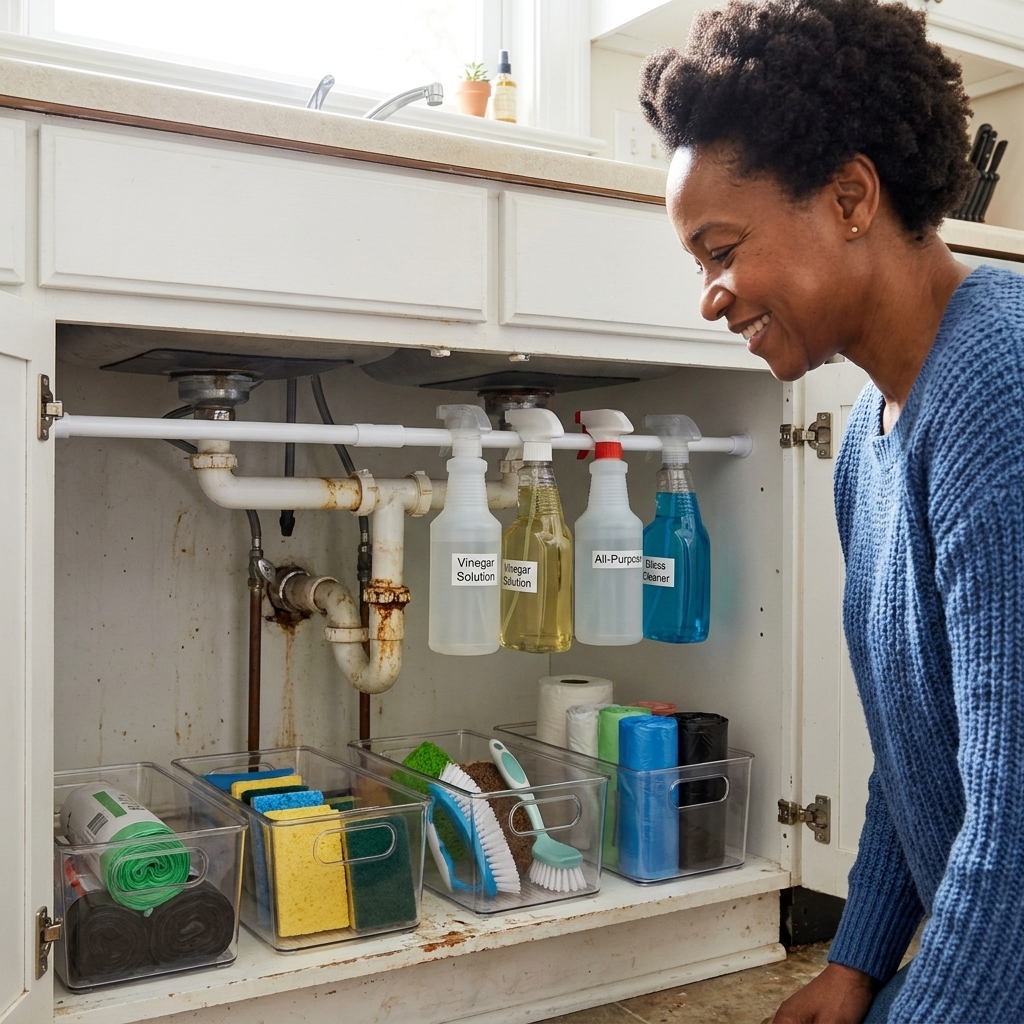
- Under the sink: add a tension rod across the cabinet to hang spray bottles by their triggers.
- Inside a cabinet: use a rod to create a divider for cutting boards and baking sheets.
- Above the sink: if your layout allows, a tension shelf can create a spot for sponges and dish soap without stealing counter space.
Option C: Over-the-door and over-the-cabinet add-ons
- Over-cabinet paper towel holder
- Over-cabinet trash bag dispenser
- Over-the-door pantry rack for spices and small jars
Just measure first. In tiny kitchens, an over-cabinet hook that sticks out even one inch can become a hip bruise generator. Ask me how I know.
Step 4: Make the inside of cabinets work
This is the unsexy step that changes everything. If you cannot add square footage, you can at least stop wasting the space you already have.
- Shelf risers: double your plate or mug space without drilling anything.
- Lazy Susans: best for oils, sauces, vitamins, and the miscellaneous “why do I own three mustards?” category.
- Clear bins: corral snacks, baking supplies, or cleaning backups so you can pull a whole category out at once.
- Drawer organizers: a cheap fix for the utensil drawer that tries to eat your measuring spoons.
Step 5: Create micro zones
When a kitchen is cramped, your goal is to reduce visual and physical clutter. I like to set up tiny zones, each with a container and a purpose.
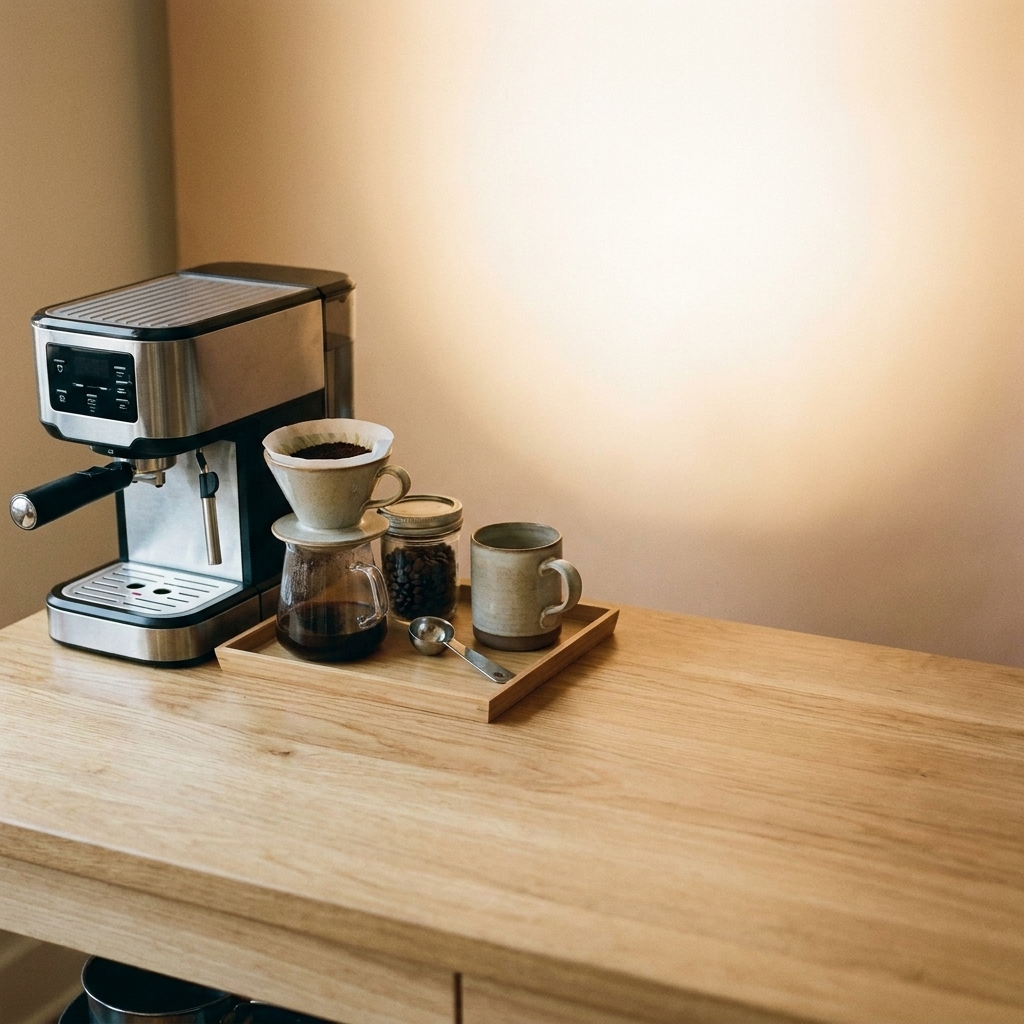
- Coffee zone: tray with your mug, coffee, and sweetener. Everything else goes away.
- Cooking zone: one utensil crock, one oil bottle, one salt cellar. Not twelve things “just in case.”
- Dish zone: a slim drying rack or roll-up rack that can be stored when not in use.
This is also where a small rug or washable runner shines. It visually anchors the space and makes it feel finished, while also protecting rental floors. Look for low-pile styles that do not catch cabinet doors.
One more renter-safe detail: choose a non-slip rug pad labeled safe for your floor type. Some rubber or latex backings can discolor vinyl or certain finishes over time, especially in sunny spots or humid kitchens.
Step 6: Easy lighting upgrades
Bad lighting makes small kitchens feel like caves. You do not need to rewire anything to fix it.
- Battery under-cabinet lights: choose warm-white and mount with removable strips. Aim them toward the backsplash for a soft glow.
- Plug-in puck lights: great if you have an outlet you can hide behind a microwave or shelf.
- Swap bulbs (if allowed): if you have access to the ceiling fixture and it uses standard bulbs, a brighter warm bulb can change everything. Keep the old bulb to swap back at move-out.
Bonus: Small water upgrades
If your lease allows it (or management is fine with it in writing), a couple of tiny swaps can make your sink feel less sad without turning into a plumbing project.
- Faucet aerator: many unscrew by hand or with a simple tool, and replacements are inexpensive. Keep the original to reinstall later.
- Clip-on or add-on sprayer: only if it fits your faucet type and you can remove it cleanly at move-out.
What to avoid if you want your deposit back
- Contact paper on countertops unless you are very confident about removal. It can leave adhesive or pull finish, especially on laminate with worn seams.
- Permanent backsplash tile or anything that requires grout, thinset, or drilling into tile.
- “Just one small coat of paint” without written permission. Kitchens are high-scrutiny on move-out inspections.
- Overloading adhesives with heavy racks, knife strips, or large shelves.
Move-out plan: remove everything cleanly
I am a big believer in doing a mini move-out test before you are actually moving out, mainly so you do not end up scraping adhesive at 1 a.m.
Peel-and-stick backsplash removal
- Warm it up: use a hair dryer on low to soften adhesive.
- Peel slowly at a low angle rather than pulling straight out from the wall.
- Remove residue gently: try warm soapy water first, then a small amount of adhesive remover on a cloth. Test in an invisible spot.
Hardware swap reversal
- Reinstall original hardware using the labeled bags.
- Wipe cabinet fronts to remove fingerprints and any shadowing around new pulls.
Patch and touch-up (only if needed and permitted)
If you used any small screws (with permission), fill holes with lightweight spackle, sand lightly, and touch up with a closely matched paint. If you do not have the original wall paint, ask management if they have the paint name or code on file. If they do not, match using a small wall paint sample only if your lease allows it. Save the cabinet door trick for matching cabinet paint or finish, not wall color.
Quick shopping list
- Peel-and-stick backsplash tiles or sheets (heat-rated if needed)
- Painters tape, level, utility knife
- Cabinet knobs or pulls (matching existing hole spacing)
- Removable adhesive strips or hooks
- Tension rods (one for under-sink, one for inside-cabinet if needed)
- Over-cabinet hooks or slim rack
- Battery under-cabinet lights
- Trays and bins for zones
- Shelf risers, lazy Susans, and drawer organizers
- Floor-safe non-slip rug pad
FAQ
Will peel-and-stick backsplash damage paint?
It can, especially on older, matte, or poorly prepped paint. The best defense is cleaning thoroughly, testing a small area first, and removing with gentle heat and slow peeling. If your paint already chips easily, consider mounting the backsplash on a removable panel attached with removable strips.
Can I change my faucet in a rental?
Sometimes, but get written permission. If you do swap it, keep the original faucet and parts, and make sure you know how to reinstall it. For most renters, you will get more impact from hardware, lighting, and storage with less risk.
What is the number one change for a tiny kitchen?
Vertical storage. Clearing even one section of counter makes the whole kitchen feel bigger because you regain prep space and visual calm.