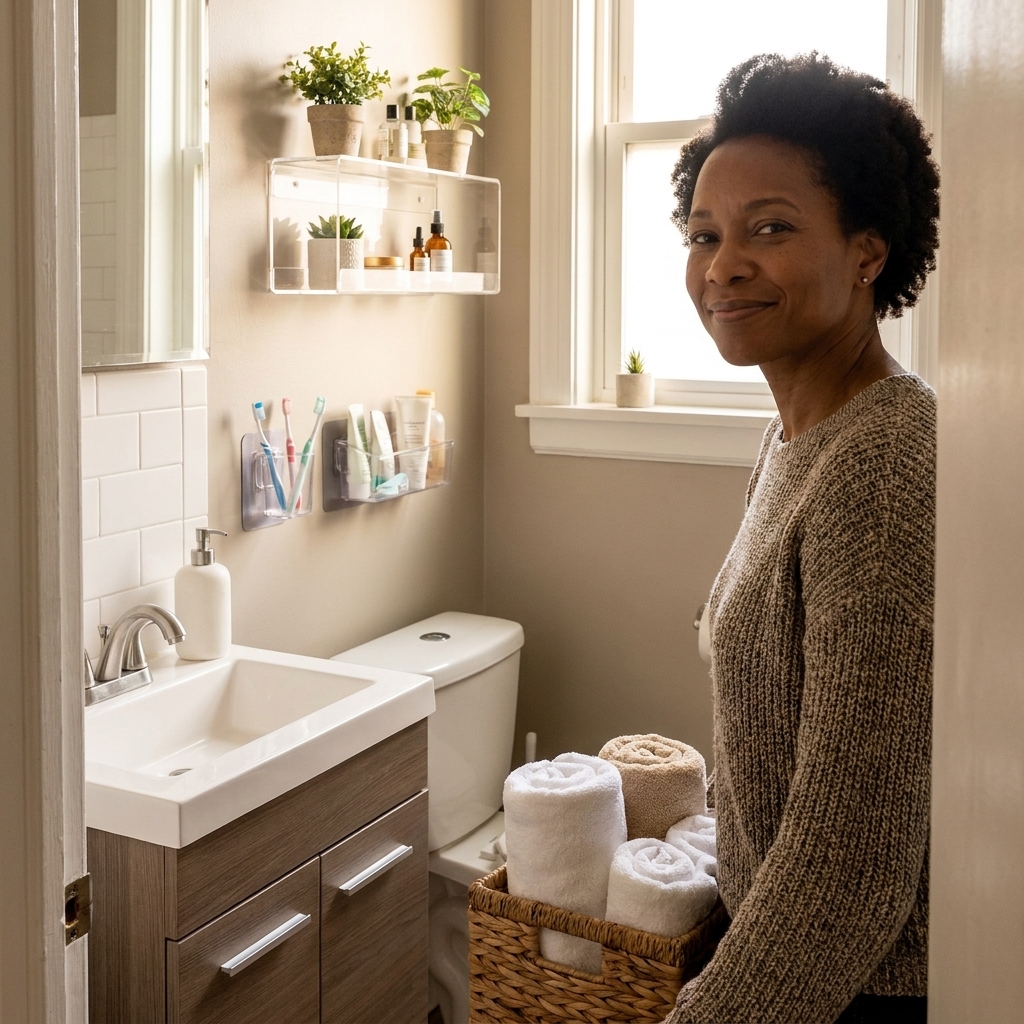
From tension rods to adhesive shelves, these no-drill storage ideas help you organize toiletries, towels, and cleaning supplies without upsetting your landlord.
Space Ovo
Peel-and-Stick Bathroom Upgrades That Actually Feel Bigger
Give your rental bathroom a glow-up without losing your deposit. Learn how to use removable wallpaper, tile decals, and simple shelf styling to brighten, streamline, and visually expand a tiny bath.

Maya Brooks
Maya Brooks is an interior stylist and layout enthusiast who believes square footage should never dictate your home's style. After a decade of navigating cramped city studios, she shares practical, renter-friendly decorating and storage solutions to help others maximize their tiny spaces.
Created October 17, 2026
Updated October 17, 2026
If you have ever stood in your rental bathroom and thought, “Why does this room feel like it is closing in on me?” you are not alone. Tiny bathrooms tend to come with the same greatest hits: dingy tile, builder-grade vanity lights, and zero personality. The good news is you can change the vibe dramatically without changing anything permanently.
These are my go-to renter-friendly visual hacks for making a small bathroom feel brighter, taller, and more intentional using peel-and-stick wallpaper, floor tile decals, and strategic shelf styling. I have used every trick below in apartments where the bathroom door practically kissed the toilet.
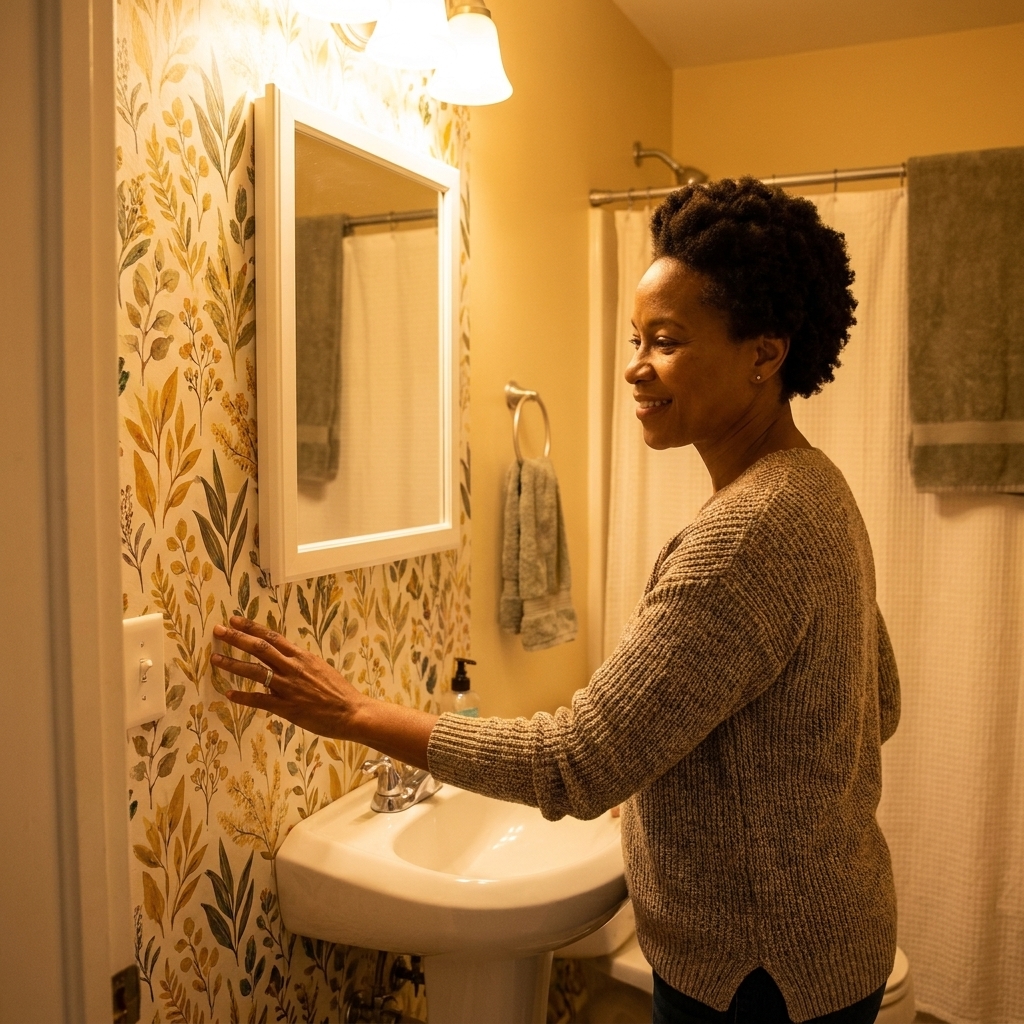
Before you start: a 10-minute bathroom audit
Small bathrooms do not need more stuff. They need less visual noise. Before you buy anything, do this quick scan so your upgrades actually make the space feel bigger.
- Take everything off counters. If it does not need to live by the sink daily, move it out.
- Look for the “largest uninterrupted surface.” That is your best candidate for wallpaper or a decal moment. Usually it is the wall behind the toilet or the wall opposite the door.
- Notice your “hard lines.” Grout lines, busy tile patterns, and cluttered shelves chop the room up visually. Your goal is to simplify those lines or make them feel intentional.
- Check moisture zones. Inside the shower gets constant direct water. Many removable products hold up best outside the direct spray zone, but results vary a lot by brand, surface finish, humidity, and what the manufacturer says is safe for bathrooms.
Deposit-saving habit: Take a few quick “before” photos (walls, floor, fixtures) and keep leftover decals and wallpaper scraps. Future you will be grateful at move-out.
Hack 1: Removable wallpaper that expands the room
Wallpaper sounds like a bold move in a small bathroom, but done right it is a cheat code. It gives you a focal point so the room reads as “designed,” and the right pattern can visually stretch walls.
Where to put it (best spots for renters)
- Behind the toilet: High impact, low commitment, and usually a smaller area so you spend less.
- Above chair rail or tile wainscoting: Keeps the bottom half wipeable and makes the room feel taller.
- On the door: Yes, really. If your bathroom has awkward wall breaks, the back of the door can be the cleanest canvas.
Patterns that make a small bathroom feel bigger
- Small-scale prints: Think tight botanicals, subtle speckles, micro-stripes. Large motifs can feel like they are crowding you.
- Vertical movement: Pinstripes, climbing vines, or anything that draws the eye upward.
- Low-contrast color: A pattern that is close in tone to the background looks calmer and more expansive.
My renter-proof wallpaper method (that saves your paint)
I am a big fan of protecting the wall first, especially if your landlord used flat paint that scuffs when you look at it wrong. That said, peel-and-stick is picky about surfaces, so a little prep goes a long way.
- Check the wall surface: Peel-and-stick sticks best to smooth, clean, fully cured paint. Orange-peel texture and very matte paint can cause lifting.
- Don’t wallpaper fresh paint: If the bathroom was recently repainted, give it time to cure first. Many paint brands recommend waiting a few weeks before applying adhesives.
- Clean the wall: Warm water + a drop of dish soap. Dry completely. Any residue makes corners lift.
- Test first: Stick a sample in a hidden spot for 48 hours. Remove slowly to check for paint pull.
- Optional “buffer layer,” test-first: If your paint feels fragile, you can try a painter’s tape grid only where edges or seams will land, then apply wallpaper over it. This can reduce risk on some walls, but it can also reduce adhesion, create slight ridges under thinner papers, and tape adhesive can still pull paint. Test a small patch before committing.
- Go slow with smoothing: Use a plastic smoother or an old credit card wrapped in a microfiber cloth to avoid scratches.
- Trim cleanly: Sharp utility blade, new blade segment often. Dull blades snag and create jagged edges.
Tiny-space pro tip: If your bathroom has a busy countertop (hello, speckled granite), choose wallpaper with a calmer background so the room does not feel like competing patterns.
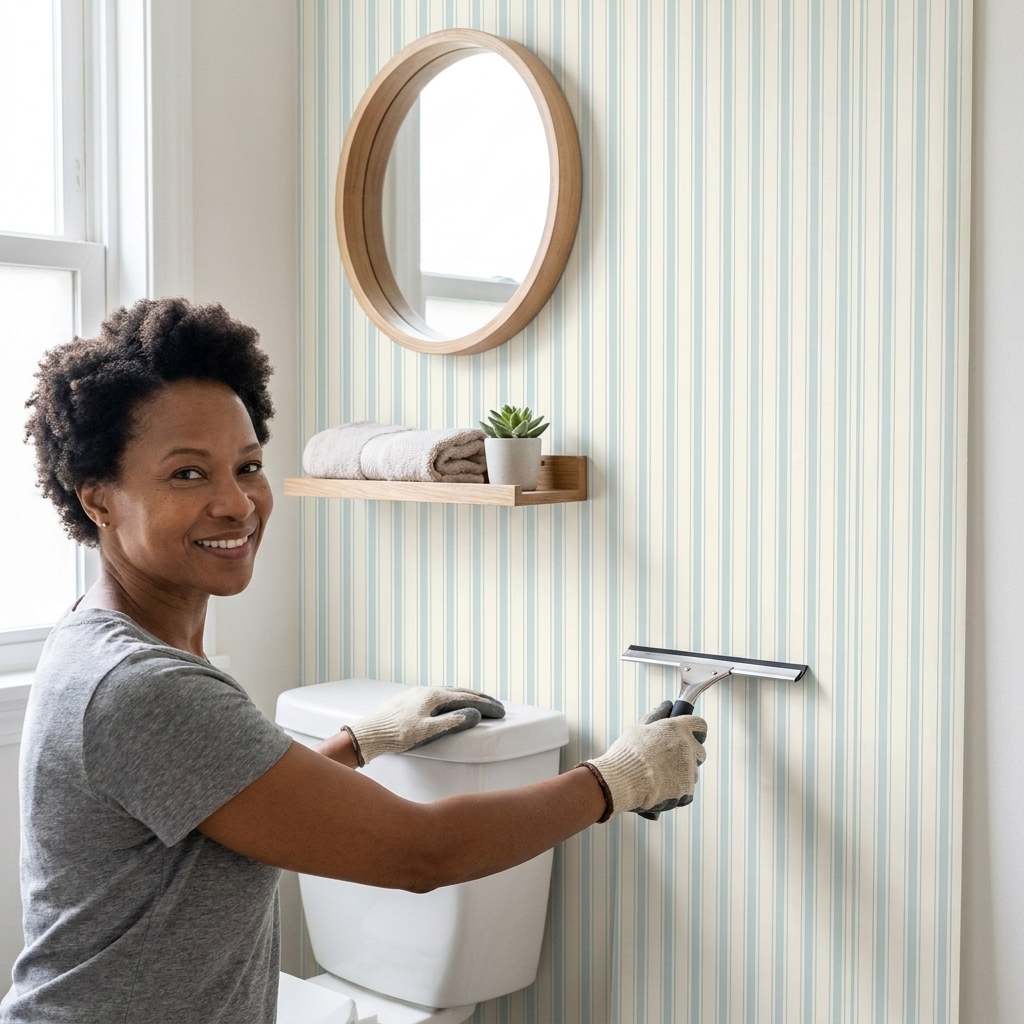
Hack 2: Floor tile decals that modernize without demo
If your rental bathroom floor tile is giving early-2000s beige despair, peel-and-stick floor decals can be shockingly transformative. They basically act like a visual filter: suddenly the whole room feels cleaner and more current.
Reality check (still worth it): Floor decals are usually best as a temporary glow-up, not a forever solution, especially in high-moisture bathrooms. Choose waterproof, floor-rated vinyl, avoid using them inside a shower floor, and expect to replace them sooner if your bathroom stays humid or sees a lot of traffic.
Choose decals that simplify the grid
Tile already creates lines. In a small bathroom, too many lines can make the floor feel like a tiny checkerboard. I like these options:
- Large-format decal sets: Fewer seams, calmer look.
- Concrete-look or stone-look neutrals: Minimal contrast, maximum “bigger room” energy.
- Classic patterns in soft contrast: A faded encaustic look can add charm without screaming.
Measure like a Tetris master
Before you order:
- Measure the floor area and add 10 to 15 percent for waste and tricky cuts.
- Count how many cuts you will need around the toilet base and vanity. More cuts means you want extra decals.
- Decide your layout: starting at the farthest visible corner usually gives the cleanest first impression.
Install steps that make them last longer
- Deep clean: Degrease the floor. Let it dry fully. Decals hate moisture trapped underneath.
- Dry fit first: Lay a few tiles without peeling the backing so you can see where seams will land.
- Cut neatly: Use a metal ruler and sharp blade for straight cuts, and small snips for curves around pipes.
- Press the edges: Spend extra time burnishing seams so water cannot creep in.
- Keep seams happy: Wipe up puddles quickly, especially around the tub and sink. Seams are usually the first place lifting starts.
- Wait before mopping: Give it 24 hours if you can, so the adhesive sets.
Safety note: Look for products explicitly made for floors and wet areas, and a matte or textured finish if slip is a concern. Do not cover heat vents, and do not leave raised edges that could catch a toe. If you want extra traction, use a washable runner outside the splash zone.
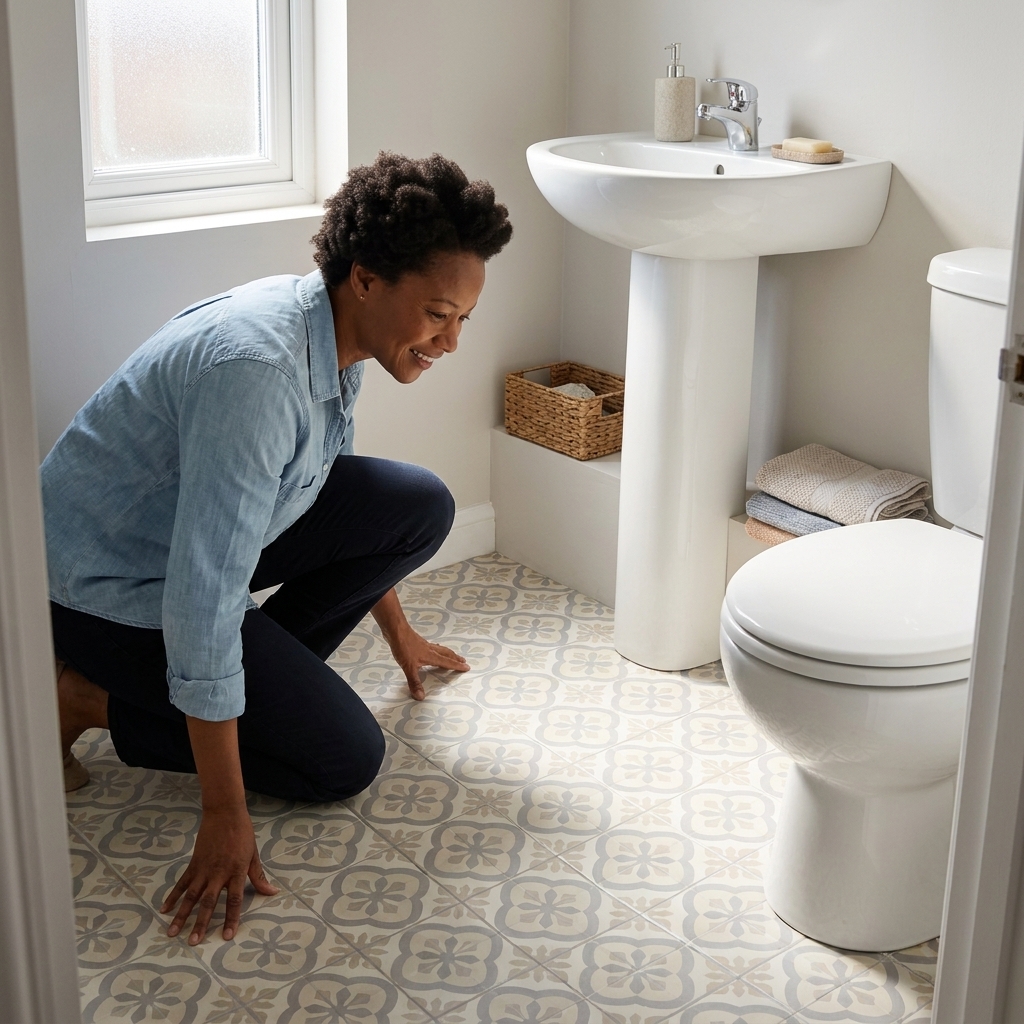
Hack 3: Strategic shelf styling that looks intentional
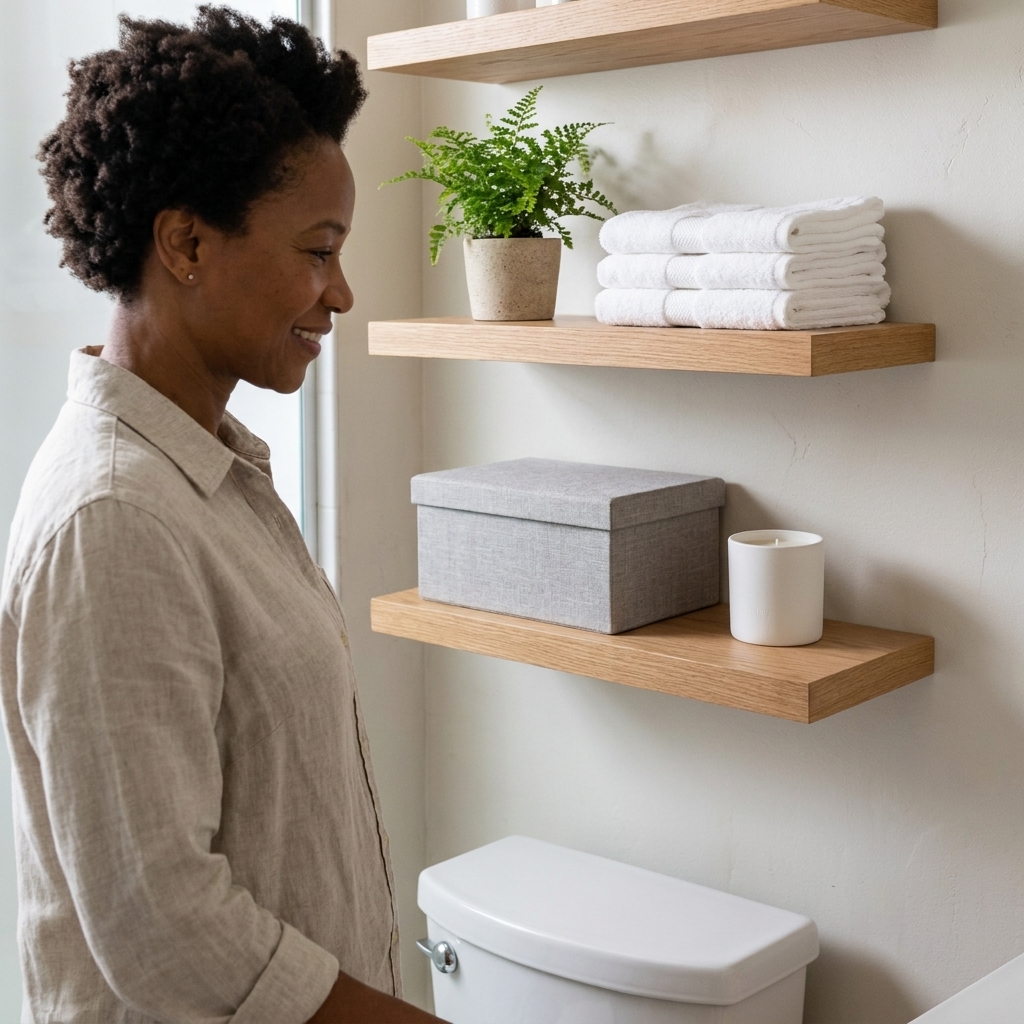
The fastest way to make a small bathroom feel smaller is open storage that looks like storage. The fix is not necessarily fewer shelves. It is styling shelves so they read as decor first, function second.
Pick a simple shelf formula
I use a repeatable formula that keeps things calm:
- 1 tall thing: a vase, a lidded canister, or a vertical stack of neatly rolled towels
- 1 medium thing: a candle, diffuser, or small plant (faux is allowed, we are busy)
- 1 small thing: a dish for rings, a mini jar of cotton swabs, or a small frame
- 1 hidden thing: a matching bin or lidded box for backups
Contain the chaos (matching containers are a visual hack)
When bottles and labels multiply, your brain reads “mess,” even if the shelf is technically organized. Decant what you can and unify what you cannot.
- Use two identical bins instead of three random baskets.
- Choose one metal finish for accessories on the shelf (all black, all brass, all chrome).
- Keep labels facing the same direction if you do leave products out.
Small bathroom rule: keep the negative space
Leave at least 20 to 30 percent of a shelf empty. That breathing room is what makes the whole room feel less cramped.
Bonus visual tricks
Swap one thing that affects everything: lighting
If your bathroom lighting is harsh and cool, even the prettiest wallpaper will look sad. If your lease allows a fixture swap, keep the original and reinstall later. If you are swapping a hardwired fixture, get permission if required and turn off the breaker before you touch anything.
If you cannot swap the fixture, try:
- Brighter bulbs (higher lumens) in a soft warm white so the room feels inviting, not yellow or icy (many people like the 2700K to 3000K range)
- Plug-in sconces near the mirror if you have an outlet and can hide the cord
- A rechargeable picture light above a mirror for glow without wiring
Upgrade the mirror for instant expansion
A larger mirror bounces more light and can make the space feel bigger and brighter. If you cannot replace it, add a renter-friendly frame kit or use peel-and-stick trim to create a thicker border that feels more substantial.
Choose a shower curtain that lifts the ceiling
- Hang the rod higher and wider if possible.
- Pick a curtain with vertical texture or subtle stripes.
- Keep it light in color to avoid closing the room in.
Putting it together: 3 simple bathroom recipes
If decision fatigue hits hard, steal one of these combinations.
Clean and airy
- Wallpaper: soft white-on-cream micro pattern behind the toilet
- Floor decals: light stone look
- Shelves: white towels, clear canisters, one green plant
Moody but not tiny
- Wallpaper: charcoal with a subtle thin line pattern (low contrast)
- Floor decals: warm gray concrete
- Shelves: black containers, amber glass, one brass accent
Vintage charm, renter-friendly
- Wallpaper: small floral or toile on one wall only
- Floor decals: soft encaustic-inspired pattern with faded tones
- Shelves: woven lidded boxes, rolled towels, a framed print
Removal and maintenance
How to remove peel-and-stick wallpaper
- Start at a corner and pull low and slow, keeping it close to the wall.
- If it resists, warm the area gently with a hair dryer to soften adhesive.
- Wipe any residue with warm soapy water. For stubborn spots, a small amount of rubbing alcohol on a cloth usually helps. Test in an inconspicuous area first.
How to keep floor decals looking good
- Use a soft mop, avoid abrasive scrubbers on seams.
- Wipe up puddles quickly, especially around the tub and sink.
- If an edge lifts, press it back down firmly. If needed, use a tiny amount of double-sided tape designed for flooring, but only if you are confident it will not leave residue.
Quick FAQ
Will peel-and-stick wallpaper survive a bathroom?
Usually, yes, especially outside the direct shower spray zone. Ventilation matters, and so does your wall finish. Run your fan during showers and for 20 to 30 minutes after, crack the door when you can, and follow the manufacturer notes for moisture resistance and cleanability.
Can I put decals over textured tile?
Smooth surfaces are best. Heavy texture or deep grout lines can cause lifting. If your tile has a light texture, burnishing edges and keeping the floor dry helps. If it is very bumpy, decals may look uneven and wear faster.
What if I only have one tiny wall?
Do the door, the vanity side panel, or even the back wall of an open shelf unit. In small spaces, a micro accent still reads as design.
How long do floor decals last in a bathroom?
It depends on moisture, cleaning habits, and how much foot traffic you get. In a low-drama bathroom, they can look good for a while. In a steamy, busy bathroom, expect a shorter run, especially at seams and edges. Buy an extra set or two so you can patch high-wear spots.
The tiny-bathroom mindset shift
You do not need a full renovation to love your bathroom. The goal is to reduce visual chaos and add one or two intentional moments that make the room feel cared for. A strip of wallpaper, a refreshed floor, and shelves that look calm can turn “rental blah” into “this is my little sanctuary,” even if it is 35 square feet.
If you try one of these upgrades, measure twice, smooth slowly, and remember: in a small bathroom, editing is just as powerful as decorating.