A practical, renter-friendly breakdown of galley vs. single-wall kitchens, plus the best layout tweaks and organizing moves to get more prep space without re...
Space Ovo
Maximizing a Galley Kitchen
Make your narrow galley kitchen feel brighter and work harder with vertical storage, slim prep zones, lighting upgrades, and decor tricks that keep the walkway clear.

Maya Brooks
Maya Brooks is an interior stylist and layout enthusiast who believes square footage should never dictate your home's style. After a decade of navigating cramped city studios, she shares practical, renter-friendly decorating and storage solutions to help others maximize their tiny spaces.
Created October 17, 2026
Updated October 17, 2026
Galley kitchens get a bad rap, but I will defend them forever. They are basically the studio apartment of kitchens: efficient, a little bossy about layout, and incredibly satisfying once you learn the rules. The goal is simple: keep the “runway” clear, push storage up (not out), and layer light so the whole space feels breathable.
Start with one rule
If you do nothing else, do this: protect the walkway. In a galley, your aisle is your sanity. Many kitchen planning guidelines recommend about 36 inches minimum for a clear work aisle, and plenty suggest 42 to 48 inches when there is more traffic or more than one cook. Translation: if yours is tight, you need storage that hugs the walls.
Before you buy organizers, measure these three things:
- Aisle width: If your clear walking space is under about 36 inches, stick to ultra-slim solutions only (magnetic, wall-mounted, over-door, inside-cabinet).
- Counter depth you can spare: Commit to keeping at least one stretch of counter mostly open, even if it is only 18 to 24 inches.
- Door and drawer swing zones: Make sure opposing doors do not crash. If they do, prioritize pull-out drawers on one side and doors on the other.
Quick if/then: If your aisle is tight, skip rolling carts. If your counters are always buried, prioritize a sink cover or over-the-sink board first. We are not adding bulk. We are adding brains.
Vertical storage that works
When square footage is limited, wall space becomes your best employee. The trick is choosing systems that store daily-use items without making the kitchen look like a garage.
1) Go up, on purpose
Use the highest zones for lightweight, occasional-use items. Think: serving bowls, holiday bakeware, extra paper towels. A few renter-friendly ways to claim vertical real estate:
- Tension rod shelves: A tension rod plus small hanging baskets can create a mini pantry wall without drilling.
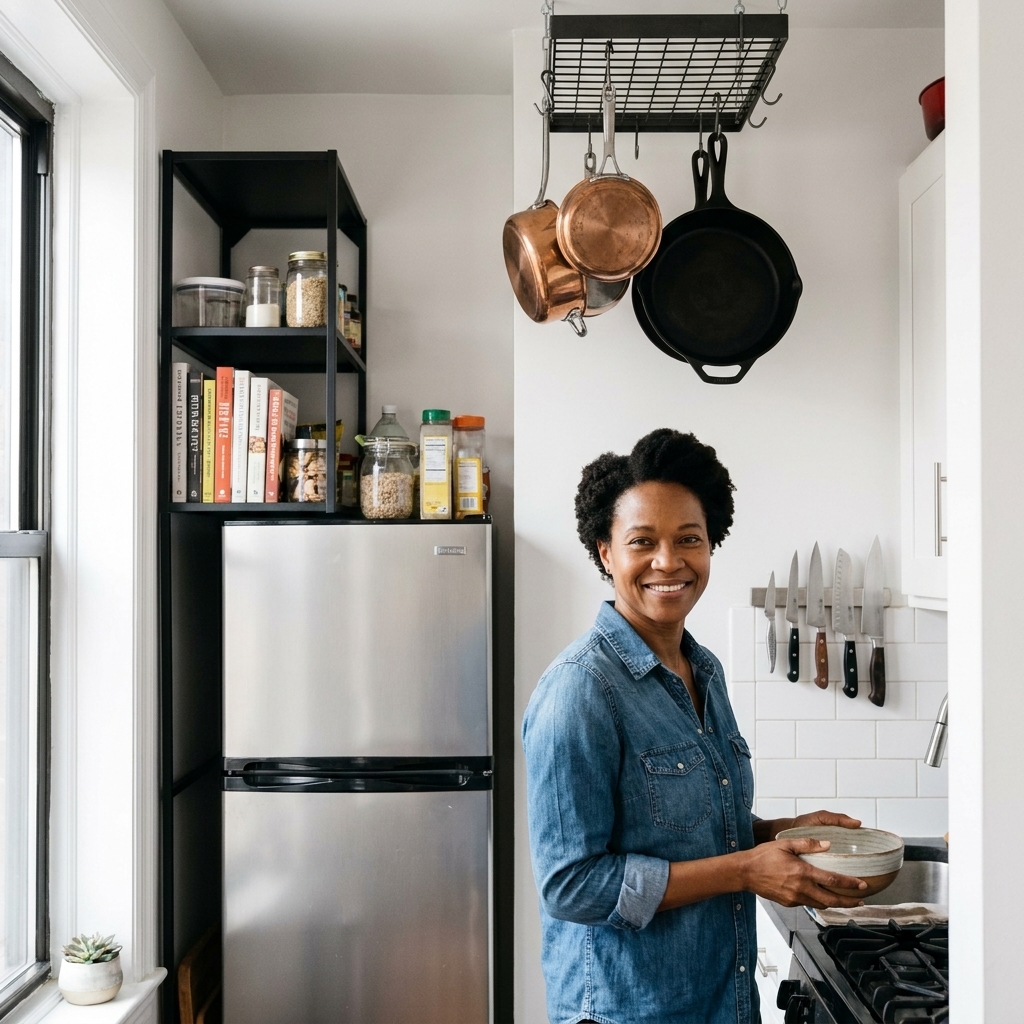
- Over-fridge risers: A sturdy shelf above the fridge can corral bulky items that otherwise crowd cabinets.
- Top-of-cabinet bins: Use matching lidded bins so visual clutter does not creep upward.
2) Add a rail for daily tools
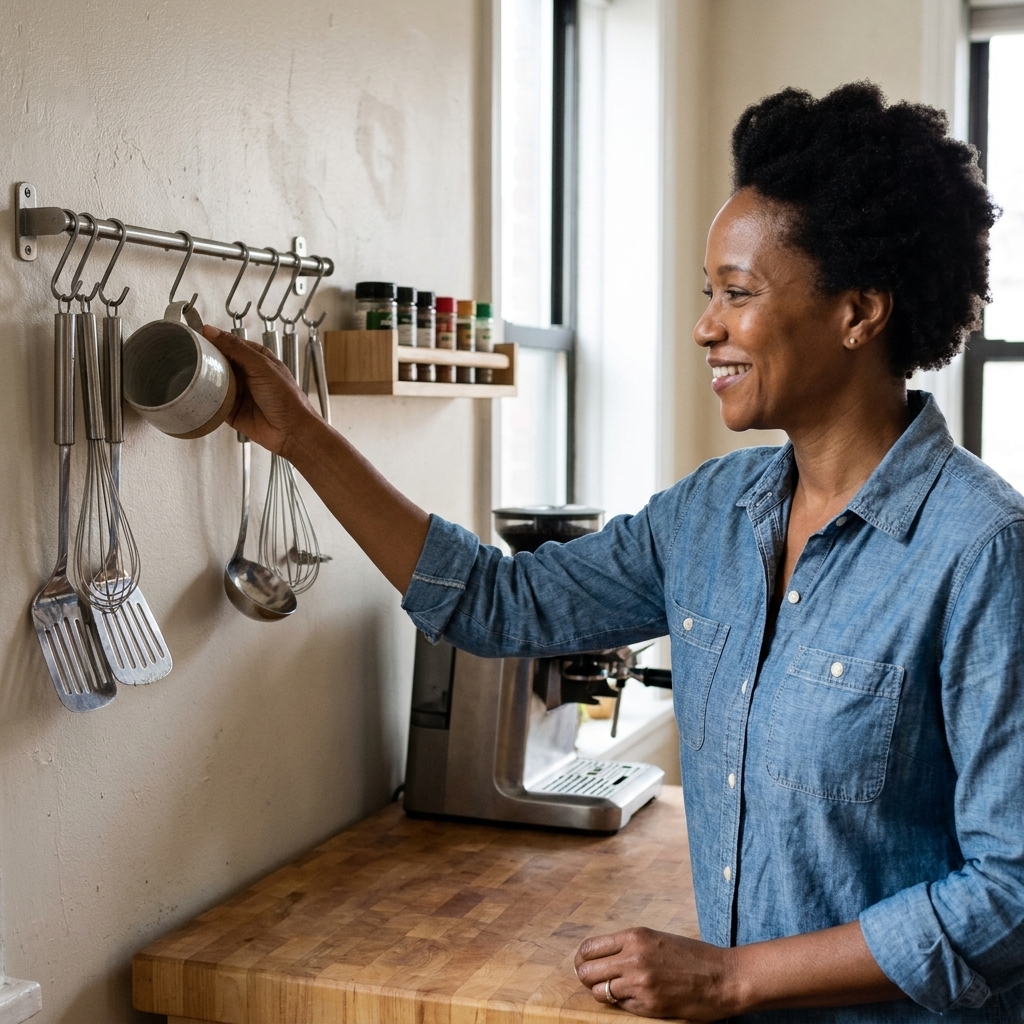
A wall rail (or a few heavy-duty removable hooks if you are truly drill-averse) is galley gold. Hang what you reach for constantly:
- measuring cups and spoons
- favorite spatula, tongs, whisk
- small colander
- mugs (if your cabinet space is precious)
Safety note: Keep anything flammable (towels, paper, oven mitts) well away from burners and do not hang heavy items over a cooktop.
Styling tip: Keep it to one metal finish across the wall zone so it reads intentional, not chaotic.
3) Use cabinet doors
This is the most ignored patch of space in a lot of rentals. Add slim organizers for:
- Cutting boards and sheet pans: a vertical rack mounted inside a lower cabinet door
- Spices: shallow racks inside an upper cabinet door, away from stove heat
- Cleaning supplies: a caddy and a few hooks for gloves and cloths
Choose adhesive or screw-in based on your lease comfort level and the weight rating. For adhesive installs, typically you will get the best hold by cleaning the surface first, but follow the product directions (some brands prefer specific cleaners or dry times). Grease film is the silent sabotager here.
4) The gap hack
If you have even a 3 to 6 inch gap beside the fridge or between cabinets, it can become storage:
- Slide-out pantry cart: perfect for oils, vinegars, and cans
- Magnetic side-of-fridge organizers: wraps, bag clips, or a paper towel holder
- Toe-kick drawers: if you are allowed a small upgrade, these are amazing for linens and flat items
Prep space for tiny counters
Galley kitchens often fail you right where you need them most: prep space. You can create “temporary counters” that appear when you need them and disappear when you do not.
1) Sink covers that pull weight
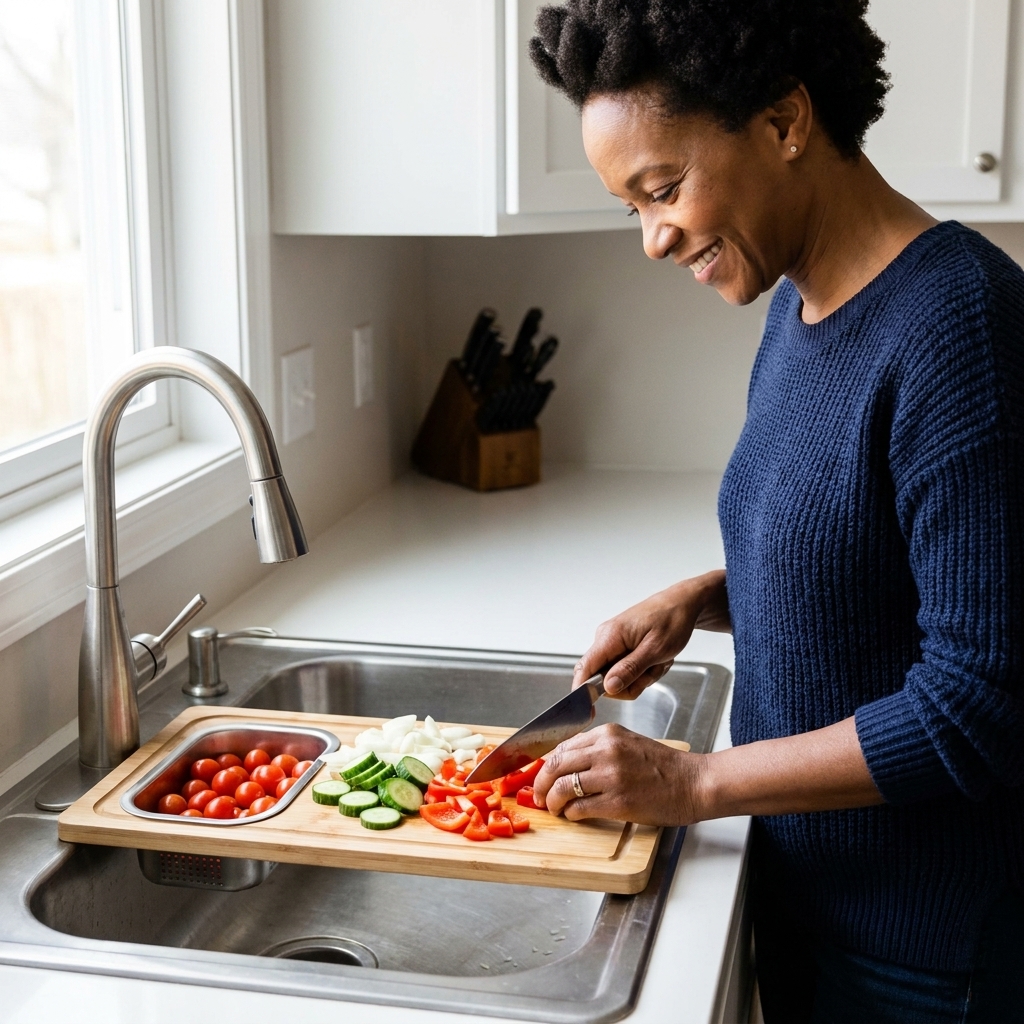
A fitted sink cover (wood, bamboo, or composite) instantly creates a prep landing zone. Look for one with rubber feet so it does not skate around. Bonus points if it doubles as a serving board.
2) Over-the-sink cutting boards
These are not a gimmick when you are working with 12 inches of usable counter. Choose one with a colander insert if you cook a lot. Just measure your sink lip carefully before ordering.
3) A slim cart, if you have room
A narrow cart (ideally 10 to 14 inches deep) can live against a wall and roll into prep position when needed. My favorite setup is:
- Top: clear prep surface (keep it mostly empty)
- Middle: mixing bowls, measuring tools, everyday pantry items
- Bottom: small appliances you hate hauling out (blender, rice cooker)
If/then: If your aisle is under about 36 inches, skip the cart and choose a fold-down wall table instead.
4) The landing zone rule
Give yourself a drop spot for hot pans and groceries. In a galley, that might be a single heat-safe trivet that always lives in the same corner. It sounds small, but it prevents the classic galley scramble where everything ends up on the stove.
Lighting that opens it up
Most galley kitchens have one sad ceiling fixture doing the work of three. The fix is layered lighting: ambient (overall), task (work surfaces), and accent (mood).
1) Start with the bulb
If you can only do one thing today, swap your bulb. Look for:
- Warm to neutral white: 2700K to 3500K (cozy but not yellow)
- Plenty of brightness: as a starting point, many small kitchens feel better around 800 to 1600 lumens total per main fixture, but your best level depends on room size, wall color, and shade type
- High color rendering: CRI 90+ makes food and finishes look better
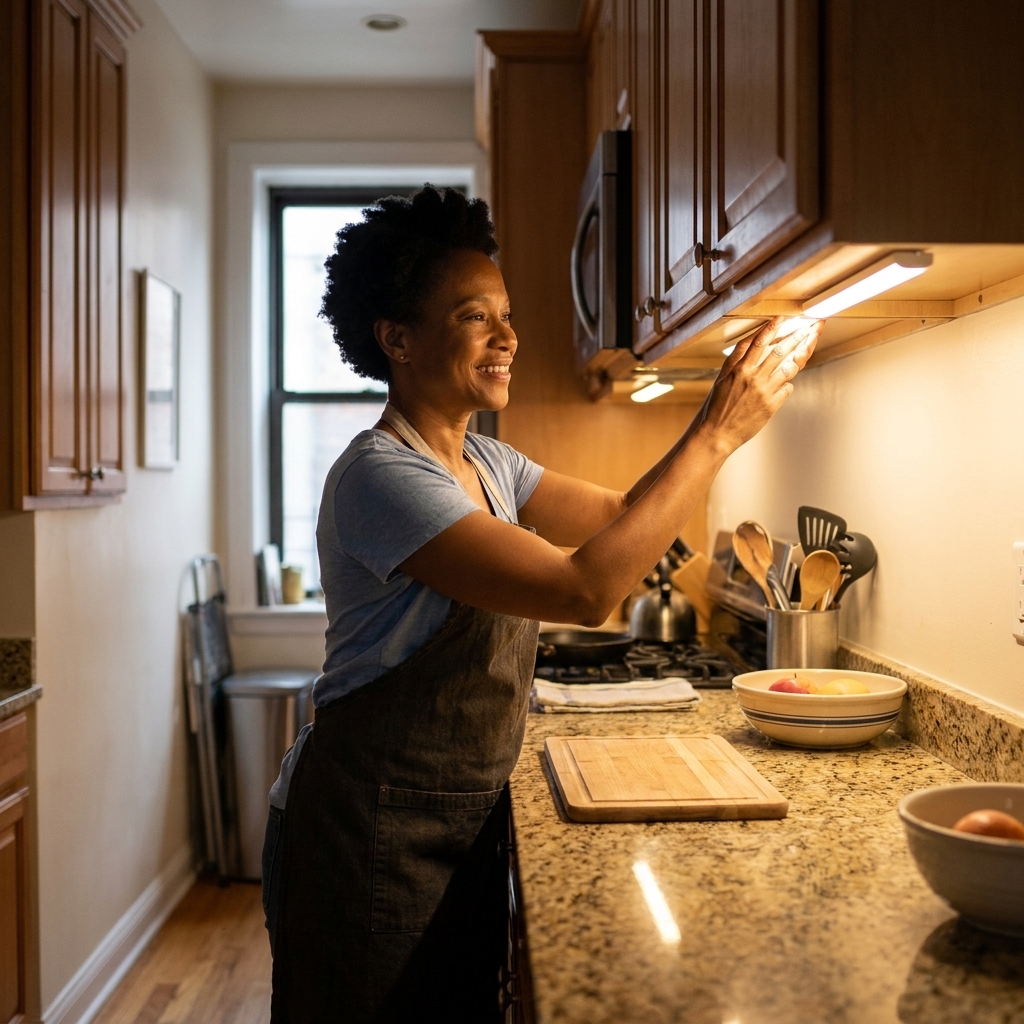
2) Add under-cabinet lighting
Stick-on LED light bars or puck lights are renter-friendly and massively effective. Place them toward the front underside of the cabinet so the light washes the counter, not the backsplash only.
3) Use reflection, carefully
Reflection is your visual square footage. A few easy wins:
- Peel-and-stick glossy backsplash: choose a simple tile look in a light tone, and check the temperature and moisture ratings before placing it near a sink or cooktop
- Stainless or mirrored accessories: utensil crock, tray, or a small wall mirror at the far end of the galley
- Glass-front cabinet doors: if you have them, keep the interior neat and lightly styled so it reads airy
My rule: one main reflective moment is enough. Too many shiny surfaces can feel busy in a narrow space.
Decor without clutter
In a galley, decor has to be pretty and disciplined. We want charm, not clutter.
1) Keep a tight color story
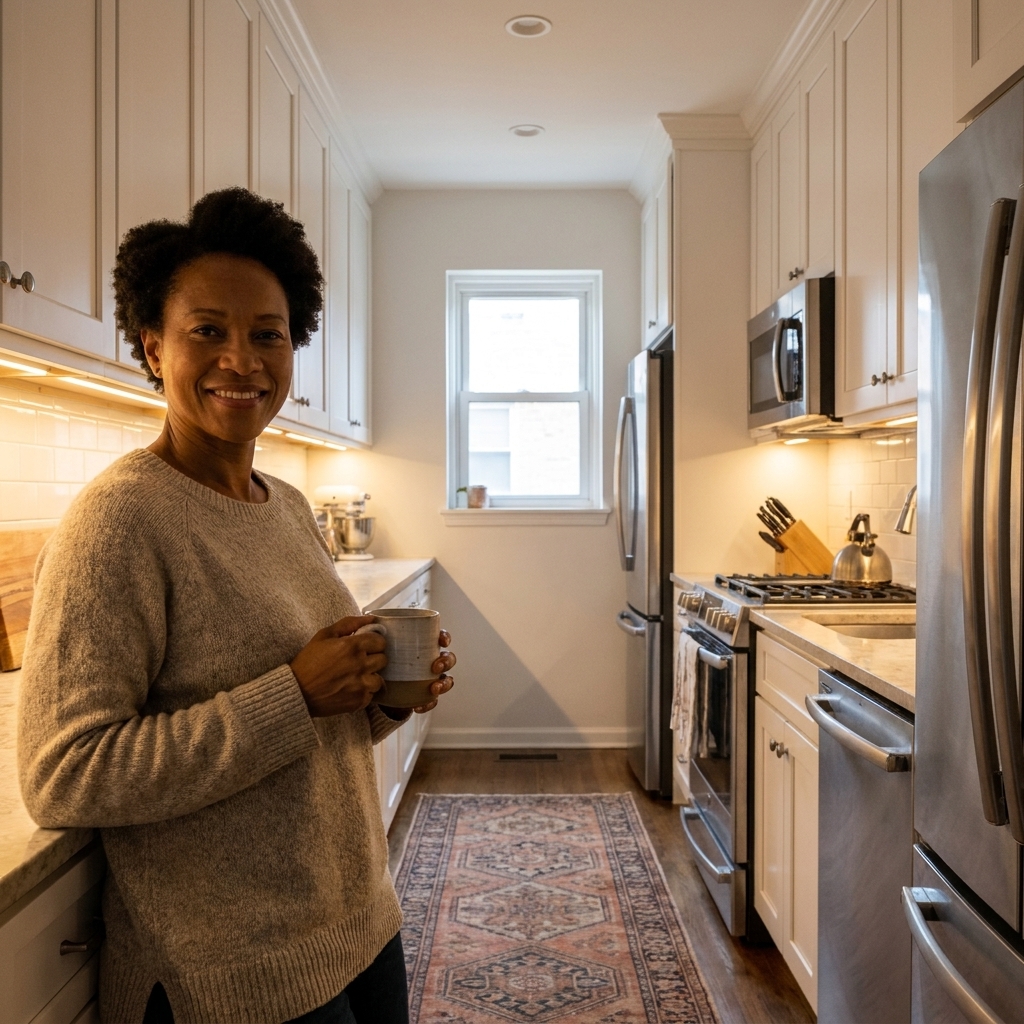
Limit yourself to 2 to 3 main colors plus one metal finish. This keeps the corridor effect calm. If your cabinets are dark, bring in lighter textiles. If everything is white, add warmth with wood and woven textures.
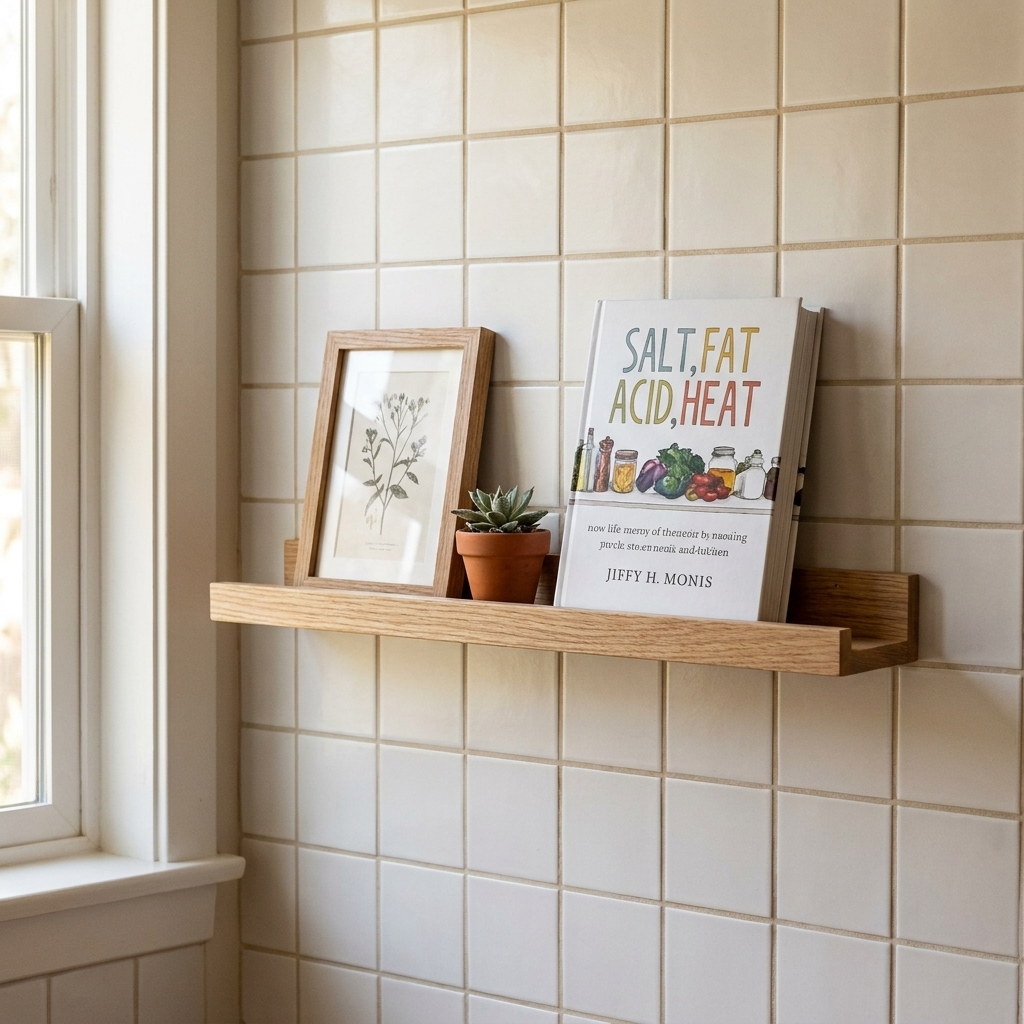
2) Style one slim strip
A narrow ledge shelf (or a rail with a shelf attachment) lets you lean a small frame or prop a cookbook without eating counter space. Keep it minimal:
- 1 small frame or print
- 1 tiny plant or bud vase
- 1 functional item (salt cellar, oil bottle on a tray)
3) Rugs, but make it practical
A runner can visually elongate the space and make it feel intentional. Choose:
- Low pile: so cabinet doors do not catch
- Washable: because life happens
- Light or medium value pattern: hides crumbs better than solid cream
Use rug tape or a non-slip pad. A shifting runner in a galley is a daily annoyance.
4) Counters: station method
Instead of leaving everything out, create micro-stations that live on trays:
- Coffee station: mug, spoon, sugar, coffee on one tray
- Cooking station: salt, pepper, oil on one tray near the stove (not right next to the flame)
Trays visually group items so they read as one object, not ten little ones.
Set up smart zones
Galley kitchens run smoother when every step has a purpose. Set yours up in zones so you are not zig-zagging like you are in a cooking obstacle course.
- Prep zone: cutting boards, knives, mixing bowls
- Cook zone: pots, pans, spices, oils, utensils
- Clean zone: dish soap, sponges, towels, trash bags
- Grab-and-go zone: snacks, lunch containers, water bottles
If you have a two-sided galley, try to keep prep and cook on the same side when possible. Crossing the aisle with a hot pan is not the vibe.
Workflow note: The classic “work triangle” still matters, but in a galley it often becomes a straight-line workflow. Aim for a smooth sequence (fridge to sink to prep to stove) with as little back-and-forth as possible.
Safety, grease, and air
Galleys can trap heat, steam, and cooking smells, so a little maintenance goes a long way.
- Keep combustibles clear: paper towels, linens, and peel-and-stick materials should not live next to burners or where a pot handle will knock them.
- Clean the hood filter: if you have a vent hood, check the filter monthly and wash it on a schedule that matches how often you cook (grease builds faster than you think in narrow spaces).
- Wipe the backsplash often: especially near the stove, because sticky buildup makes adhesive products fail and makes the whole kitchen feel heavier.
Renter-friendly notes
If you rent, keep it simple: check your lease, respect weight limits on removable fasteners, and save a little spackle and touch-up paint for move-out day if you decide to drill.
Weekend fixes
- Swap to a brighter bulb (high CRI) in the ceiling fixture.
- Add stick-on under-cabinet lights over your main work area.
- Install one rail or hook strip for daily utensils (away from heat).
- Mount an organizer inside one cabinet door (spices or boards first).
- Clear one 18 to 24 inch counter stretch and protect it like a tiny treasure.
- Add a washable runner with a low pile and non-slip backing.
Galley kitchen FAQs
How do I make a galley kitchen look bigger?
Prioritize layered lighting, keep the aisle clear, and use one reflective surface like a glossy backsplash (rated for kitchen conditions) or a small mirror at the end of the corridor. Visually grouping counter items on trays also reduces “busy-ness,” which is what often makes a small kitchen feel smaller.
What is the best storage for a narrow kitchen?
Vertical storage wins: wall rails, magnetic strips, inside-cabinet-door organizers, and slim pull-out carts for tiny gaps. In a galley, anything that juts into the aisle is the enemy, so keep add-ons shallow.
Can I add more counter space without renovating?
Yes. Use an over-the-sink cutting board, a fitted sink cover, a slim rolling cart that can park out of the way, or a fold-down wall table if your aisle is too tight for a cart.