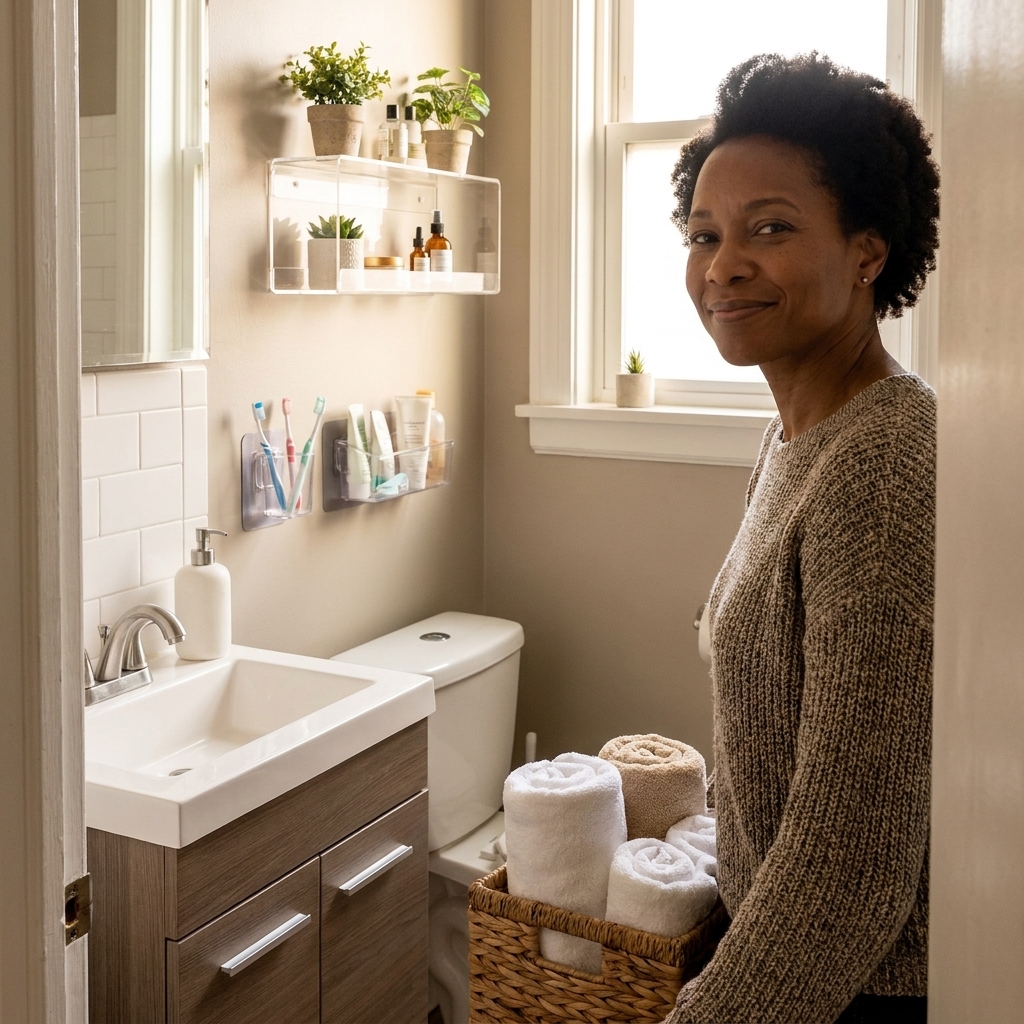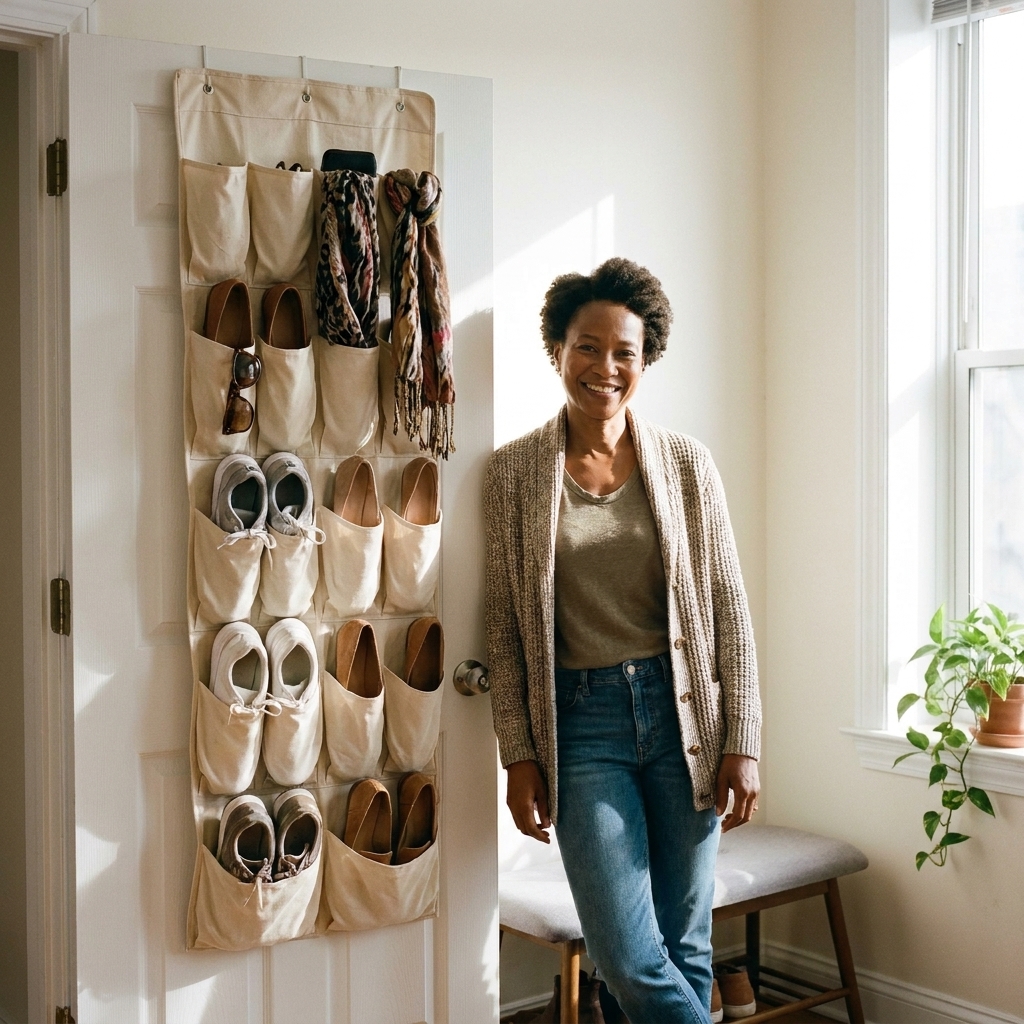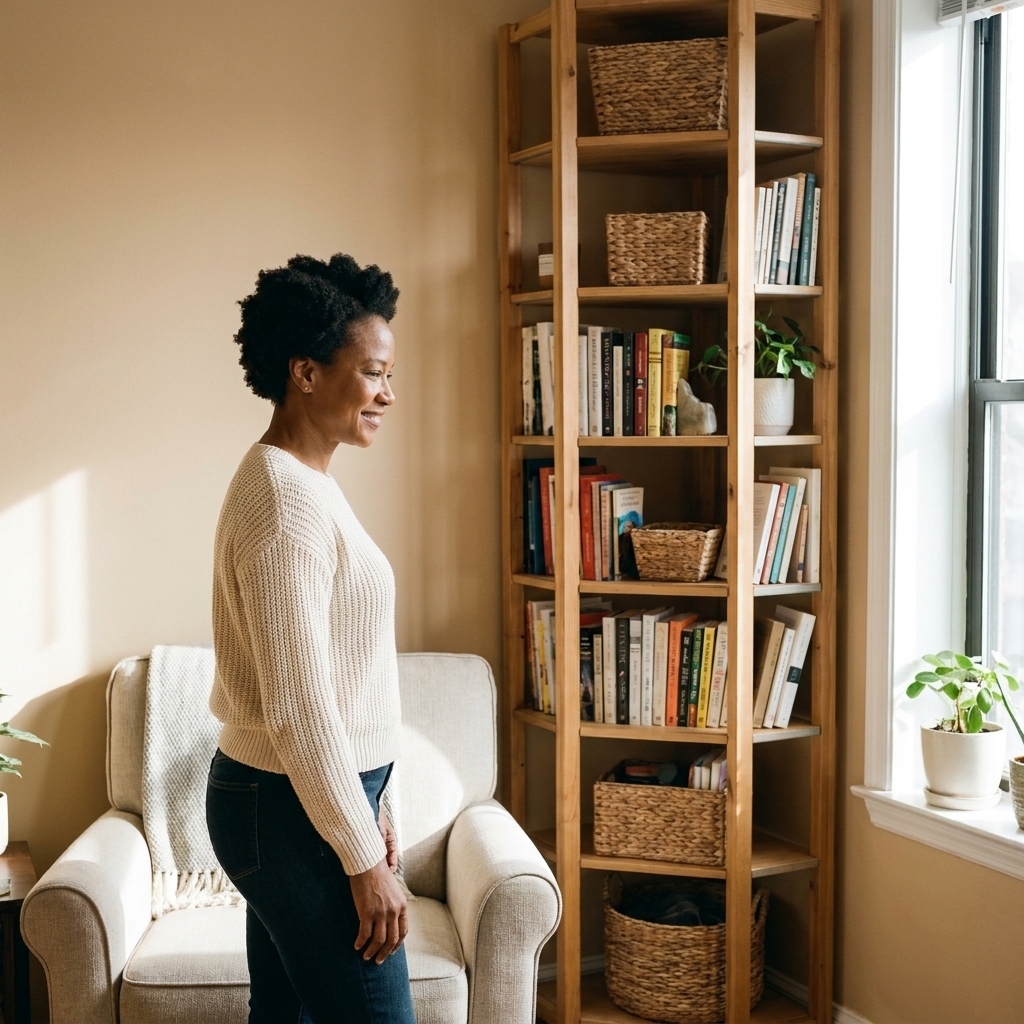
A small-space guide to making every weird nook useful, from corner shelving to custom-fit storage that looks intentional and feels breathable.
Space Ovo
Maximize Vertical Space in a Studio Kitchen
Use tall shelving, magnetic strips, and hanging racks to boost studio kitchen storage without sacrificing floor space. Renter-friendly tips, safety notes, and layout guidance that work.

Maya Brooks
Maya Brooks is an interior stylist and layout enthusiast who believes square footage should never dictate your home's style. After a decade of navigating cramped city studios, she shares practical, renter-friendly decorating and storage solutions to help others maximize their tiny spaces.
Created October 17, 2026
Updated October 17, 2026
If your studio kitchen makes you feel like you are cooking inside a coat closet, I get it. I lived through years of “efficient” kitchens where one pot lived on the stove because there was literally nowhere else to put it. The quickest way to make a tiny kitchen feel larger is not to buy smaller stuff. It is to use the air you are already paying rent for.
This guide walks you through three vertical upgrades that add storage without adding a footprint: tall shelving, magnetic strips, and ceiling-mounted hanging racks. I will keep it renter-friendly, budget-aware, and very “measure twice, order once.”
Step 0: Measure first
Before you buy anything, do a five-minute vertical audit. This is the difference between a dreamy Pinterest setup and a shelf that blocks your cabinet door forever.
What to measure
- Countertop to ceiling height: helps you plan wall shelves, tension systems, and anything that needs clearance above your workspace.
- Floor to ceiling height: matters for tall freestanding shelving and any piece that needs to stand up without hitting soffits, sprinklers, or light fixtures.
- Clearances: space above the stove, distance from sink faucet to backsplash, and how far cabinet doors swing out.
- Dead zones: the sliver beside the fridge, above the microwave, over any nearby door (entry, pantry, closet), and the area above existing cabinets.
- Studs or surfaces: note where you can screw into studs and where you need renter-safe options (Command, tension, over-the-door, freestanding).
Quick safety note (because I care about your security deposit)
Do not mount anything heavy into tile or drywall without the right technique and anchors, and ideally landlord permission. Tile can be drilled safely with the proper bit and care, but it is easy to crack if you rush it. For heavy loads, hit studs, use hardware rated for the load, or choose a freestanding solution.
One more easy trick before you commit: mark shelf and rack outlines with painter’s tape. Live with it for a day. If you keep bumping it or a cabinet door clips it, you just saved yourself a patch-and-paint situation.
Step 1: Go tall with shelving
Tall shelving is the fastest way to double storage because it turns one skinny footprint into a full wall of capacity. The trick is choosing the right format for your kitchen layout and what your landlord will allow.
Option A: Tall freestanding shelf
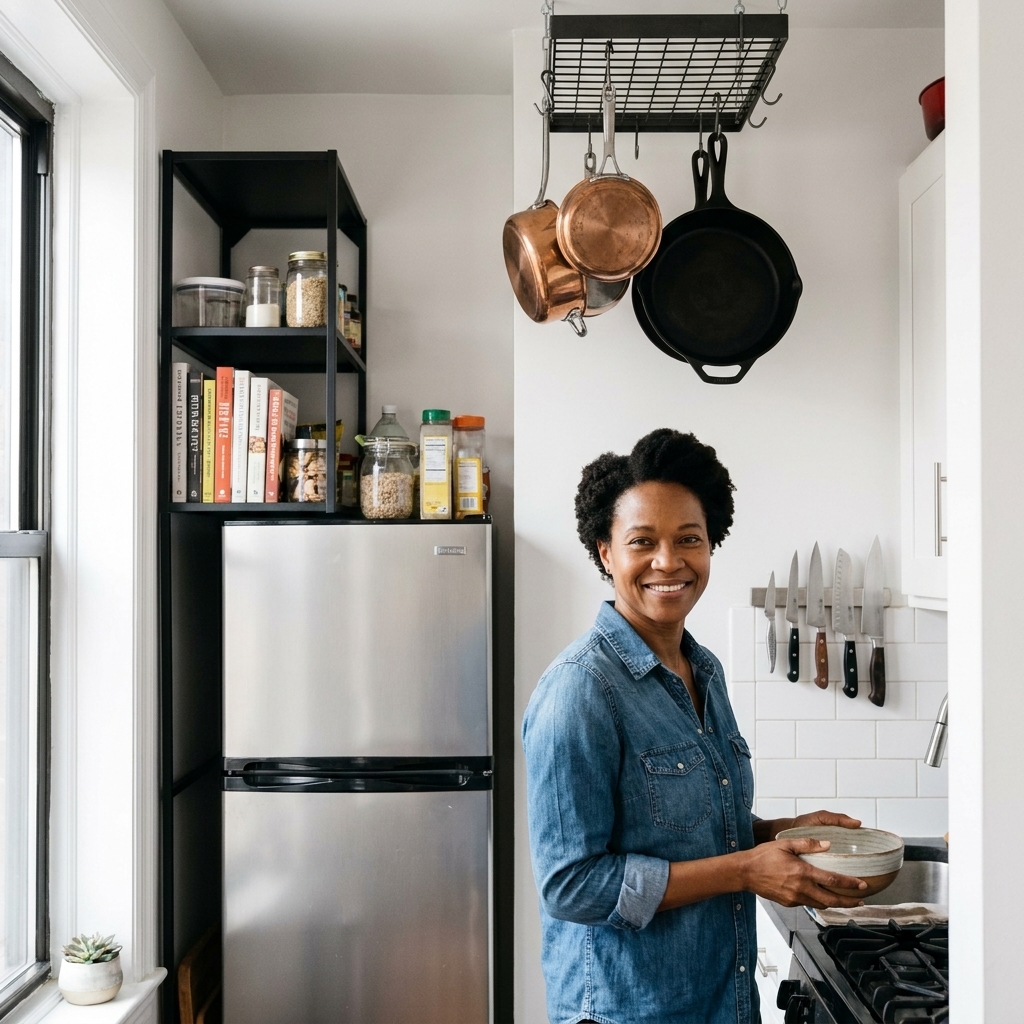
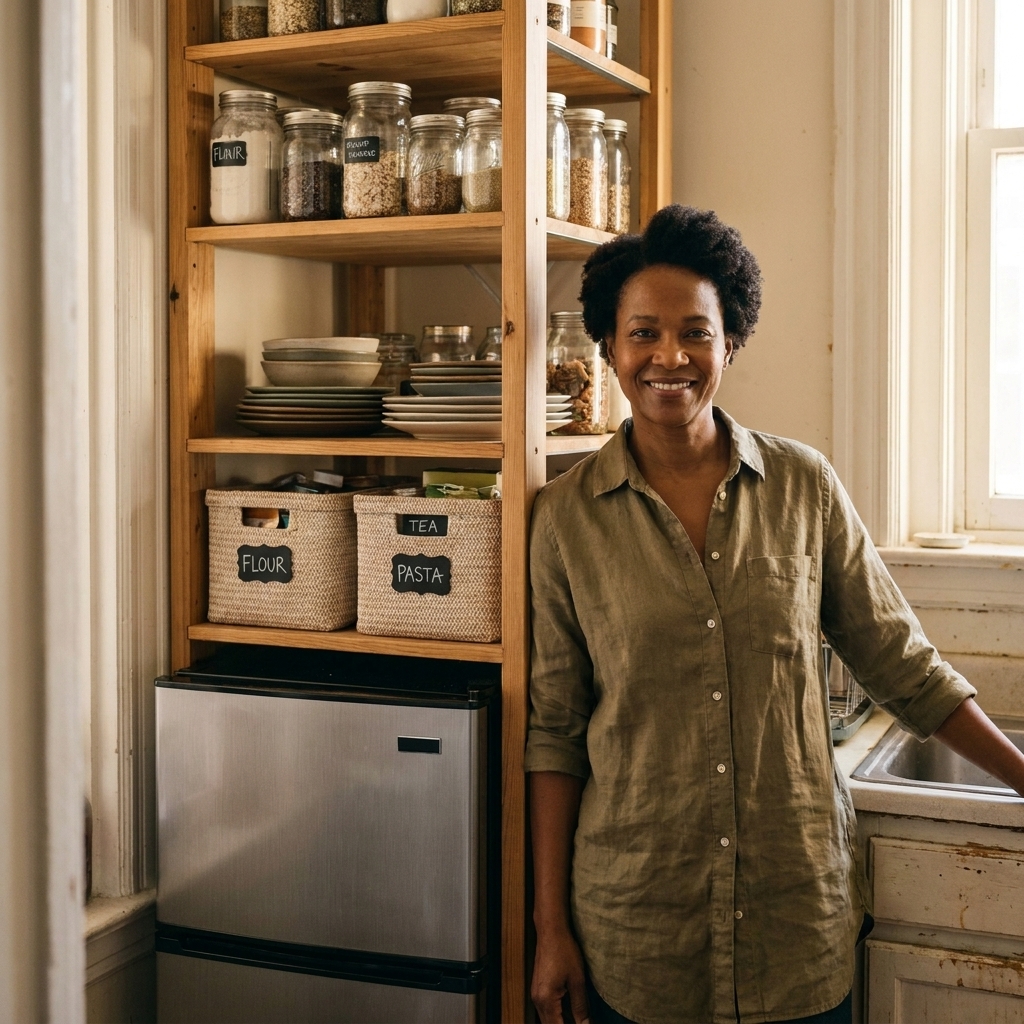
If you can only pick one upgrade, pick this. A tall shelf unit can hold pantry goods, small appliances, dishes, and even cleaning supplies, and it moves with you when you move.
- Where it works: beside the fridge, at the end of a run of cabinets, or on any blank wall near the kitchen zone.
- What to look for: a depth around 12 to 16 inches is typical because it stores a lot without swallowing your walkway. Go shallower if your path is tight, go deeper if you are storing bulky appliances.
- Stability tip: if you can, use the included anti-tip strap. If you cannot drill, keep heavy items low and avoid top-heavy stacking.
- Styling tip: keep heavier items on lower shelves, and use matching bins on upper shelves so visual clutter does not climb the wall with your storage.
Option B: Wall shelves
Wall shelves are amazing above a coffee station, above a microwave cart, or anywhere you currently stack things on the counter. If drilling is not possible, skip ahead to the no-drill alternatives below.
- Typical shelf depth: 8 to 10 inches works well for many dishes and pantry jars without feeling like the wall is leaning at you. If you have oversized plates or deep canisters, size up.
- Typical placement: starting around 18 inches above the countertop gives you breathing room for prep. Adjust for your height, your backsplash, and any upper-cabinet interference.
- Make it look intentional: align shelf edges with nearby cabinet lines so it reads like part of the kitchen, not a random add-on.
- Load reality check: follow the manufacturer’s weight rating, and use anchors appropriate for your wall type. When in doubt, go lighter or go freestanding.
No-drill alternatives
- Tension-pole shelving between counter and ceiling for spices, oils, and lightweight items.
- Over-the-door racks on a pantry door, entry door, or closet door for backstock pantry items.
- A slim rolling pantry (about 4 to 8 inches wide) for the gap beside the fridge. It is technically on the floor, but it uses vertical space brilliantly with near-zero visual bulk.
Step 2: Add magnetic storage
Magnetic storage is my favorite small-space cheat because it moves tools off your counter and into unused vertical surfaces. In a studio, clear counters equal a calmer brain.
Magnetic strip (studio-safe)
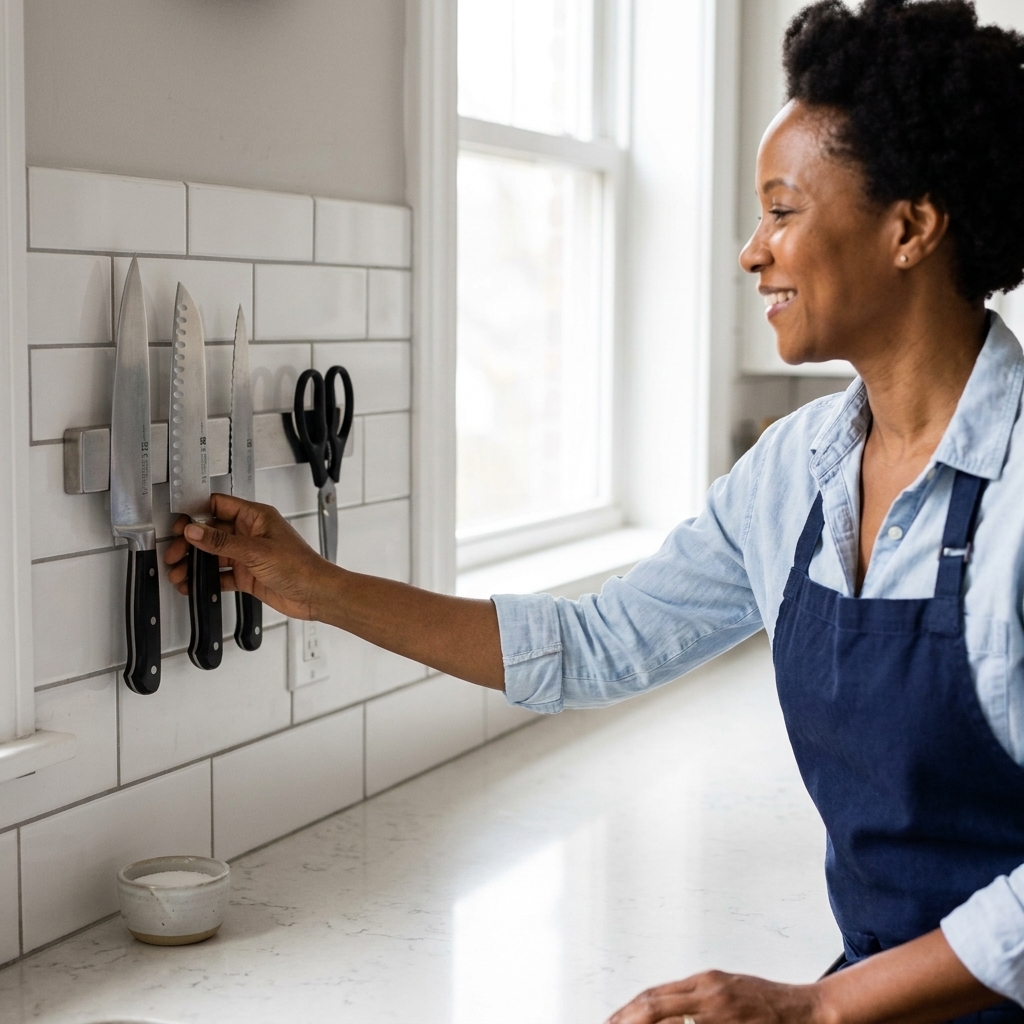
You can use magnetic strips for knives, yes, but also for metal utensils, scissors, and even small spice tins if you set it up correctly.
- Best spots: backsplash area near prep space, the side of the fridge, or a metal panel you add (more on that next).
- Safety check: keep knives away from high-traffic bump zones and out of reach of kids and curious pets. Always mount according to the manufacturer instructions and use hardware rated for the wall type.
- Spacing tip: leave a little breathing room between items so it feels tidy, not like a utensil parking lot.
If your fridge is not magnetic (or you hate the look)
No problem. You can create a magnetic zone:
- Use a freestanding magnetic board: this is often the safest renter move, since it avoids adhesives entirely and can sit on a counter or tuck beside a shelf.
- Try a purpose-built magnetic wall board: some are slim and look like a clean modern panel.
- Use magnetic bars inside cabinet doors: adhesive-backed versions can work for very lightweight tools (think mini measuring spoons, not a cleaver). Clean the surface well and test before committing.
- Stainless steel sheet, with caution: if you mount a small steel sheet using heavy-duty removable strips, treat it as an ultra-light setup only. Kitchens are humid, greasy, and hard on adhesives. Test it, keep the load minimal, and consider switching to screws into studs if you need it to hold anything heavier than spice tins.
Magnetic spices without chaos
If you love the magnetic spice jar idea, commit to uniform tins and a limit. Pick your top 12 spices, label the bottoms for easy grab-and-go, and store refills up high on your tall shelf. Also, keep oils and spices away from heat if you can. Next to the stove seems convenient until everything gets warm and gummy.
Step 3: Hang storage overhead
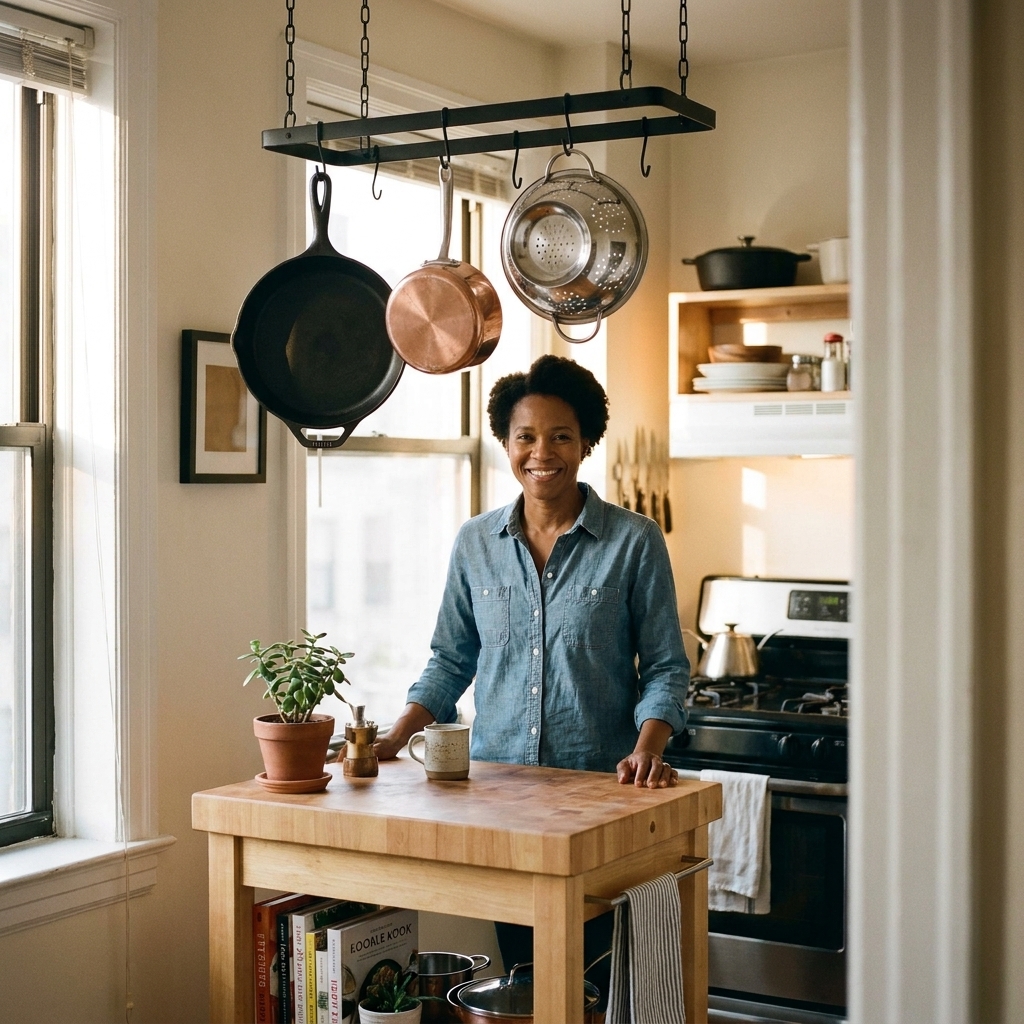
Ceiling-mounted hanging racks can be incredible in a studio kitchen because they store bulky cookware in the one place bulky cookware is allowed to exist: the air. The goal is to make it feel intentional and light, not like a chandelier made of pans.
Choose a hanging style
- Ceiling pot rack: best for pots, pans, and colanders. Works well over an island cart or a small table you use as prep space.
- Hanging rail with hooks: best for utensils and lightweight pans. Often looks cleaner than a full grid rack.
- Ceiling-mounted shelf rack: a rack with a small shelf above for rarely used items, plus hooks underneath for daily cookware.
Placement rules
- Hang over a surface, not a walkway. Over a cart, table, or counter zone is ideal.
- Keep it high enough. Aim for comfortable clearance above your tallest person. If it feels low now, it will feel lower when you are carrying groceries.
- Watch heat and grease. Avoid hanging anything directly over active burners if it could interfere with ventilation or get coated in splatter. And keep anything flammable well away from heat sources.
- Keep it visually light. Limit what you hang to your most-used pieces and match metals when you can.
Renter reality check
Ceiling racks usually require drilling into ceiling joists and using hardware rated for the load. If that is not allowed, you still have options:
- Use a wall-mounted rail system with hooks anchored into studs.
- Try a freestanding baker’s rack with an upper bar for hooks.
- Hang a lightweight rail under a sturdy wall shelf (with proper hardware) for utensils and small pans only.
If you do drill, take photos before and after, save the hardware, and plan to patch holes at move-out. It is boring, but it keeps your deposit drama-free.
Keep it calm
In a studio, storage is always on display. The best vertical systems are the ones that look like decor, not like you are bracing for a hurricane.
- Repeat containers. Matching jars and bins make open shelving feel intentional.
- Use negative space. Do not fill every inch. Leave one shelf partially open so the wall can breathe.
- Keep the top shelf light. Reserve the highest shelf for paper towels, backstock, or rarely used items in bins so it does not feel top-heavy.
- Stick to one metal finish. If your faucet is brushed nickel, try to keep rails and hooks in that family for a smoother look.
Common mistakes
- Overloading adhesives: steam, grease, and paint sheen can turn “strong” strips into “surprise crash.” Use adhesive only for very light items and test first.
- Blocking doors and vents: a shelf that blocks a cabinet, or a rack that interferes with your hood, will make you hate your kitchen fast.
- Storing oils and spices next to heat: convenience is nice, but quality drops quickly when things bake beside the stove.
- Overstuffing over-the-door racks: too much weight can warp doors and stress hinges. Keep it to lighter pantry items.
Weekend game plan
If you want the quickest payoff without overthinking it, here is the order I would tackle this in:
- Declutter and categorize: everyday, weekly, and rarely used.
- Add one tall storage piece (freestanding shelf or slim pantry).
- Install magnetic storage for tools and knives to clear counter space.
- Decide on hanging storage only after you see what still does not fit.
- Finish with containers (bins, jars, and hooks) so the system stays tidy.
FAQ
Will open shelving make my studio look messier?
It can, but it does not have to. The key is limiting what lives on open shelves to your prettiest, most uniform items, and putting everything else in bins. Think of open shelving as a curated display that also happens to hold your bowls.
What should I store up high?
Anything you do not need daily: backstock pantry items, serving platters, specialty appliances, extra paper goods. Keep daily items between waist and eye level.
Is a magnetic knife strip actually safe?
It can be, when installed correctly, strong enough for your heaviest knife, and placed in a low-bump area that makes sense for your household. Test magnet strength before committing, mount it securely (not just with adhesive), and place knives with the spine contacting first, then roll the blade into place.
How do I add storage without drilling?
Go freestanding tall shelves, a slim rolling pantry, over-the-door racks, tension-pole systems, and adhesive hooks for very lightweight items. If something is heavy, do not trust adhesive alone.
Mindset shift
Your studio kitchen does not need more square footage. It needs a smarter vertical plan. Once you treat your walls and ceiling like prime real estate, your counters can finally be what they were meant to be: a place to cook, not a place to store every object you own.
If you try one change this week, make it a tall shelf. It is the closest thing to adding a pantry without moving apartments, and I say that as someone who has absolutely considered moving apartments for a pantry.