A step-by-step plan for a small-space entry: slim console, wall hooks, and a mirror that helps your place feel brighter and more open, without blocking the d...
Space Ovo
Renter-Friendly Entryway Makeovers for Micro Apartments
No entryway? No problem. Create a stylish, functional drop zone with slim consoles, removable wallpaper, and damage-free hooks, even in a studio.

Maya Brooks
Maya Brooks is an interior stylist and layout enthusiast who believes square footage should never dictate your home's style. After a decade of navigating cramped city studios, she shares practical, renter-friendly decorating and storage solutions to help others maximize their tiny spaces.
Created October 17, 2026
Updated October 17, 2026
If your front door opens directly into your kitchen, your living room, your bed, your whole existence, welcome. I have lived this life. And I promise you can still have an entryway moment, even if your “foyer” is basically one doormat wide.
The goal is simple: create a drop zone that catches keys, shoes, mail, and bags before they explode across your home. We are going to do it with micro-apartment-friendly proportions, renter-friendly materials, and a few visual tricks that make the space feel intentional instead of accidental.
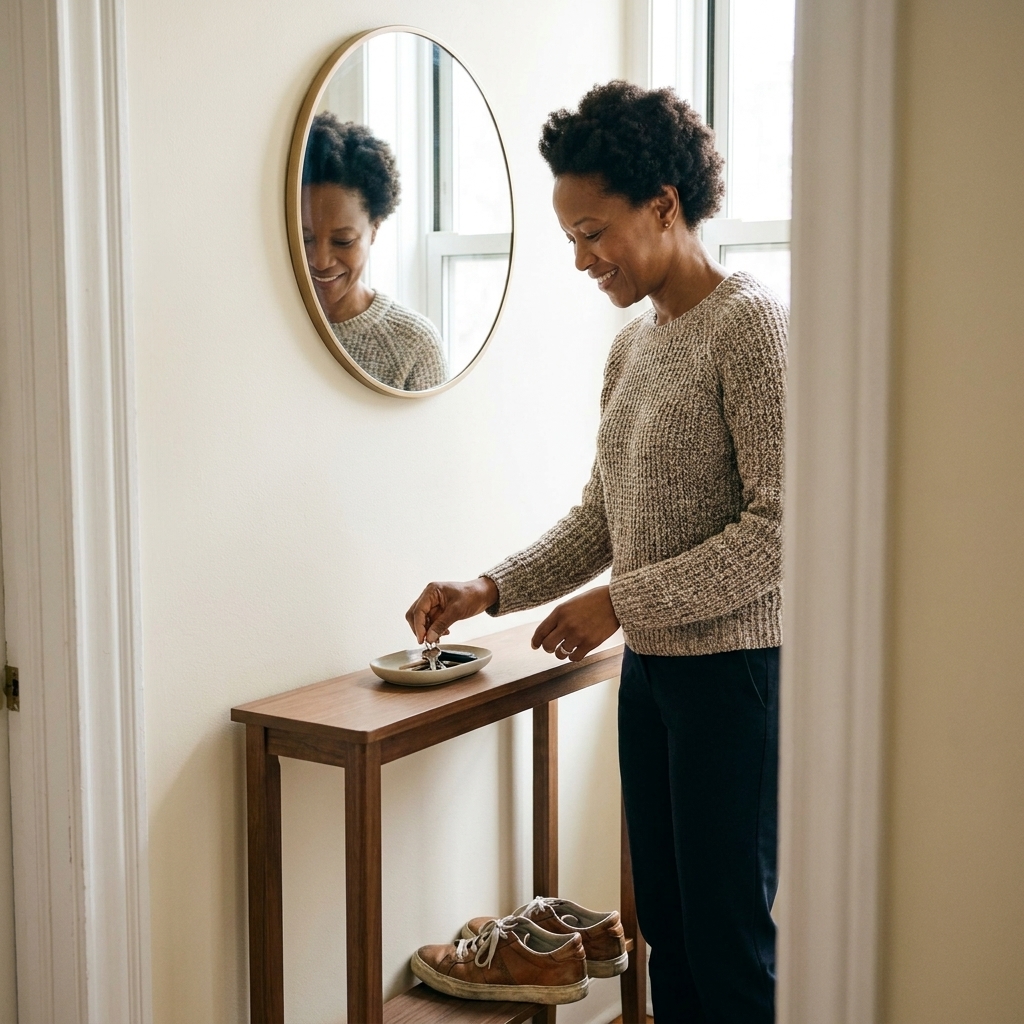
Start with the drop zone list
Before you buy anything, get clear on what you need your entry to do. In a micro apartment, every inch has to earn its keep.
- Keys and wallet: a dish, tray, or tiny drawer
- Bag and coat: hooks or a single sturdy wall peg
- Shoes: a designated parking spot that does not creep into the walkway
- Mail: a vertical sorter or one catch-all bin you empty weekly
- Mirror: optional, but it helps with both function and light
Now measure the wall space you actually have. Not “roughly.” Actually measure. I keep a measuring tape in my junk drawer like it is a member of the household.
Narrow consoles for tight spaces
A slim console is the cleanest way to signal “this is the entry.” The trick is choosing one that is truly narrow. A lot of consoles marketed as “small” still land around 12 to 16 inches deep, which can feel like a body-check in a studio.
My micro-apartment sizing cheat sheet
- Depth: aim for about 6 to 10 inches if you can
- Height: many consoles hover around 30 to 34 inches, which is a comfortable range for tossing keys and setting a bag (this is my personal sweet spot)
- Clearance: aim for roughly 30 inches of walking path when possible, but work with your layout
Safety note: make sure the door can fully open without hitting anything. If you choose an ultra-slim table, go for a sturdy base and, if you can, use a wall strap so it cannot tip when you drop a bag on it.
When a table will not fit
- Picture ledge shelf: acts like a tiny console for a tray and hand sanitizer
- Floating shelf with hooks: double duty in one footprint
- Ultra-slim bar cart: gives you wheels and storage, great for rentals
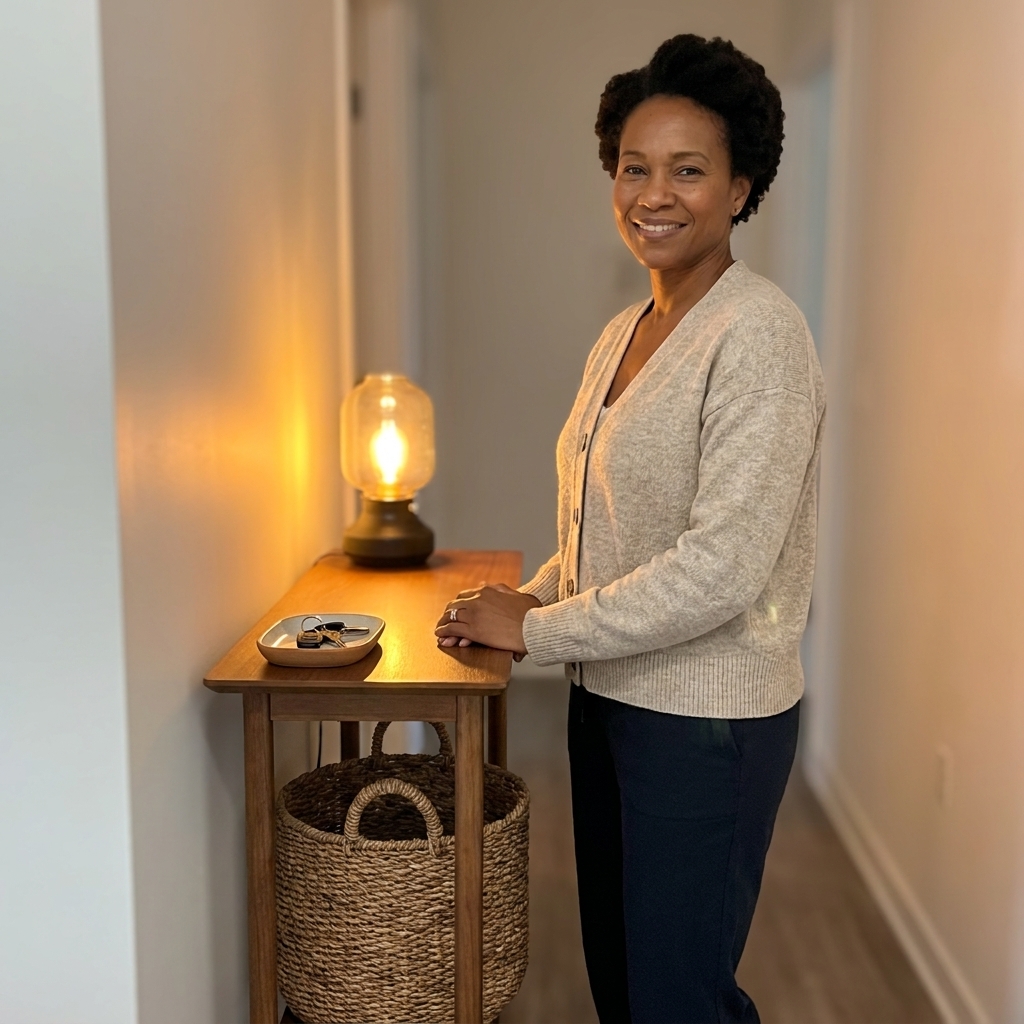
Styling tip: keep the surface “one-tray tidy.” One tray or bowl for keys, one small object (like a bud vase), and stop there. Entry clutter grows like it pays rent.
Removable wallpaper to define the zone
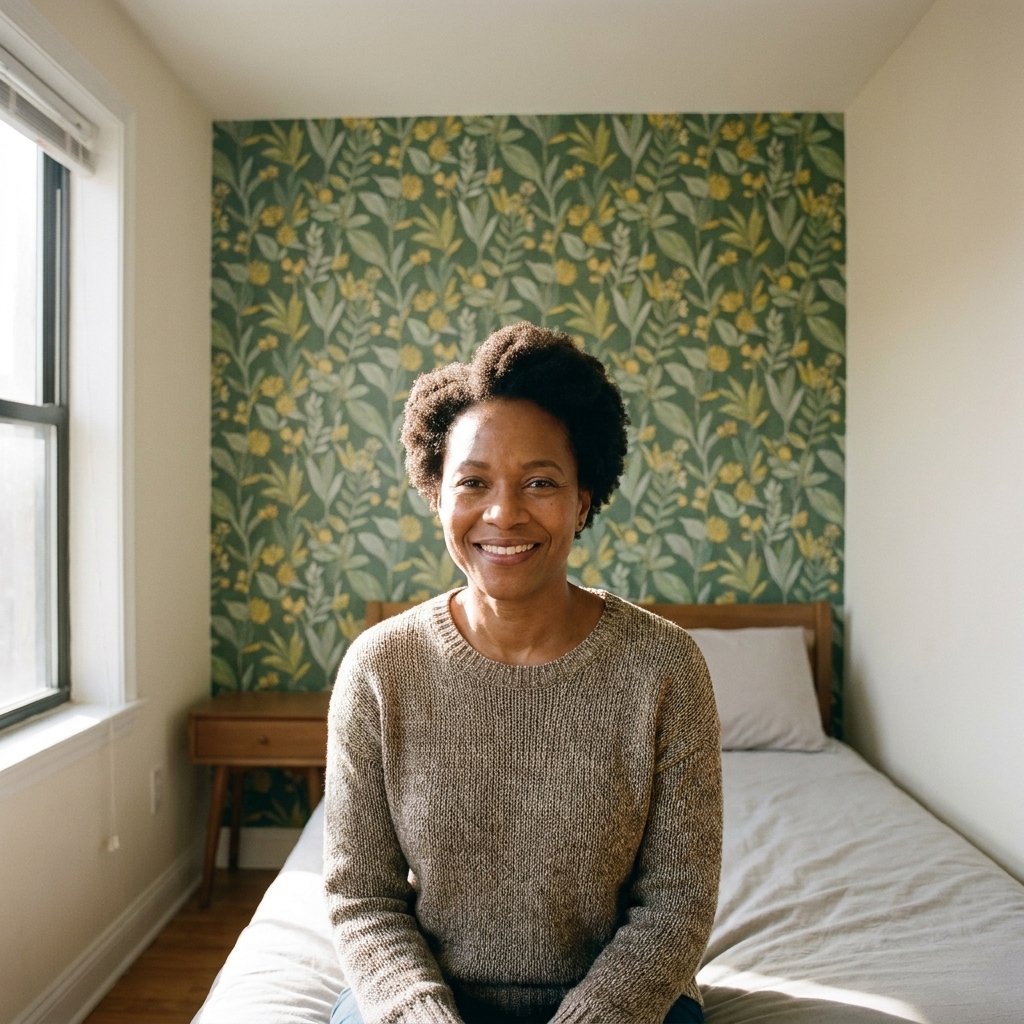
If you do not have walls that naturally create an entry, create a visual zone. Peel-and-stick wallpaper, removable mural panels, or even renter-friendly contact paper can outline a “here is the landing pad” area behind your console or hooks.
Where it works best
- Behind the console: a simple rectangle from tabletop height to a little above eye level
- Next to the door swing: on that narrow strip of wall the door opens toward, as long as nothing rubs
- On the back of the door: great when wall space is truly nonexistent
Patterns that can help it feel bigger
- Light backgrounds: reflect more light, reduce the “cave” feeling
- Vertical stripes or tall motifs: pull the eye up and add height
- Small-scale prints: feel calmer up close than oversized patterns in tight quarters
Installation tip: wipe the wall with a dry microfiber cloth first. Dust is the enemy of good adhesion. Removal success varies by brand and wall condition, so test one panel behind a door for a few days before committing. Also, avoid applying peel-and-stick to freshly painted walls. Let paint fully cure first, which is often a few weeks depending on the paint.
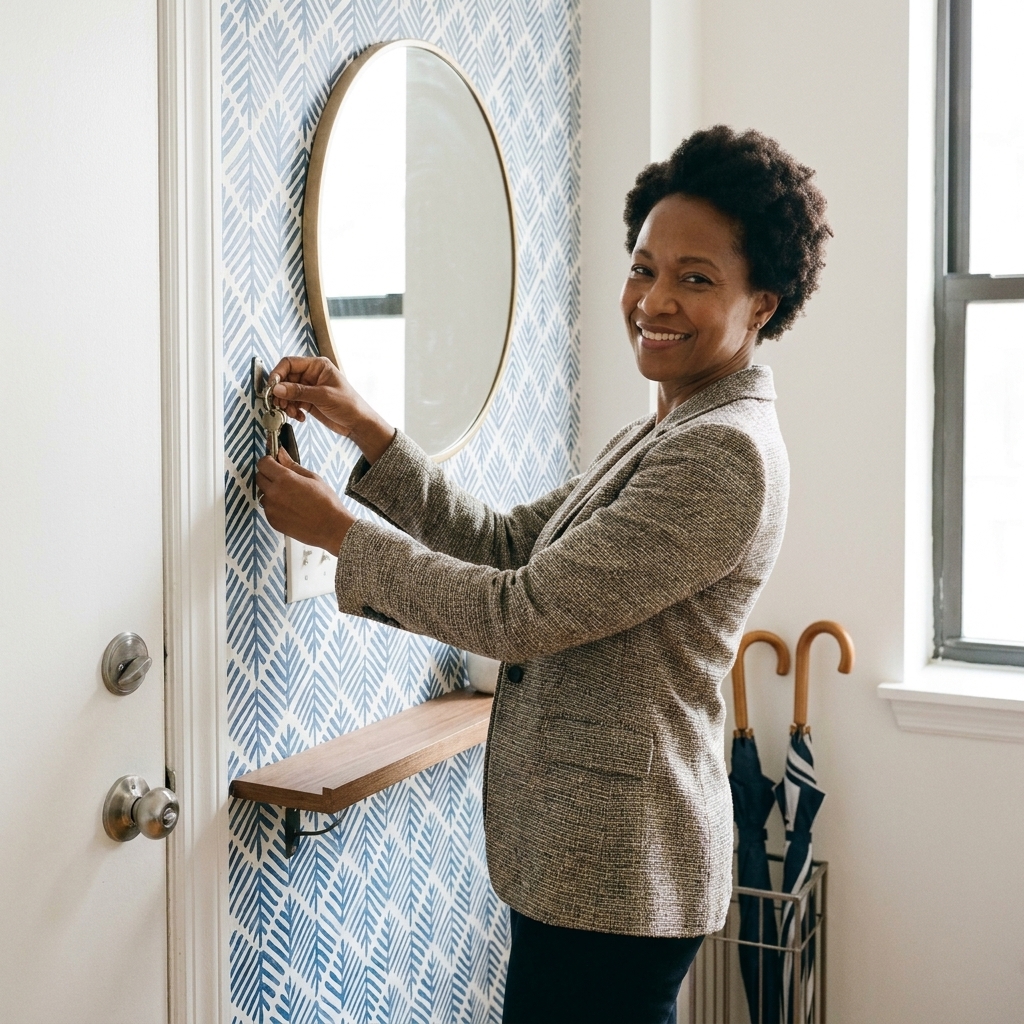
Adhesive hooks for real life
Hooks are the backbone of a micro entryway. The key is using the right type and placing them where your daily routine naturally wants to drop things.
Hook placement that works
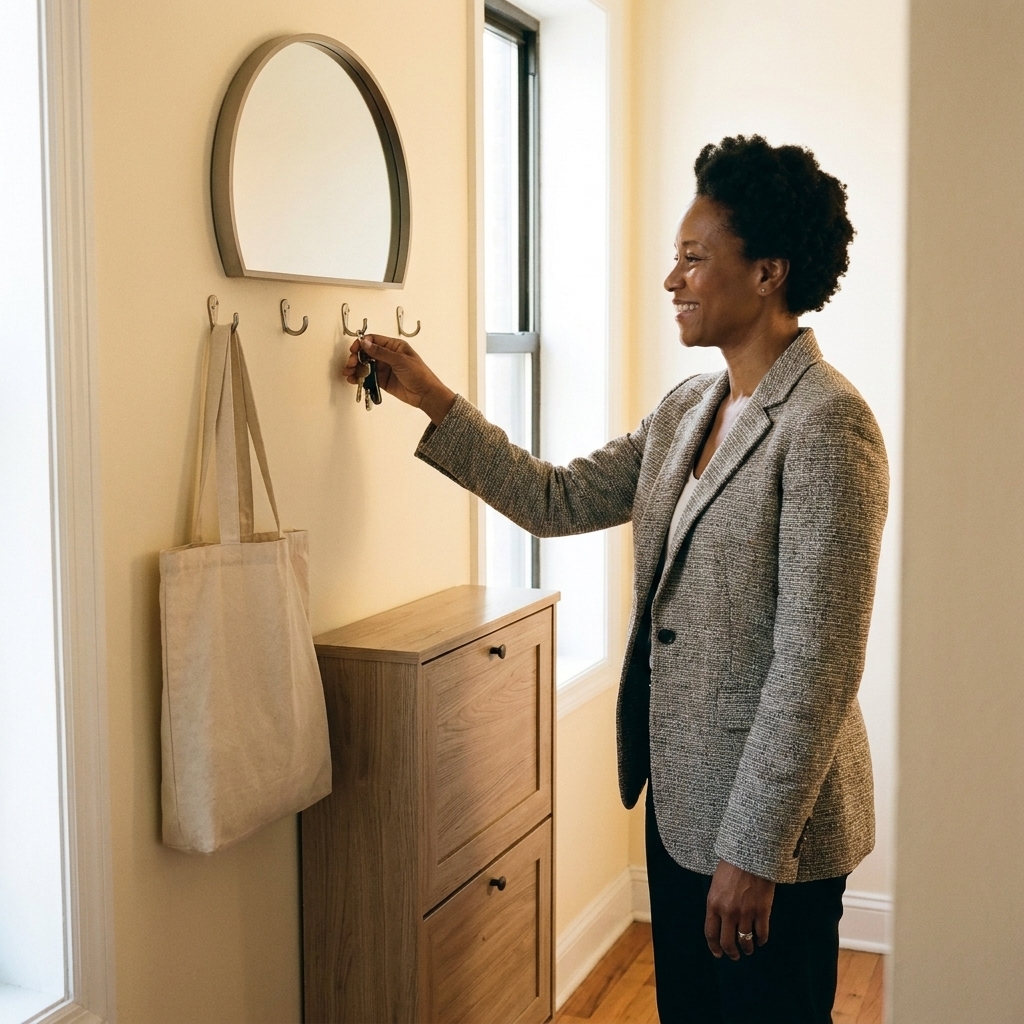
- Right by the door handle side: for keys or a dog leash
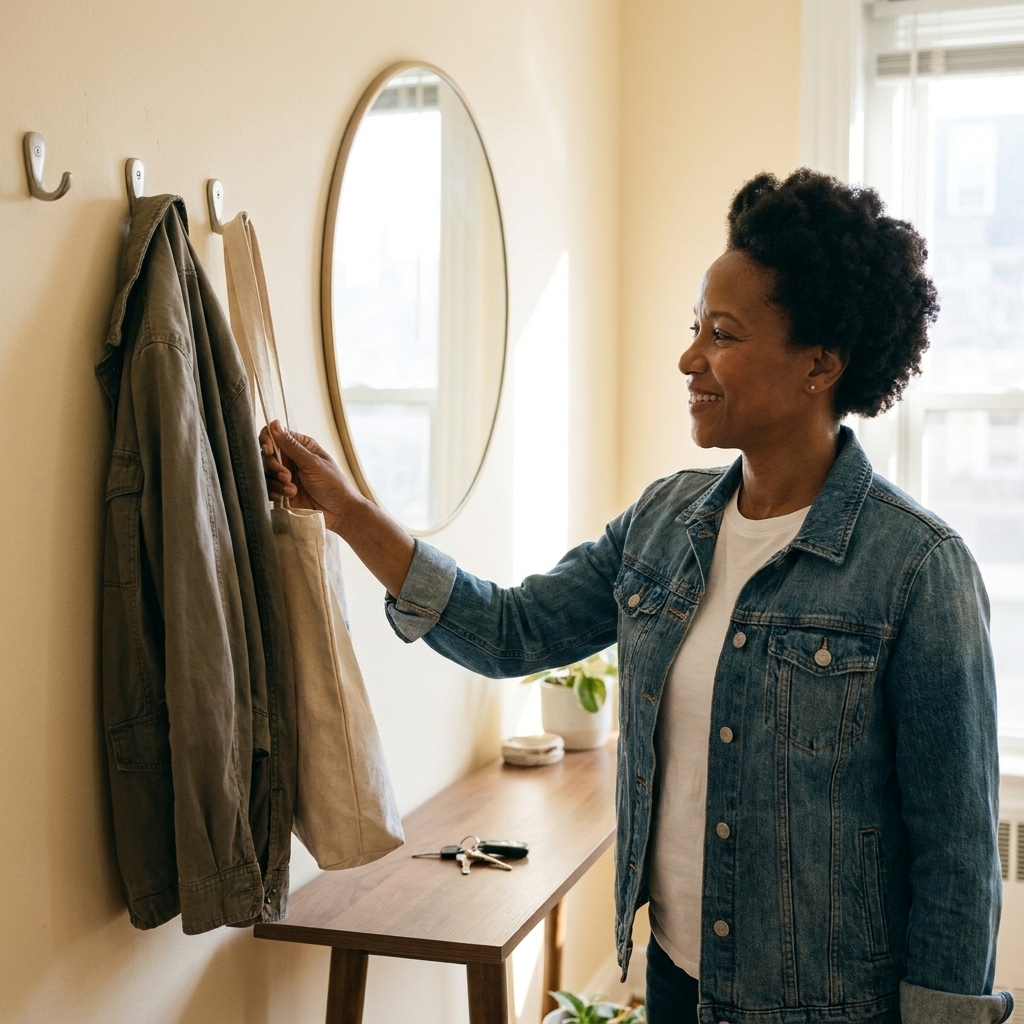
- At shoulder height: for coats and bags (less wall damage than low hooks that get yanked)
- One low hook: for totes, reusable grocery bags, umbrellas, or kid stuff
Keep it renter-friendly
- Choose the right rating: use higher weight ratings for backpacks and winter coats
- Know the fine print: those ratings usually assume a clean, smooth surface, proper press time, and a full set time before you hang anything
- Clean first: rubbing alcohol on a cotton pad helps the adhesive grip
- Press and wait: many systems need a set time before you hang anything
- Remove correctly: pull the strip straight down slowly, not out from the wall
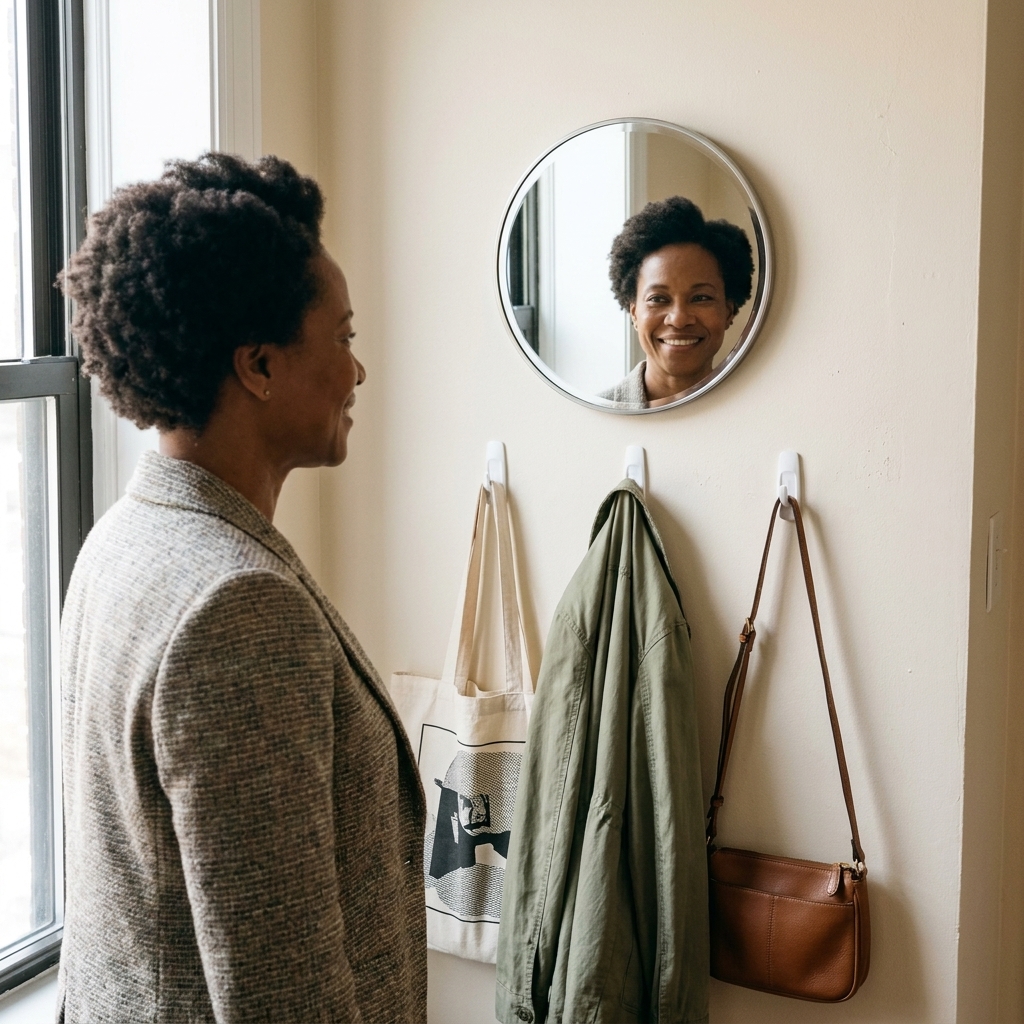
My Tetris master move: do one row of hooks and one row of “pretty” above it (a mirror or small framed print). This makes the setup feel designed, not like a utility closet.
Shoe storage that saves your floor
Shoes are usually the reason a non-entryway becomes chaos. In a tiny home, the shoe solution has to be controlled, contained, and preferably vertical. Bonus points if it also protects your floors from wet-day mess.
Space-smart options
- Vertical shoe cabinet: the shallow flip-down type is a studio lifesaver
- Under-console rack: keeps shoes visually corralled
- Over-the-door organizer: great for slippers, flats, and accessories
- One boot tray: if you live somewhere wet or snowy, this saves your floors and sanity
- Umbrella spot: a slim stand or drip tray keeps puddles contained
Realistic rule: store daily-wear shoes at the door and relocate the rest. If every pair you own lives in the entry, the entry will always look messy.
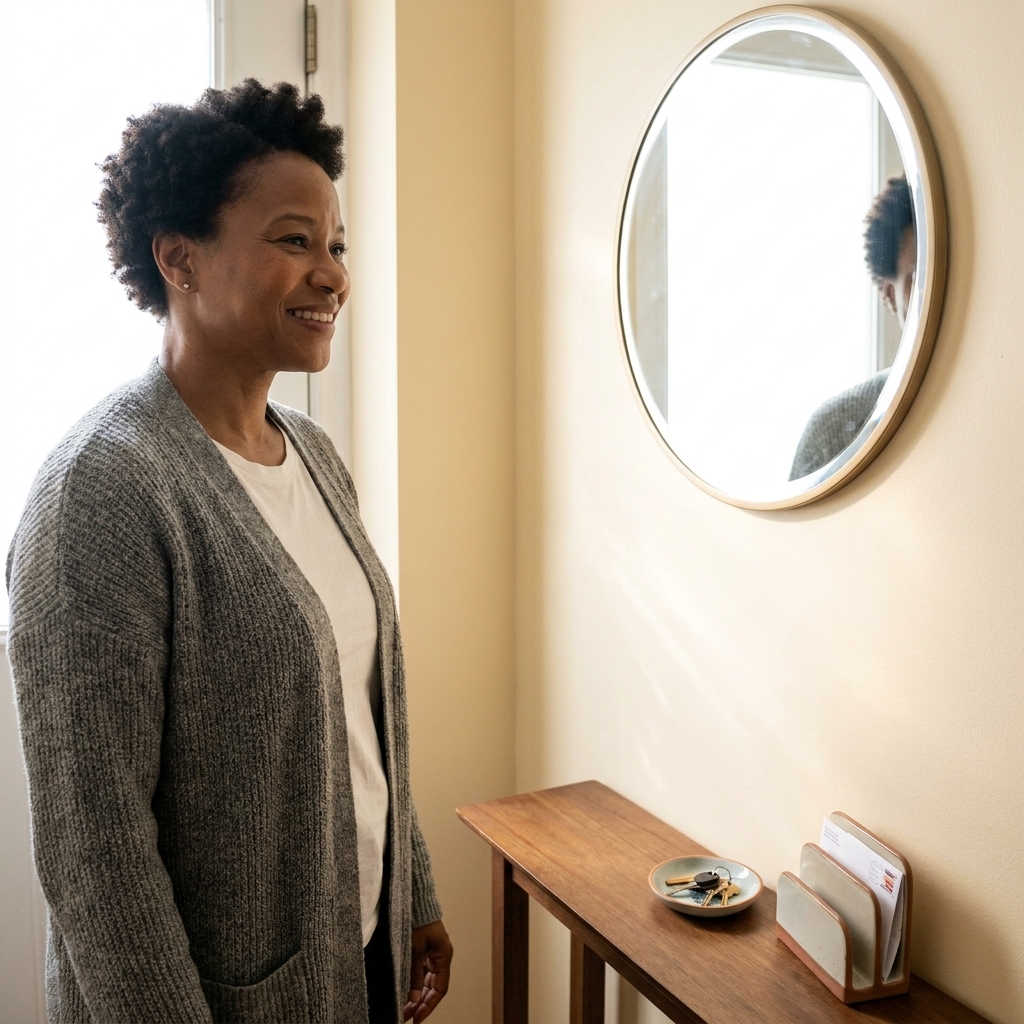
Mirror and light: the tiny-space combo
This is the tiny-space magic duo: mirror plus warm lighting. It turns a dark door corner into a spot that feels open and welcoming.
- Mirror: round mirrors soften tight angles and make a narrow wall feel less boxy
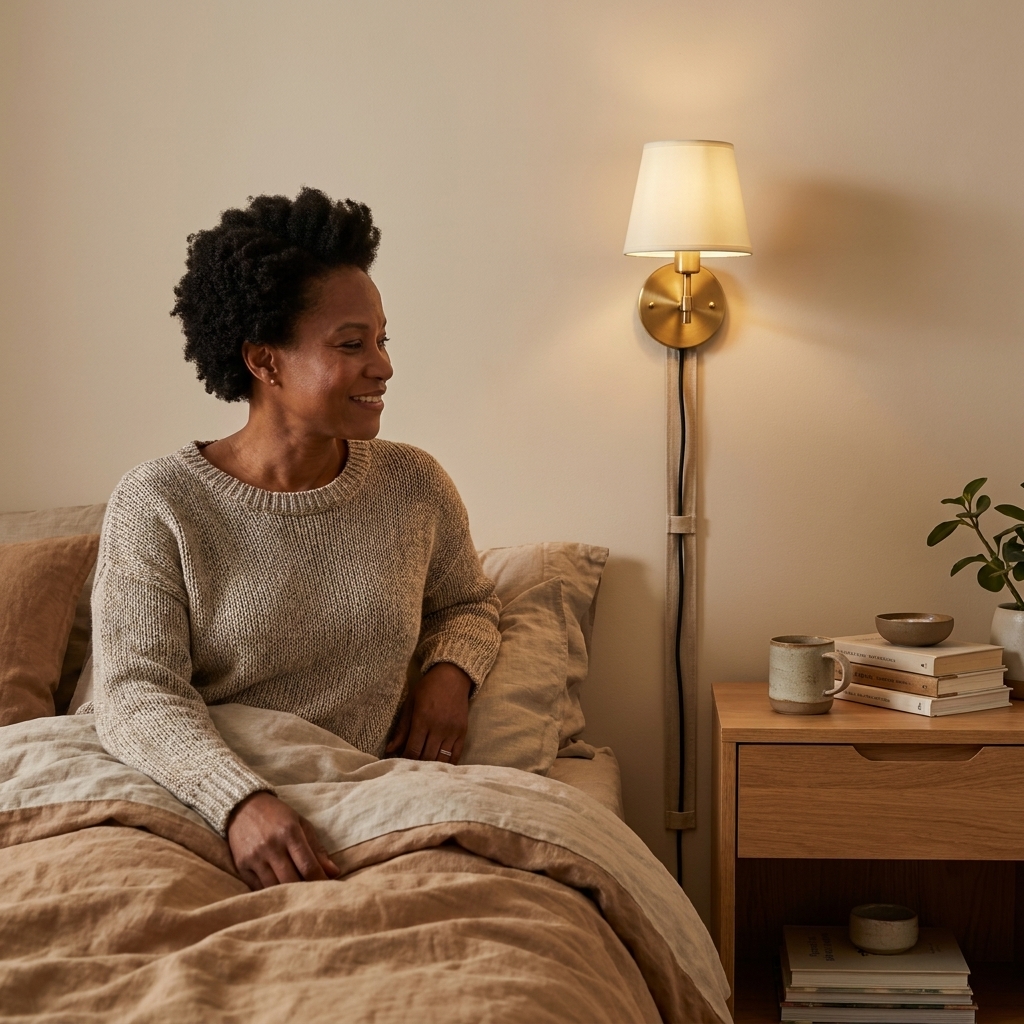
- Light: a plug-in sconce, tiny table lamp, or rechargeable wall light adds glow without wiring
If you only do one upgrade, do the mirror. It gives you a last-look check and bounces light deeper into the apartment.
Three micro entry layouts
1) Door-to-living-room studio
- Wall strip: peel-and-stick wallpaper panel behind a slim console
- One tray for keys, one hook for your everyday bag
- Shoes: low rack tucked under the console
2) Hallway shoebox
- Skip the console, do a floating shelf plus hooks
- Use a tall, narrow mirror to visually widen the hall
- Keep shoes vertical or in a closed cabinet to reduce visual noise
3) Door opens into the kitchen
- Put hooks on the side wall or inside a cabinet door
- Use the back of the door for an organizer (keys, sunglasses, reusable bags)
- Add a wipeable runner and a small tray for wet shoes
Quick shopping list
- Measuring tape and painter’s tape (for mapping the footprint on the floor)
- 6 to 10 inch deep console or a floating shelf
- Removable wallpaper or a peel-and-stick panel set
- Adhesive hooks rated for your heaviest bag
- Small tray or lidded box for keys and mail
- Mirror (round or capsule shapes are extra forgiving in tight spaces)
- Shoe solution: rack, cabinet, or tray depending on your climate
- Optional but life-changing: a boot tray or washable mat
If you are on a tight budget, prioritize this order: hooks, then tray, then shoe control, then the pretty stuff.
FAQ
Will peel-and-stick wallpaper damage rental walls?
It depends on your wall paint, how long it stays up, and the specific brand. Many removable wallpapers are designed to come off cleanly, but matte, flat, or poorly cured paint can lift. Test a small piece in an inconspicuous spot and remove it after a week. Also, skip freshly painted walls and let paint cure fully first.
What if my walls are textured?
Heavy texture makes wallpaper adhesion tricky. In that case, try removable wallpaper on the back of the door, use a framed fabric panel leaned on a console, or create the “zone” with a washable runner and a mirror instead.
How do I create an entry without blocking the door?
Go vertical. Use hooks, a narrow mirror, and a floating shelf. If you want a surface, choose a ledge shelf deep enough for a tray but shallow enough to keep the door swing clear.
What is the smallest console depth that still feels usable?
Six inches can work if you only need a key tray and maybe a small catchall. Eight to ten inches feels more comfortable for setting down mail and a bag without things constantly sliding off.
Any tips for pet gear?
If you have a dog, add one dedicated hook for the leash and a small bin or lidded jar for waste bags. A pack of paw wipes tucked into your entry tray is also the kind of tiny habit that saves your rugs.
My favorite finishing touch
Add one “welcome home” detail that makes you smile. A tiny ceramic dish, a mini lamp with a warm bulb, or a candle you light when you walk in. Micro apartments can feel like everything is doing a job. Your entryway can do a job and feel like you.