Declutter fast, fold vertically, and increase hanging capacity with cascading hangers and smart zones. Small closet, big wardrobe: handled.
Space Ovo
Maximizing a Tiny Reach-In Closet
Turn a standard apartment reach-in into a hard-working closet. Follow this step-by-step plan to add a second hanging level, use door space when possible, and add modular drawers without losing your deposit.

Maya Brooks
Maya Brooks is an interior stylist and layout enthusiast who believes square footage should never dictate your home's style. After a decade of navigating cramped city studios, she shares practical, renter-friendly decorating and storage solutions to help others maximize their tiny spaces.
Created October 17, 2026
Updated October 17, 2026
If your reach-in closet is one sad bar and one wobbly shelf, you are not failing at adulthood. The closet is failing you.
I have lived with the classic rental setup more times than I can count, and the fix is usually the same: stop treating it like a single box and start setting it up like a tiny room with zones. We are going to add a second hanging level for short items, make the door earn its keep (when the door type allows it), and bring in modular drawers you can take with you when you move.
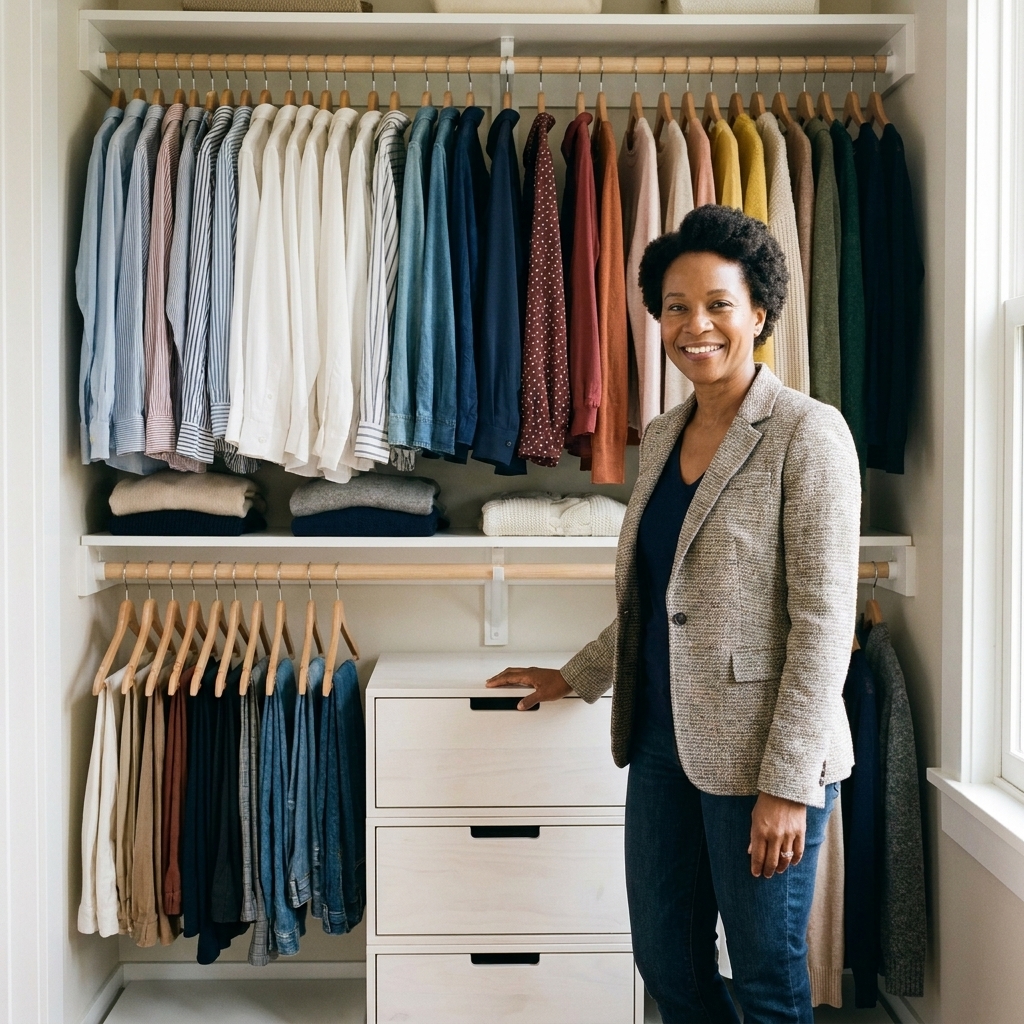
Before you buy anything
Step 1: Empty it
Yes, even the stuff you "might wear again." Pull everything out so you can see what you are working with, and wipe down the walls and shelf. Closets hide dust like it is their job.
Step 2: Measure (in a few minutes)
- Closet width: wall to wall
- Closet depth: back wall to the inside edge of the door frame
- Height: floor to shelf, floor to rod, and rod to ceiling
- Door clearance: how far the door swings or slides and how much space you have behind it
Write these down in your phone. Future-you will thank you in aisle 7 when you are staring at drawer dimensions.
Step 3: Sort into four piles
- Daily: workhorse pieces you actually wear
- Occasional: seasonal, formal, specialty
- Elsewhere: luggage, extra bedding, items that belong in another room
- Out: donate, recycle, sell
The goal is not minimalism. The goal is space for what you use.
Add a second hanging level
Most reach-ins waste vertical real estate. If you are hanging everything on one rod, you are storing air above it.
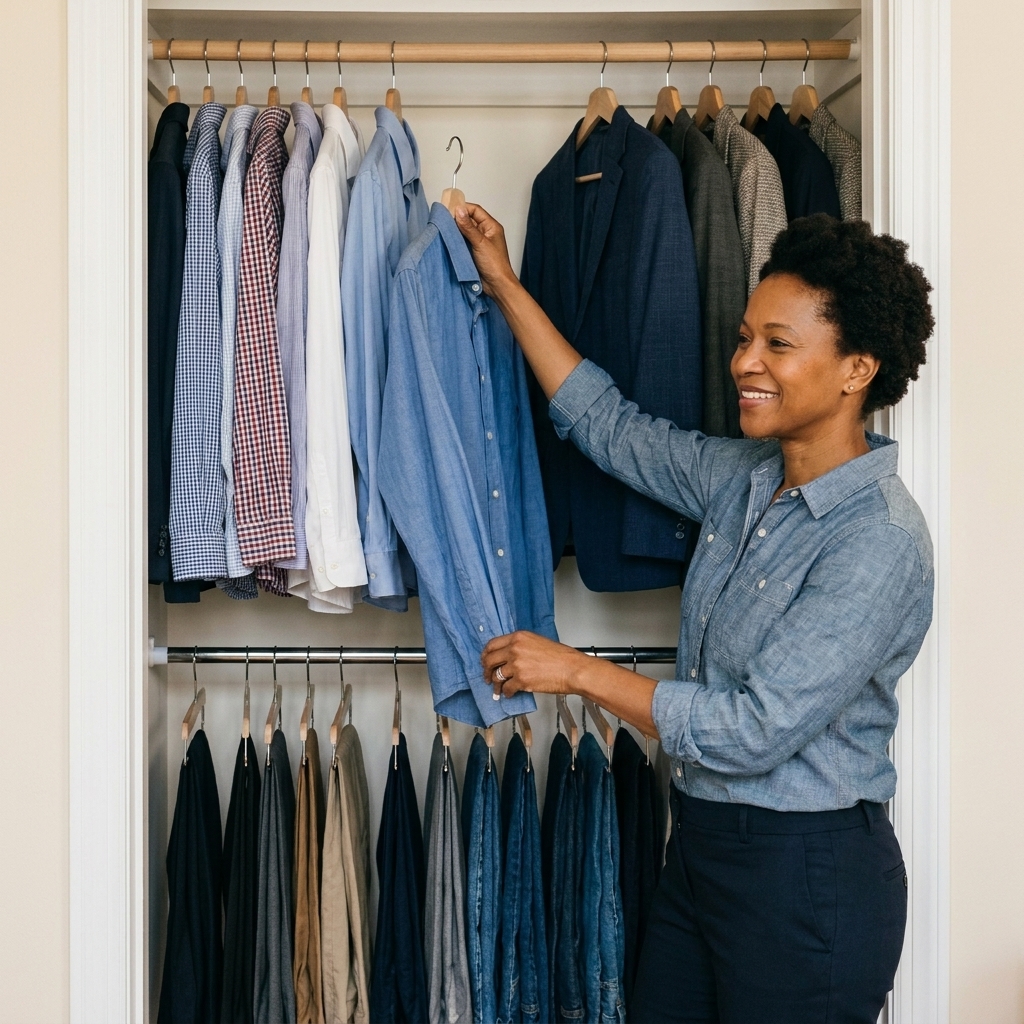
Step 4: Build two levels (renter-friendly)
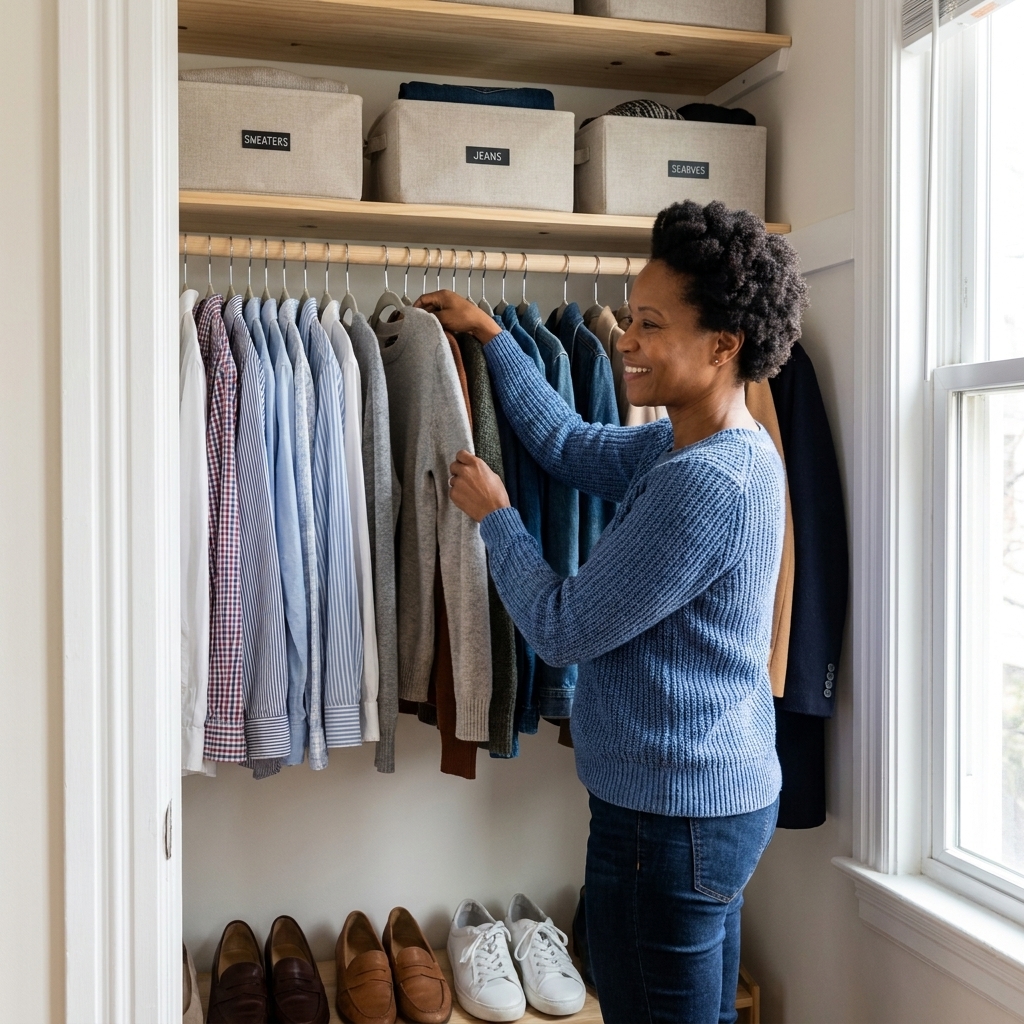
A second rod can often get you close to double the hanging capacity for shorter items like shirts and skirts. It will not magically double space if your closet is low, or if your wardrobe is 80 percent dresses and coats. Still, it is usually the biggest payoff upgrade you can make.
You have two renter-friendly options, depending on how permanent you want to go. If your lease is strict, stick with tension. If you are comfortable patching later, a light install kit is sturdier and cleaner.
- Tension rod under the existing rod: fast, inexpensive, and zero tools. Great for shirts, skirts, and folded-over pants on hangers.
- Second closet rod kit (light install): some versions screw into side walls. Check your lease first and plan to spackle and paint-match when you move out.
Simple height rule: Hang a shirt on a hanger, measure from the top of the hanger hook to the hem, then add 2 to 3 inches so it does not brush the rod or your drawers. Do the same for pants folded over a hanger. That number tells you how much vertical clearance you actually need.
Tetris rule: Put shorter items on the top rod (shirts, cropped jackets), and reserve long hanging space for the pieces that truly need it. Do not give floor-length privileges to everything.
Safety note for tension rods: Follow the manufacturer span and weight limits, especially on wider openings. Extend only as much as needed, test the hold gradually, and avoid cranking it so hard it dents drywall.
Use the door
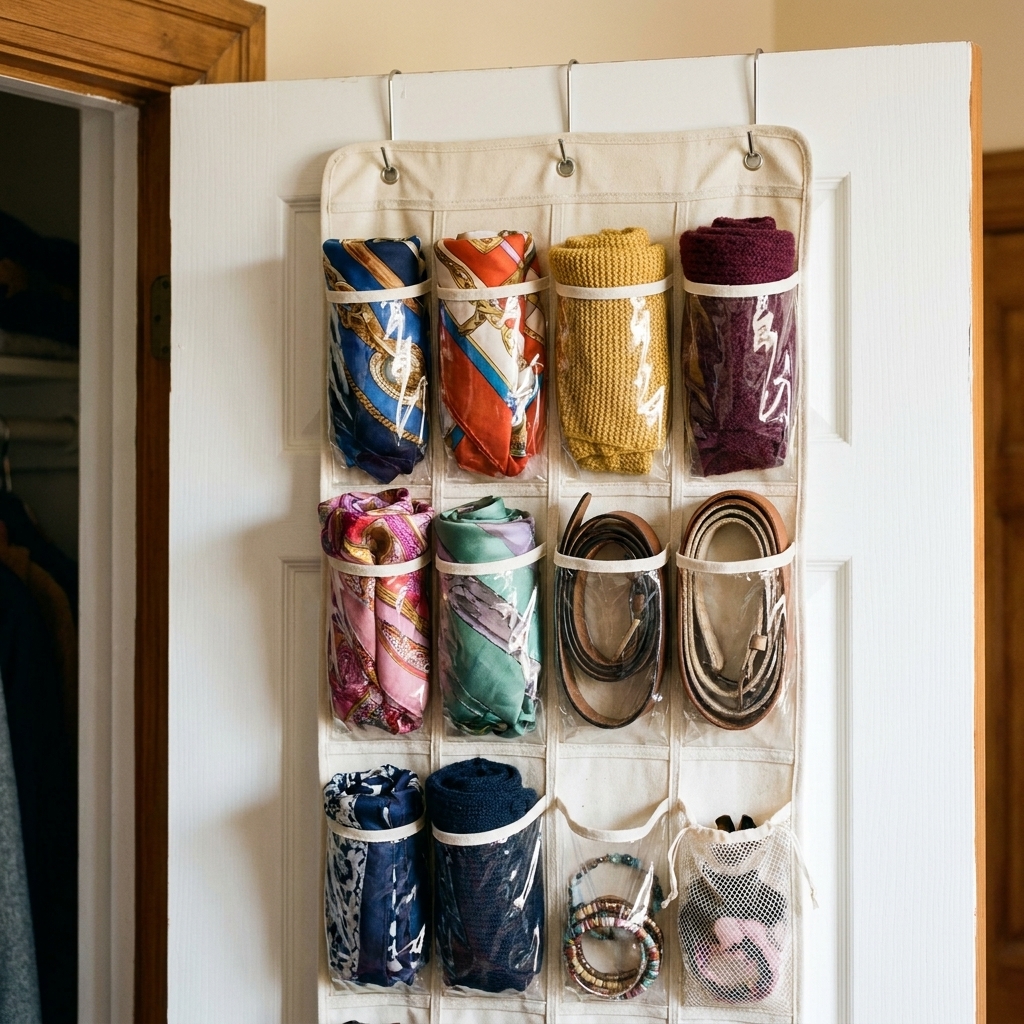
The back of the closet door is prime storage, especially in tiny apartments where every inch matters. The trick is choosing systems that do not slam, scrape, or block the door from closing.
Quick door reality check: Hinged doors are the easiest for over-the-door organizers. Sliding doors usually limit what you can hang, and bifold doors can be fussy. If your closet has sliders, you will often get better results with hooks or pockets on the side wall near the opening instead of the door itself.
Step 5: Match the door storage to the stuff
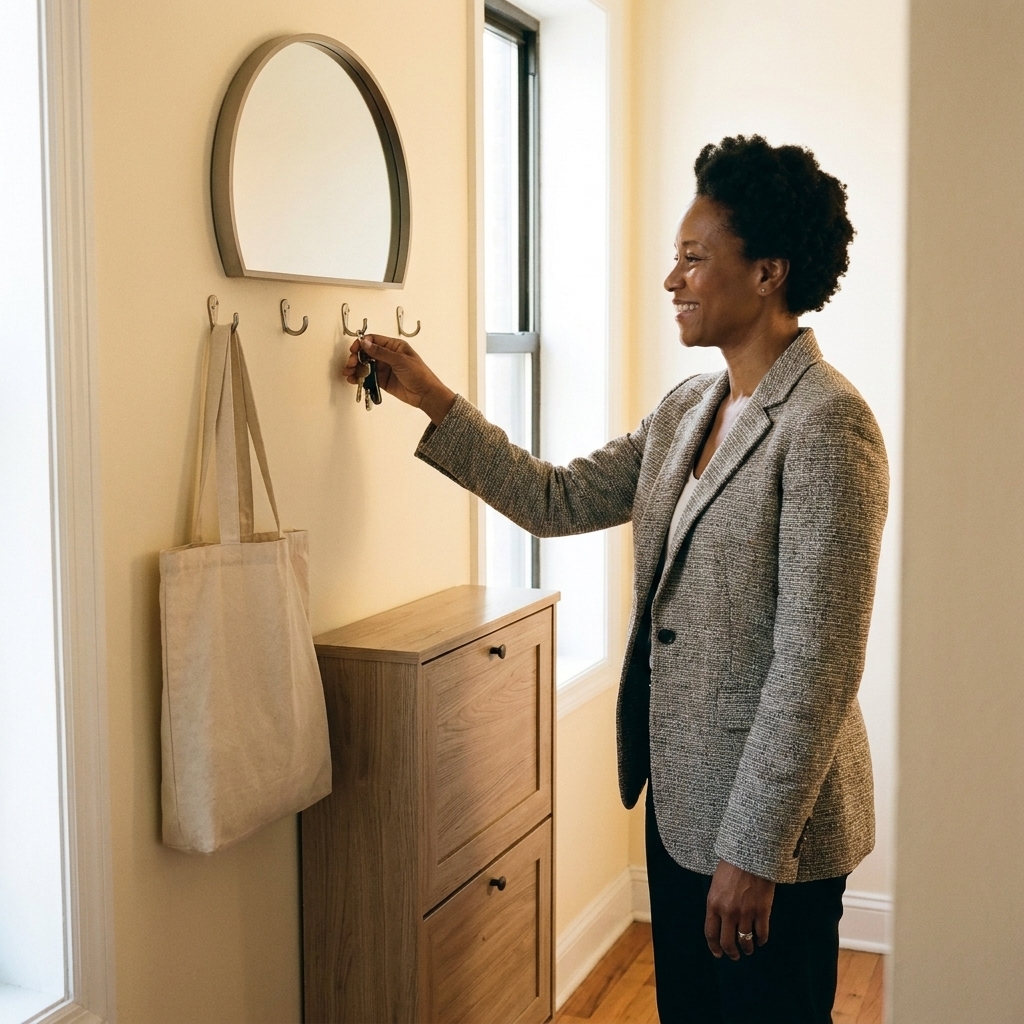
- Over-the-door hooks: best for bags, robes, belts, tomorrow's outfit. Choose thin metal hooks with felt pads so the door closes smoothly.
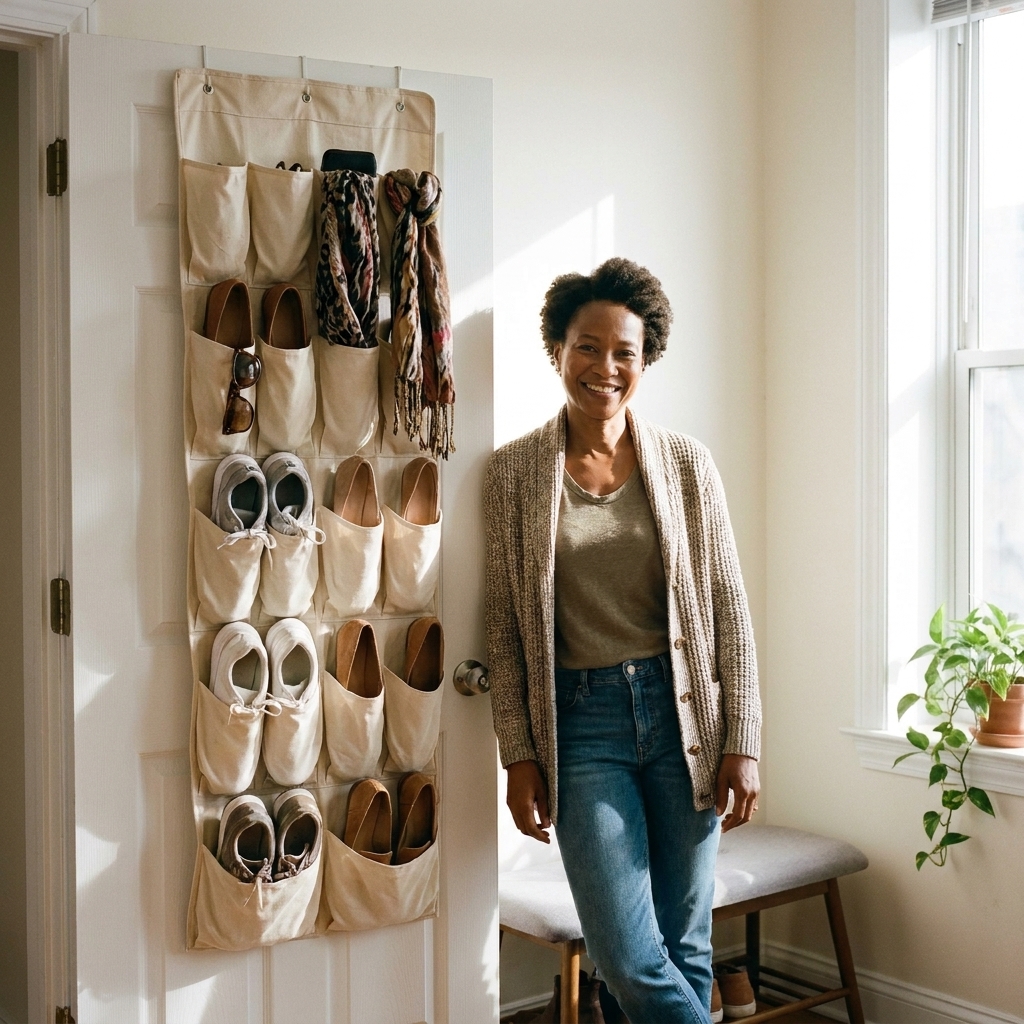
- Over-the-door pocket organizer: best for soft items like scarves, tees, workout gear, or small accessories. Avoid overloading pockets with heavy bottles.
- Over-the-door rack with baskets: best for shoes and bulky accessories, but only if your door has enough clearance and the rack is adjustable.
My renter tip: Add small adhesive bumpers where the organizer touches the door. It quiets the rattle and protects paint.
Add modular drawers
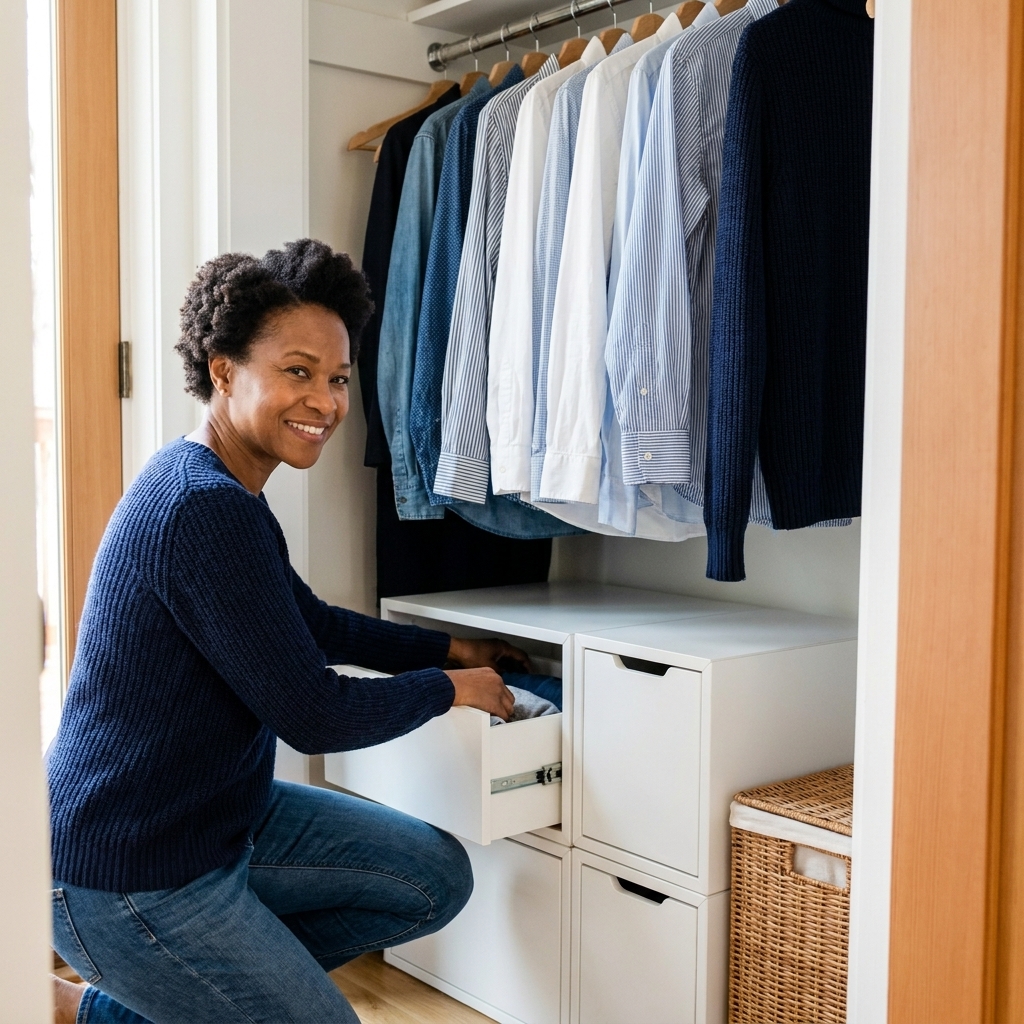
The floor of a reach-in closet tends to become a donation purgatory. Modular drawers turn it into predictable, contained storage that you can reconfigure later.
Step 6: Pick drawers that actually fit
- Low drawer units: ideal under hanging clothes.
- Stackable bins with pull-out fronts: great for flexible storage and awkward widths.
- Wire drawers: good airflow for gym clothes and linens. Add fabric liners if you do not want snags.
Fit tip: Choose drawer units that are 1 to 2 inches shallower than your closet depth so you have clearance for door trim, baseboards, and your hands. Shallow closets vary a lot, so your tape measure wins over any generic range.
What to store in drawers: socks, underwear, tees, gym wear, pajamas, accessories, and seasonal items you do not need daily. Hanging is precious. Save it for wrinkle-prone pieces.
Step 7: Build a mini closet-dresser layout
A simple layout that works in most reach-ins:
- Left side: drawers (everyday basics)
- Right side: open bin for a tote, hamper, or shoes
- Top: shelf baskets for seasonal and rarely used items
If you have a center support or weird bump-out, modular is your best friend. Buy smaller units and combine them instead of forcing one big piece.
Make the top shelf work
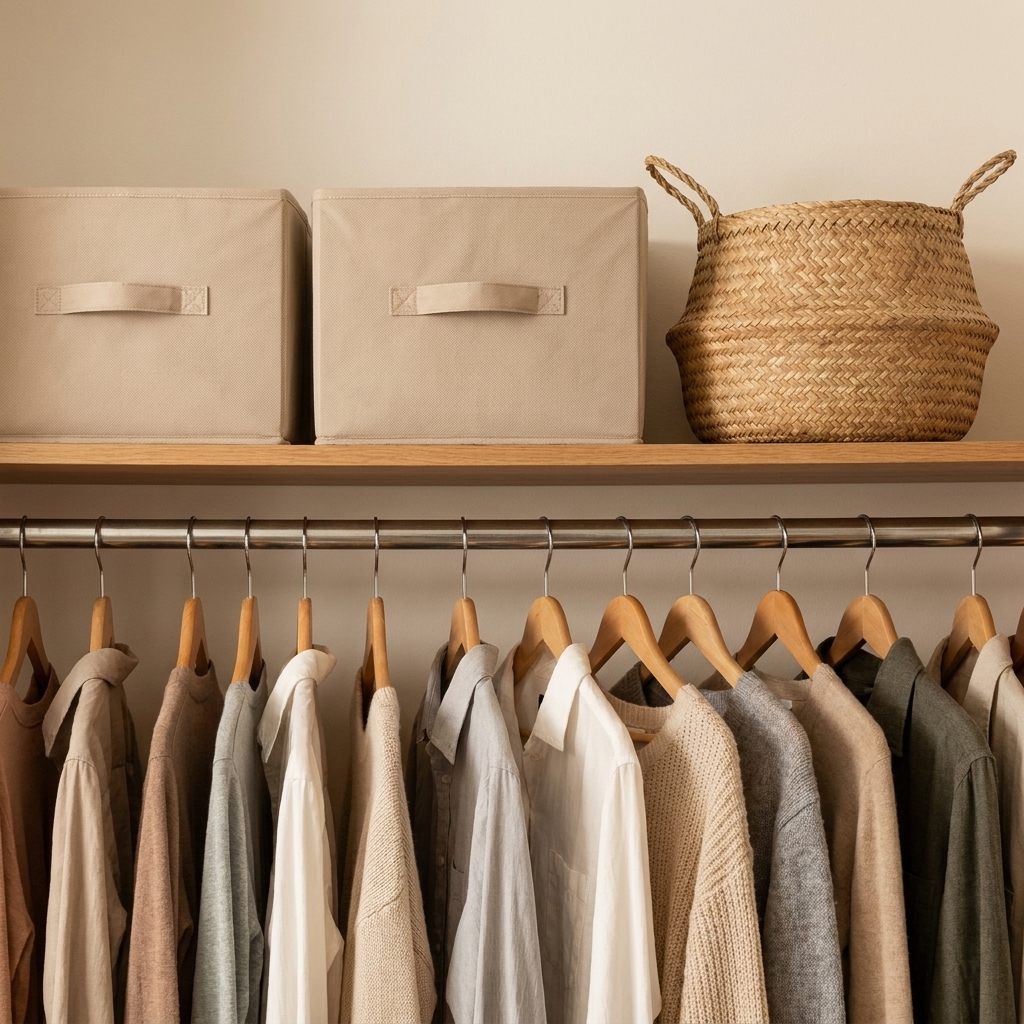
The top shelf is where things go to disappear. Give it structure and you will get that space back.
Step 8: Contain the shelf
- Use two to four matching bins instead of random bags. They slide better and look calmer.
- Front row rule: keep the current season or most-used items at the very front.
- Labels, if you want them: If you love a clean look, skip labels and keep categories consistent. If you share the closet or you forget what is where, add simple labels on the inside edge of bins so they are there when you need them and invisible when you do not.
Small-space visual trick: Matching bins reduce the busy look, which makes the closet feel larger even when it is full.
Set up zones
Once you have the structure, zoning keeps it from sliding back into chaos.
Step 9: Assign zones to match your habits
- Prime zone (eye level): daily clothing
- Easy reach zone (waist level): drawers for basics
- Low zone (floor): shoes, hamper, bags
- High zone (top shelf): seasonal, backups, memory items
If you constantly drop things on the floor, it is not a willpower problem. It is a zone problem. Add a bin or a hook where your hand naturally goes.
Shoe storage options
Shoes are the item that quietly wrecks a reach-in. Give them a plan and the floor stays clear.
Step 10: Choose one shoe system
- Slim shoe shelf: best for pairs you wear weekly. Put it on the floor under short-hang items.
- Angled shoe rack: takes up less depth and makes pairs easier to see.
- Clear stackable boxes: best for protecting nicer shoes and keeping dust off.
- Door rack (only with clearance): works well on hinged doors, but test first so the door still closes.
Finishing touches
Step 11: Upgrade hangers and spacing
- Use slim velvet hangers to reduce bulk and keep clothes from slipping.
- Hang by category (tops, pants, dresses) then by color if you like. Finding things faster is a form of extra space.
- Leave a little breathing room: If everything is jammed together, you will stop putting things away.
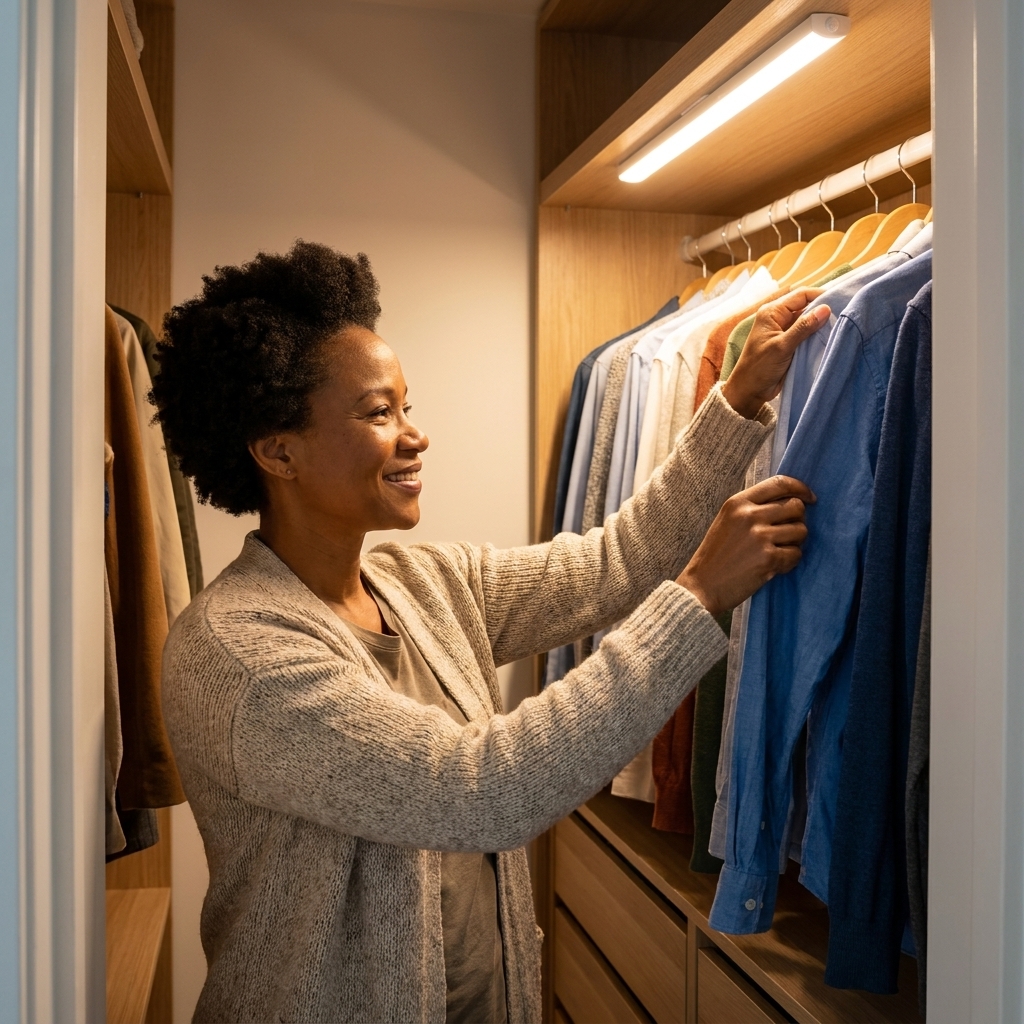
Step 12: Add light
A battery motion-sensor LED puck light or LED bar inside the closet is a tiny upgrade with huge impact. Better visibility means you actually use the systems you set up.
Quick safety note: Stick with LEDs, follow the mounting instructions, and place the light where it will not be pressed directly against fabrics. If the packaging says it is rated for closets, even better.
Common problems
The rod is bowing
Reduce weight on the rod by moving heavy sweaters into drawers or shelf bins. If your closet has a center bracket, make sure it is not loose. For tension rods, follow the span and weight rating and test gradually. If it slips, it is telling you the setup is overloaded.
The door organizer blocks the door
Switch to a slimmer hook style, or use adhesive hooks on the inside wall near the door frame instead. Also check hook thickness. Some are weirdly chunky.
Drawers do not fit under hanging clothes
Shorten what hangs above that area (tops only), or choose a lower drawer unit. In tight closets, depth matters as much as height. A slightly shallower unit often solves the problem.
I have more clothes than space
Make one non-negotiable boundary: one drawer is for tees, or one bin is for sweaters, but not both. Boundaries force decisions without requiring you to purge your personality.
Keep it organized
- Weekly: put stray items back into their zones, return hangers to the rod
- Monthly: quick edit of the door organizer and top shelf front row
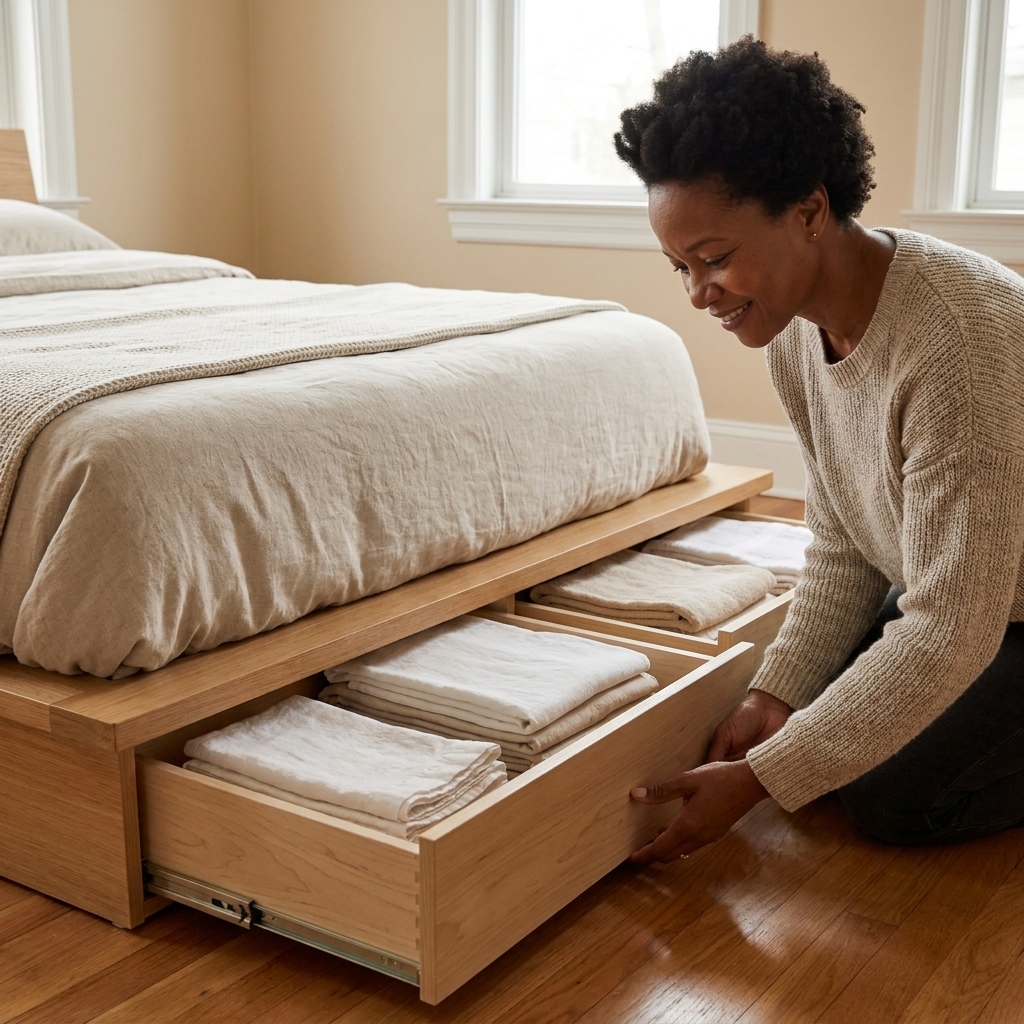
- Seasonally: swap shelf bins, rotate out-of-season items to the back or into under-bed storage
The goal is a closet you can reset in 5 minutes, not an Instagram set that collapses the moment you have laundry.
Shopping checklist
- Measuring tape
- 1 tension rod (or a second rod kit if allowed)
- Slim hangers (enough to match)
- Over-the-door hooks or organizer with felt pads (or wall hooks if you have sliding doors)
- 2 to 4 shelf bins
- 1 to 2 modular drawer units sized to your measurements
- Battery motion-sensor LED light
- Adhesive bumpers (for door systems)
- Shoe rack or clear shoe boxes (pick one)
If you only buy one thing, make it the second hanging level. It is the closest thing to adding more closet without moving walls.