
Shelving layouts, door organizers, and drying solutions that turn a cramped stackable washer dryer closet into a tidy, renter-friendly system.
Space Ovo
Where to Dry Wet Laundry in a Studio Without Creating a Damp Corner
Drying laundry in a studio is all about airflow, drip control, and clearance. Here are the best fold-away rack spots, what to avoid, and a simple humidity check so your place stays fresh.

Maya Brooks
Maya Brooks is an interior stylist and layout enthusiast who believes square footage should never dictate your home's style. After a decade of navigating cramped city studios, she shares practical, renter-friendly decorating and storage solutions to help others maximize their tiny spaces.
Created October 18, 2026
Updated October 18, 2026
If you live in a studio, air-drying laundry is not just a “where do I put this rack?” problem. It is a moisture management problem. Put wet clothes in the wrong corner and you get that stubborn damp smell, foggy windows, and a little microclimate you did not ask for.
Good news: you can absolutely air-dry in an occupied studio without turning it into a sauna. The trick is choosing a fold-away rack position that balances three things:
- Ventilation: moving air dries clothes faster and keeps humidity from pooling.
- Drip protection: water should land on something washable, not your rug or hardwood.
- Usable drying clearance: you need enough space around garments so fabric is not pressed together.
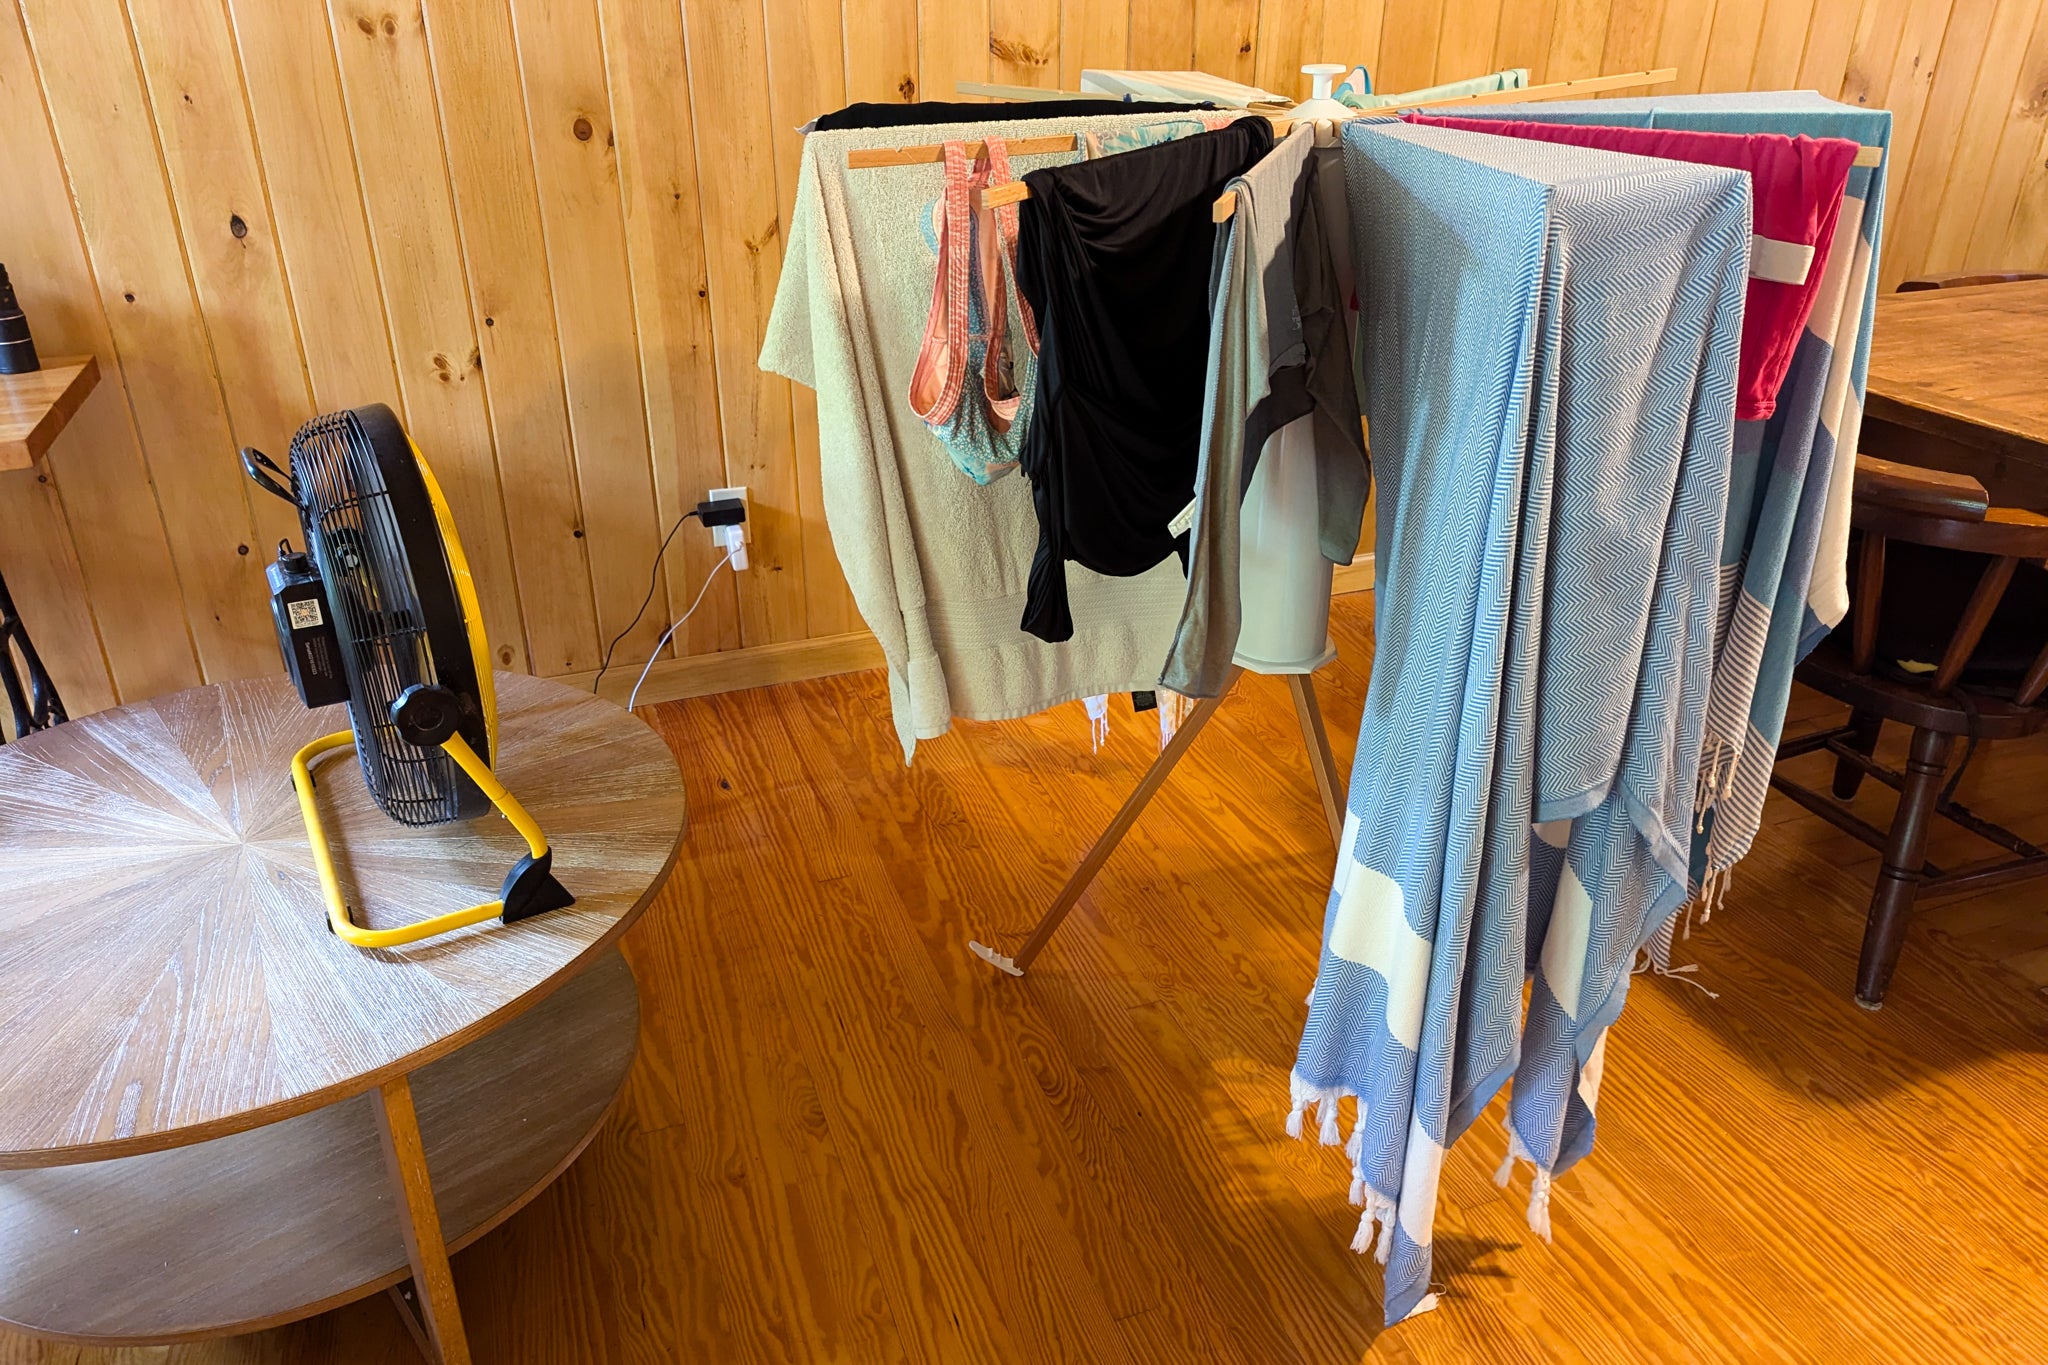
The three non-negotiables: airflow, drips, clearance
1) Airflow wins over almost everything
In a studio, the “best” drying spot is usually the place where air naturally moves: near a window you can crack, near (but not blocking) a ventilation fan, or in the path of a circulating fan.
What you want to avoid is the dead zone: behind a sofa, wedged between a wardrobe and a wall, or tucked into a corner with no cross-breeze.
2) Drip protection is the difference between fresh and funky
Even if you spin well, hems and thick seams drip. Plan for it. My go-to drip setups:
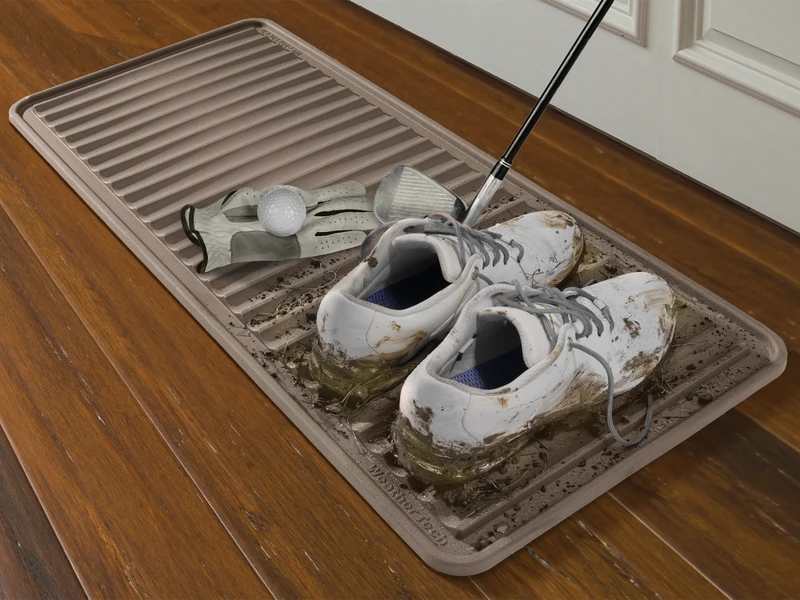
- Waterproof boot tray (the big kind for snowy shoes) under the rack.
- Shower curtain liner folded under the footprint of the rack.
- Microfiber towels you can toss in the wash after.
3) Clearance: give your clothes breathing room
If shirts are touching, you are creating a damp blanket. Aim for a hand’s width between items when possible, and rotate bulky pieces halfway through drying.
Best fold-away rack spots in a studio (ranked)
Below are studio-friendly positions for a fold-away rack, compared by ventilation, drip protection, and usable clearance. Think of this as “where your laundry should live for the next 8 to 24+ hours,” depending on fabric weight, indoor humidity, and airflow.
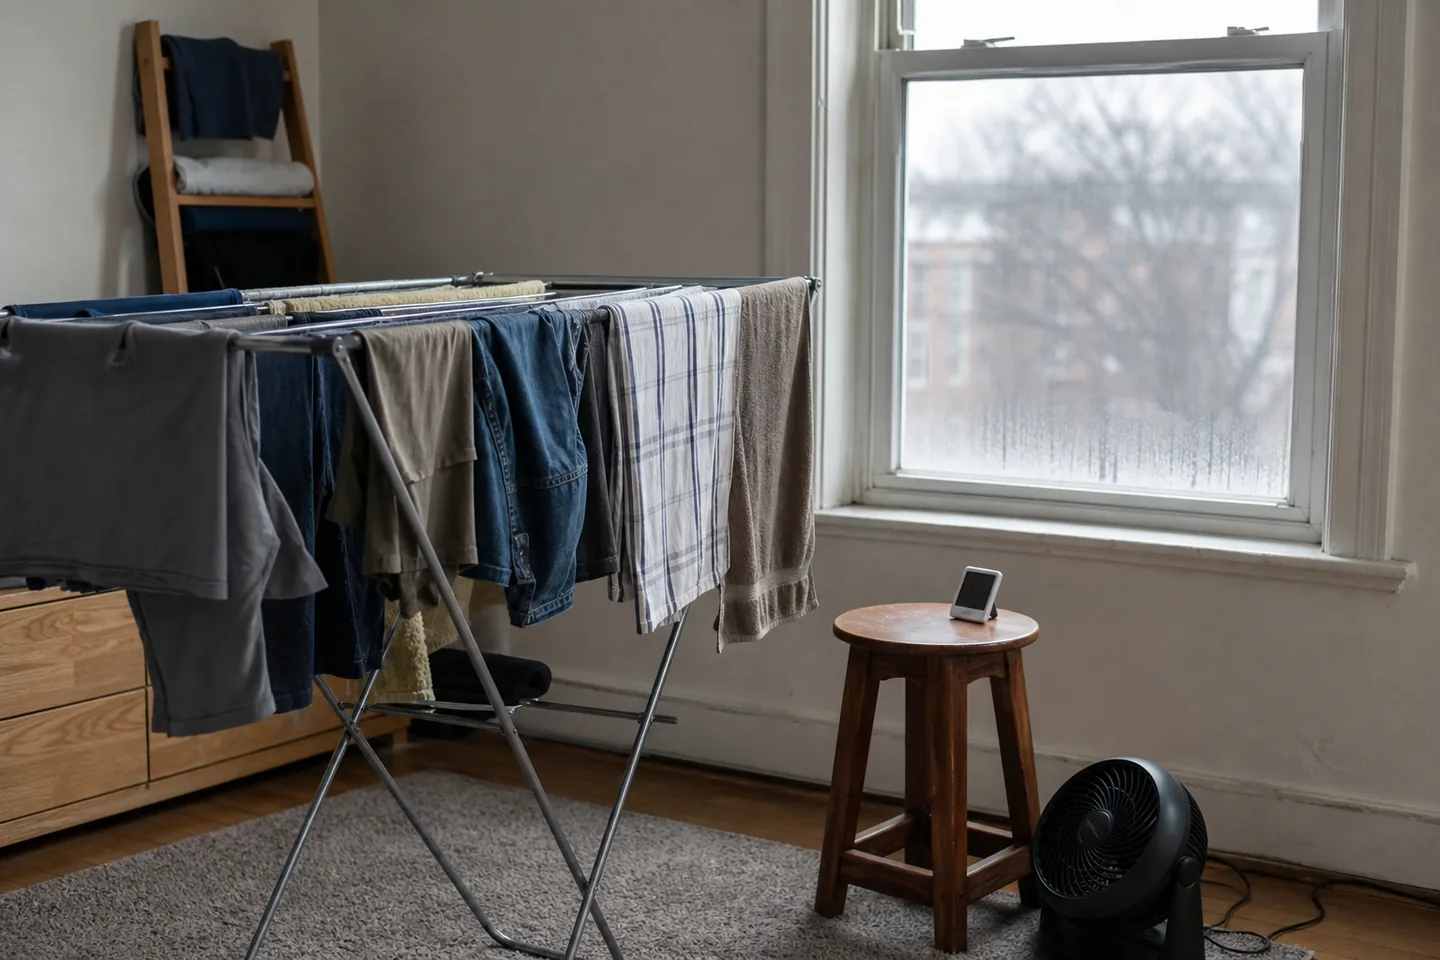
1) Near a window with a cracked opening
Ventilation: Excellent if you can open even 1 to 2 inches.
Drip protection: Easy to manage with a tray or liner under the rack.
Usable clearance: Usually good because windows are often beside a wall, not in the center of traffic.
Make it work: Set the rack so garments face the room, not pressed against the window glass. If you can, run a small fan on low, pointed across the clothes (not straight at one item) to keep drying even.
2) In the bathroom with the fan on (door open a crack)
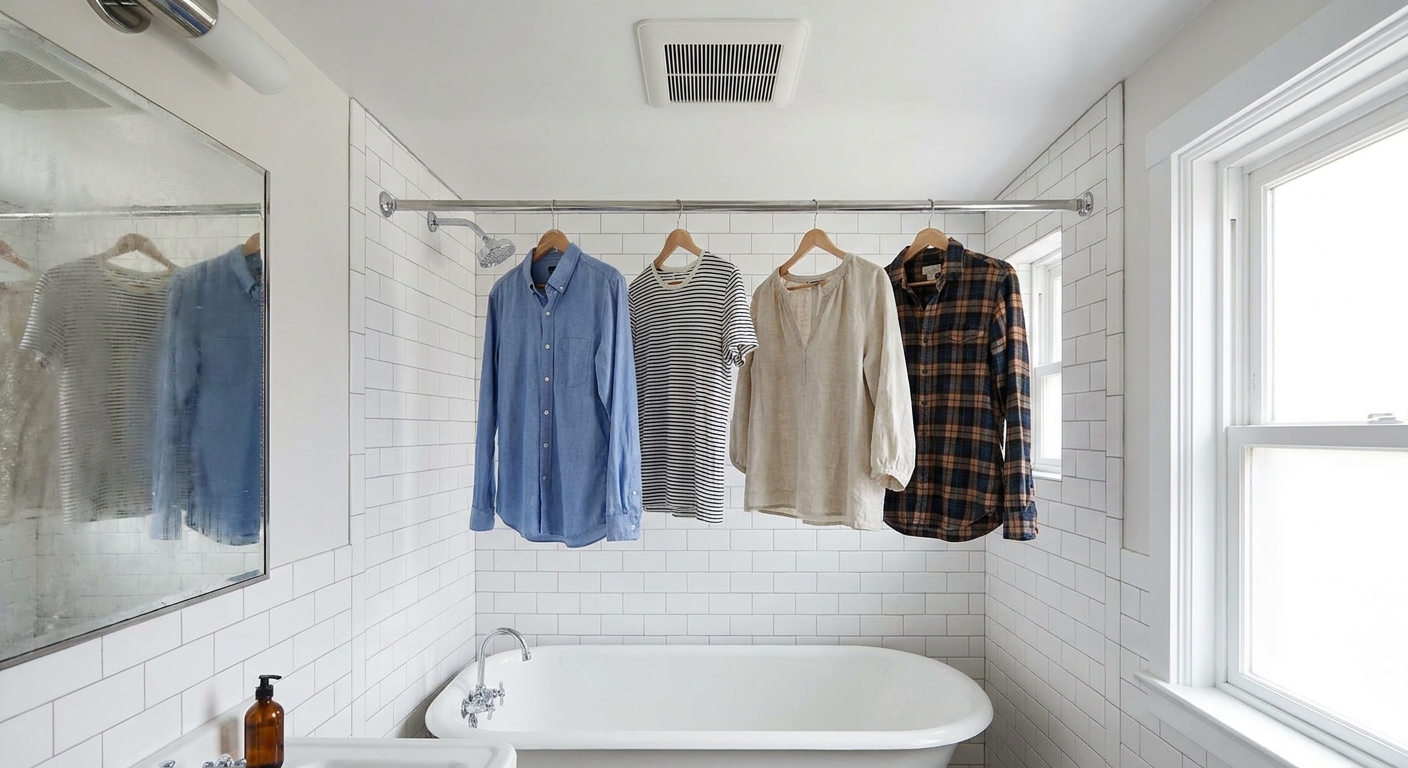
Ventilation: Very good if you have an exhaust fan that actually vents outside.
Drip protection: Best-case scenario because you are already in a wet zone.
Usable clearance: Can be tight, but it is contained and out of your main living area.
Make it work: If your bathroom is tiny, choose a rack with vertical wings. Keep a small gap between the rack and the shower curtain so fabric is not sucking up moisture. Run the bathroom fan during the wettest phase (first few hours), then reassess.
3) Along an exterior wall (with a gap and airflow)
Ventilation: Medium. Exterior walls can be cooler, and cooler air and surfaces can slow evaporation. More importantly, if indoor humidity is high, cold walls are where condensation likes to show up first.
Drip protection: Simple with a liner or towels.
Usable clearance: Good if you place the rack along the wall and preserve a walkway.
Make it work: Pull the rack 6 to 10 inches away from the wall so air can circulate behind hanging items. This helps prevent the classic “damp stripe” and lowers the odds of condensation on paint, trim, and drywall. If you regularly see moisture beading on that wall or nearby windows, choose a different spot and dry smaller loads.
4) Over the tub edge or shower rod (as an add-on)
Ventilation: Medium, depending on your bathroom fan and bathroom size.
Drip protection: Excellent because drips land in the tub.
Usable clearance: Limited. Clothes often bunch up and dry slowly.
Make it work: Use this for small items and delicates. If you hang shirts on hangers from the shower rod, space them out and rotate them so sleeves do not stay folded and wet.
5) In front of a windowed balcony door (only if you can spare the path)
Ventilation: High if you can crack the door.
Drip protection: Needs attention because this is often a high-traffic area with flooring you care about.
Usable clearance: Often the worst, because it steals your main route.
Make it work: Choose a rack that folds narrow, and position it so you can still open the door safely. Put shoes, bags, and anything trip-worthy somewhere else for the drying window.
Spots to avoid (even if they seem convenient)
- Behind the sofa or bed: low airflow plus upholstered fabric equals lingering moisture and odor.
- In a tight corner: it creates a damp pocket, especially in older buildings.
- Over a rug: rug fibers hold humidity longer than you think, and backing can trap moisture against the floor.
- Pressed against a wall: slows drying and can encourage condensation on cooler surfaces.
Ventilation upgrades without a dehumidifier
I love a good gadget, but you can do a lot with what you already have.
Use a fan, on purpose
Point a fan so it moves air across the rack, not straight into one pile of jeans. Side-to-side airflow helps everything dry evenly and discourages that damp corner effect.
Create cross-ventilation when possible
If you have two openings, even small ones, crack both. Example: a living room window and the bathroom door. You are basically giving humid air an exit route.
Time your drying window
If your building gets morning sun, dry in the morning. If your unit runs hot at night, dry earlier in the day so you are not sleeping in a humid cloud.
Drip protection that looks decent
Yes, you can be practical and not feel like you live in a laundry room.
- Boot tray under the rack: looks intentional, catches everything, easy to slide under a bed when not in use.
- Neutral shower liner “mat”: clear or white blends in and folds small.
- Two-towel system: one towel directly under the drippiest zone (thick hems), one towel under the rest of the rack footprint.
Extra credit: give the floor a quick wipe after you fold the rack away. In a studio, tiny residues add up fast.
Clearance: the “I still live here” layout
I plan drying setups the way I plan furniture: protect the main circulation path first.
A simple clearance rule
- Keep one clear walkway from your entry to your kitchen area and bathroom.
- Leave 18 to 24 inches of space around at least one long side of the rack so you can hang and remove items without contorting.
- Do not block closet doors you need daily. If you dread moving the rack, you will avoid doing laundry. Ask me how I know.
My favorite studio placement trick
Place the rack parallel to your longest wall, then “float” it slightly off the wall. It reads tidier, and it dries faster than a rack jammed into a corner.
Quick humidity check
If your studio starts feeling swampy, do not guess. Check.
The easiest check: a small hygrometer
A cheap digital hygrometer is one of the most renter-friendly upgrades you can buy. You are looking at relative humidity.
- Comfort range (often): many indoor air quality guidelines put everyday comfort roughly in the 30% to 50% zone.
- If you keep hitting 60%+ while air-drying, treat it as a practical red flag: you likely need more ventilation, fewer items drying at once, or a dehumidifier for heavy laundry days.
No hygrometer? Use these signals
- Windows fogging away from the kitchen and shower.
- Clothes still feel cool and clammy after many hours.
- A persistent musty smell near the rack or along a wall.
If you notice any of these, crack a window, run the bathroom fan, and turn on a fan to move air across the rack.
If you see recurring condensation or specks
If a wall or window keeps wetting up during laundry days, take it seriously. Wipe surfaces dry, dry smaller loads, and move your rack to a better-ventilated spot. If it keeps happening anyway, that is when a dehumidifier (even a small one) earns its keep.
Safety rules: heat, exits, vents
Studio living means your “systems” overlap. Laundry should never interfere with safety or heat sources.
- Do not block heaters or radiators. Wet fabric can restrict airflow, create uneven heating, and in some cases become a fire risk depending on the heat source and distance.
- Do not drape clothes over space heaters or place racks too close to them. If you use a space heater at all, keep laundry far away and follow the heater’s manual clearance guidelines.
- Keep exits and paths clear. Your rack should not narrow your route to the door, especially at night.
- Do not block vents (HVAC returns, baseboard convectors, bathroom vents). You want air moving, not trapped behind a wall of denim.
- Avoid drying directly under smoke detectors if it means you will be tempted to relocate the detector or ignore it. Keep detectors unobstructed.
My studio drying routine
- Spin again if your washer allows it. High spin and smaller loads are your easiest humidity control.
- Shake each item before hanging. It creates tiny air pockets and speeds drying.
- Hang thick items first with the most spacing. Expect towels, hoodies, and denim to take longer than tees.
- Put a tray or liner down before the first drip hits the floor.
- Crack a window or run the bathroom fan for the first few hours.
- Flip or rotate bulky pieces once, about halfway through.
- Fold the rack away as soon as everything is dry. Your studio deserves to be a home again.
FAQ
Is it okay to dry laundry in the same room where I sleep?
Yes, plenty of studio dwellers do. The key is controlling humidity and comfort. If the room feels noticeably damp, you wake up feeling stuffy, or you notice foggy windows, improve ventilation and reduce the amount you dry at once. A hygrometer helps you make this decision with real numbers.
What is the best rack type for studios?
A vertical fold-away rack or a slim wing rack usually wins because it gives you more drying length without eating your walkway. If you dry lots of shirts, a rack that supports hangers is a bonus.
How do I prevent the damp smell?
Space items out, move air across the rack, and do not let clothes sit in the washer. If something still smells musty after drying, rewash it with proper detergent dosing and dry it with more airflow.
Should I dry clothes on a radiator?
I avoid it in studios. It can block heat circulation, slow overall room drying, and it is easy to overdo it and create a humid pocket. If you must use a warm area, keep a safe distance, never drape fabric directly over a heater, and prioritize airflow.
Can my building forbid indoor drying?
Some leases and building rules discourage indoor drying because of humidity and condensation risk. If your management is strict or you have a history of window and wall condensation, keep loads smaller, ventilate aggressively, and use contained spots like the bathroom whenever you can.
If you want a one-sentence rule to tape to your brain: dry where air moves, protect the floor, and keep your exits and heaters clear. Your studio can handle laundry day, no damp corner required.