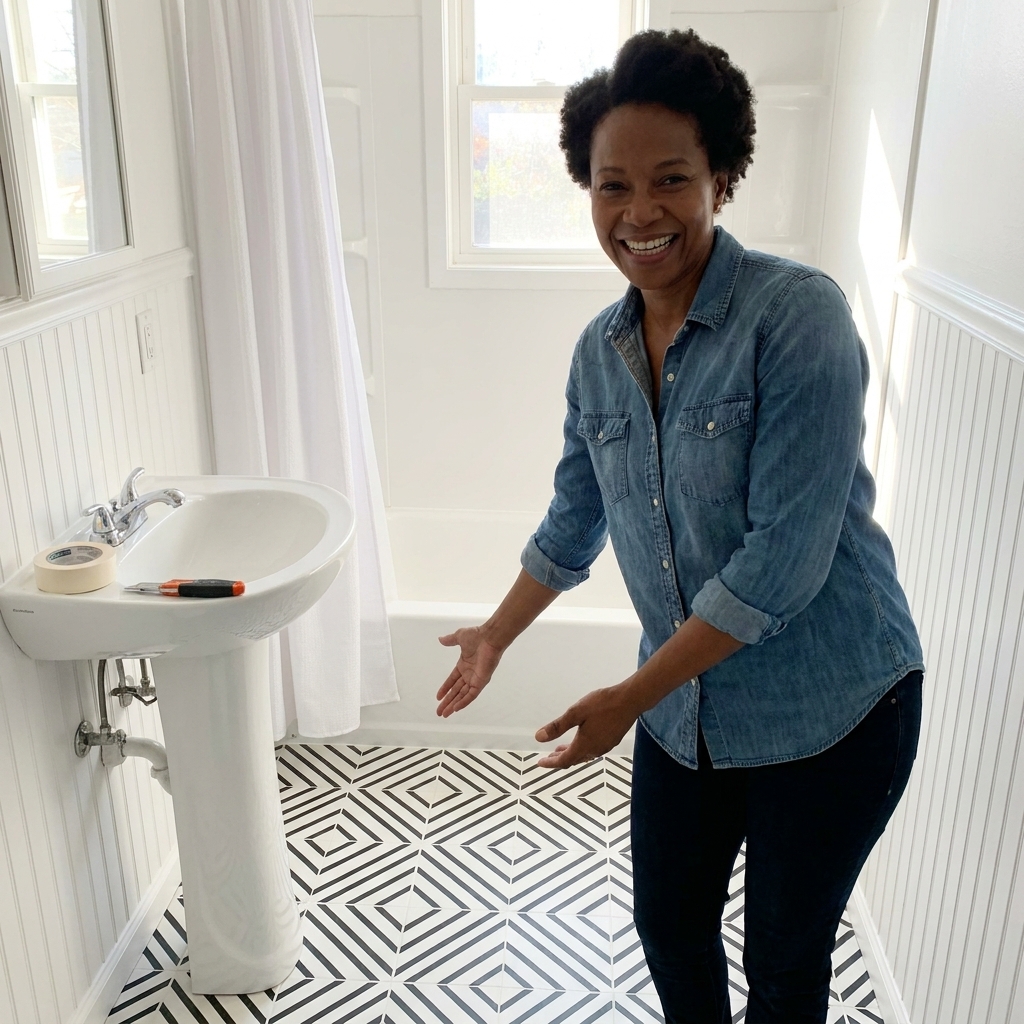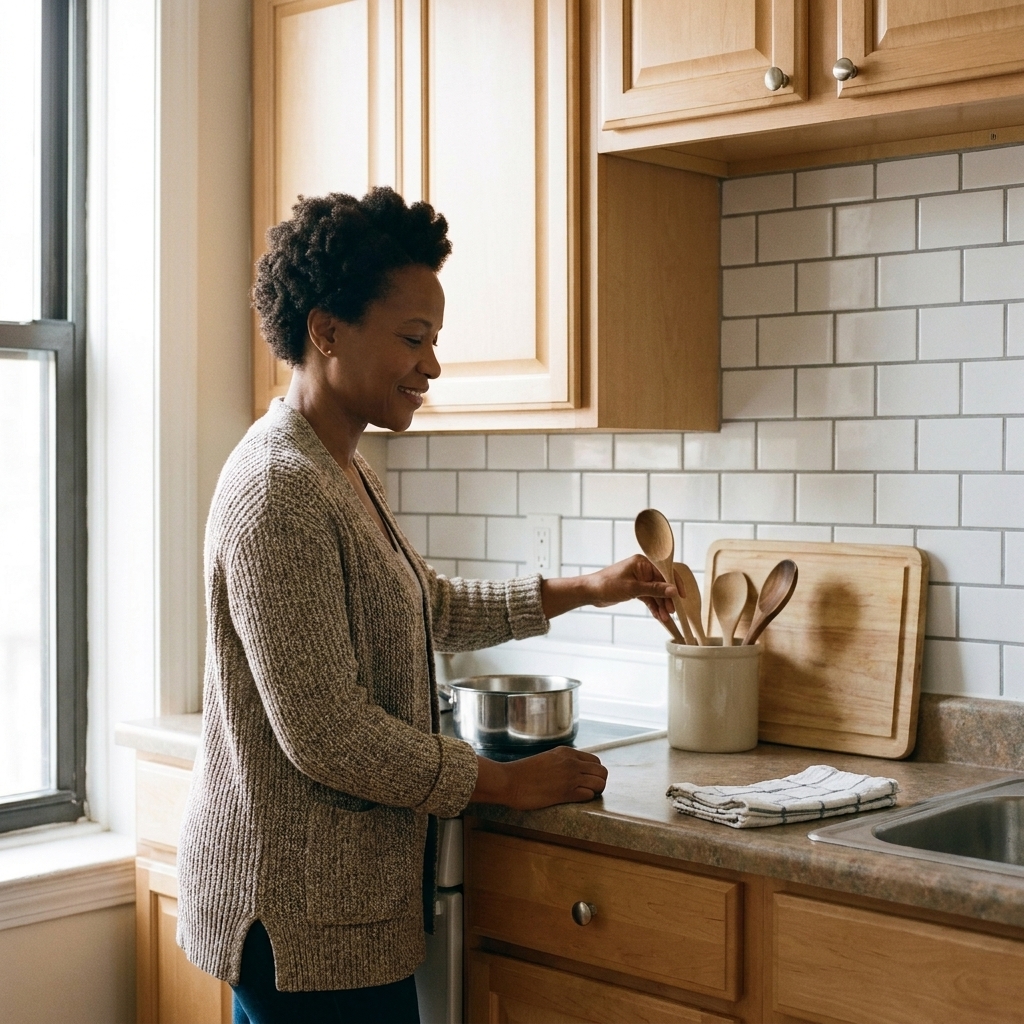
A renter-friendly, step-by-step kitchen refresh: peel-and-stick backsplash, cabinet hardware swaps, and vertical storage tricks that make a small kitchen fee...
Space Ovo
Hardware Swaps 101 for Renters
Upgrade your rental fast by swapping faucets, knobs, pulls, and showerheads. Learn what fits, what tools you need, how to avoid damage, and how to store originals for move-out day.

Maya Brooks
Maya Brooks is an interior stylist and layout enthusiast who believes square footage should never dictate your home's style. After a decade of navigating cramped city studios, she shares practical, renter-friendly decorating and storage solutions to help others maximize their tiny spaces.
Created October 17, 2026
Updated October 17, 2026
If your apartment came with the classic “builder beige” cabinet pulls and a faucet that looks like it came free with a spreadsheet, I have good news. Hardware swaps are one of the highest-impact, lowest-commitment upgrades you can do as a renter, at least in my experience. You get the satisfaction of a custom look, your landlord gets their original pieces back later, and your tiny kitchen or bath suddenly feels like it has a point of view.
I have done this in more rentals than I can count, usually on a Sunday afternoon with a measuring tape in one hand and a little zip bag of screws in the other. Here is exactly how to upgrade knobs, pulls, and even faucets without angering your security deposit.

Before you start
A quick reality check before you order a cart full of brass:
- Read your lease, then decide if you need permission in writing. Most landlords do not mind “remove-and-replace” swaps that are fully reversible, but plumbing fixtures are where some leases get strict.
- Do not throw away originals. Keep every piece and screw.
- If you cannot fully shut off water at the fixture, stop. If shutoff valves will not budge or you cannot get water to stop flowing, call maintenance or a plumber. This is not the moment for optimism.
What you can swap
Most rentals are fair game for “remove-and-replace” updates as long as you do not drill new holes, alter plumbing permanently, or toss the originals. Always check your lease, but these are typically renter-friendly swaps:
- Cabinet knobs and pulls (kitchen, bathroom, built-ins)
- Drawer pulls (vanities, built-in storage)
- Towel bars and toilet paper holders (only if you reuse the same mounting holes)
- Showerhead (high impact, usually easier than a faucet)
- Kitchen or bathroom faucet (doable, just more involved)
If you are in a very small space, hardware swaps matter even more because your eye catches details faster. In a studio kitchen, you might only have 8 cabinet doors, which means every knob is basically jewelry.
Measure first
For knobs
Knobs typically use a single hole. If the existing knob is centered and you plan to reuse the same hole, the swap is almost always painless. Just confirm the new knob includes a screw long enough for your cabinet door thickness (most do, but not all).
For pulls
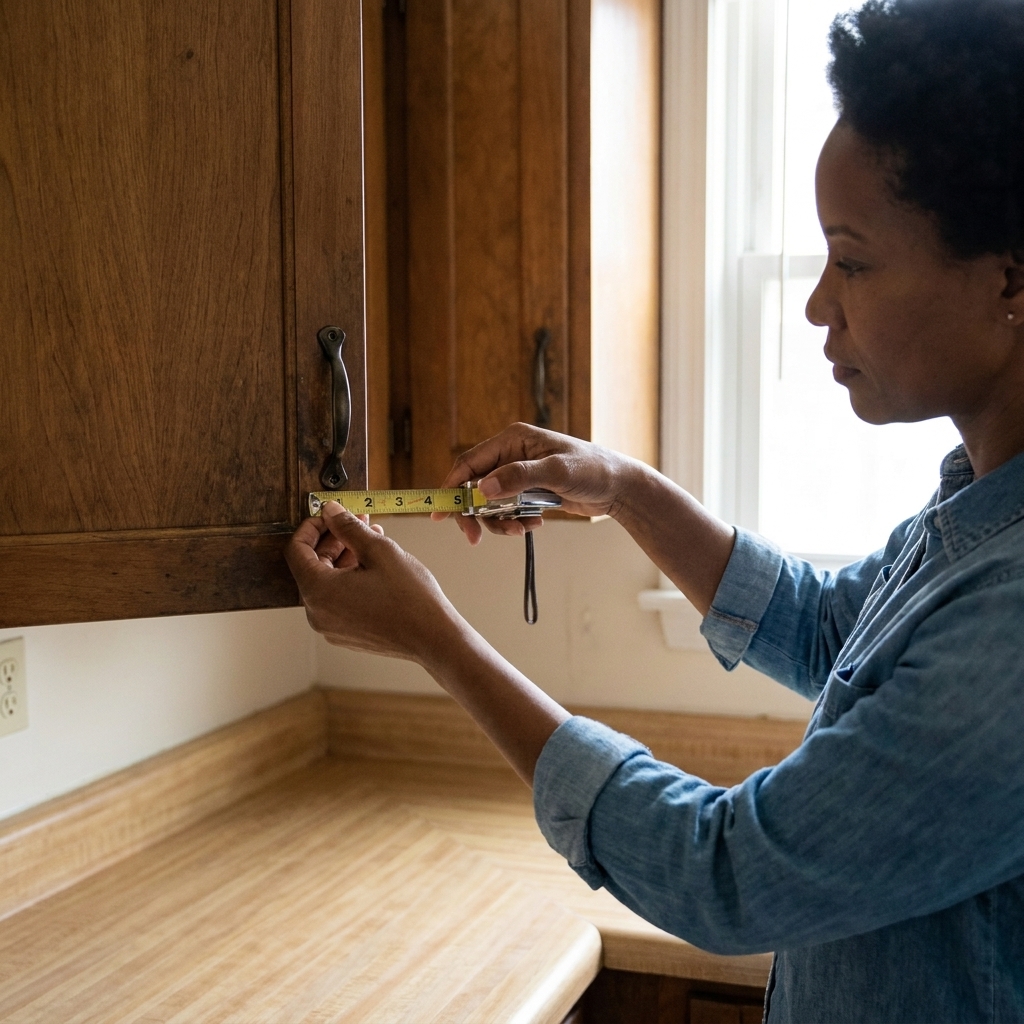
Pulls use two holes, and spacing matters. What you need is the center-to-center measurement, which is the distance between the centers of the two screw holes.
- Remove one pull and measure from the center of one hole to the center of the other.
- Common sizes include 3 inches (76 mm), 3 3/4 inches (96 mm), 5 1/16 inches (128 mm), and 6 5/16 inches (160 mm).
- Manufacturers vary, so measure yours and match it exactly to avoid drilling new holes.
Tiny-space tip: If your cabinets are visually busy (lots of doors), go for simpler hardware with clean lines. If your kitchen is one wall and you want it to feel intentional, choose a statement finish like unlacquered brass or matte black.
Tools and supplies
You do not need a full workshop. Here is my realistic hardware-swap kit:
- Measuring tape (or a ruler with millimeters if your hardware uses metric sizing)
- Manual screwdriver (Phillips is most common). A drill is faster, but a hand screwdriver helps prevent stripped screws.
- Small container or magnetic tray for screws
- Painter’s tape to protect surfaces while you work
- Zip-top bags (the unsung heroes of your security deposit)
- Label maker or Sharpie
- Optional: a few extra machine screws in common sizes (many pulls use #8-32 in the U.S., but some use metric like M4). If your new pulls do not tighten because the screw is too long or too short, buying the right screw is cleaner than trying to cut one down.
- Optional: removable (blue) thread locker (skip unless screws constantly loosen)
Swap knobs and pulls
1) Do one door first
Swap a single cabinet door or drawer as your test. Confirm the fit, screw length, and comfort. Nothing is worse than installing 18 pulls and realizing they pinch your fingers when you open a drawer.
2) Protect the finish
Put a small strip of painter’s tape around the hardware area. This helps prevent accidental scratches from slipping screwdrivers, especially on glossy cabinets.
3) Remove old hardware and bag it
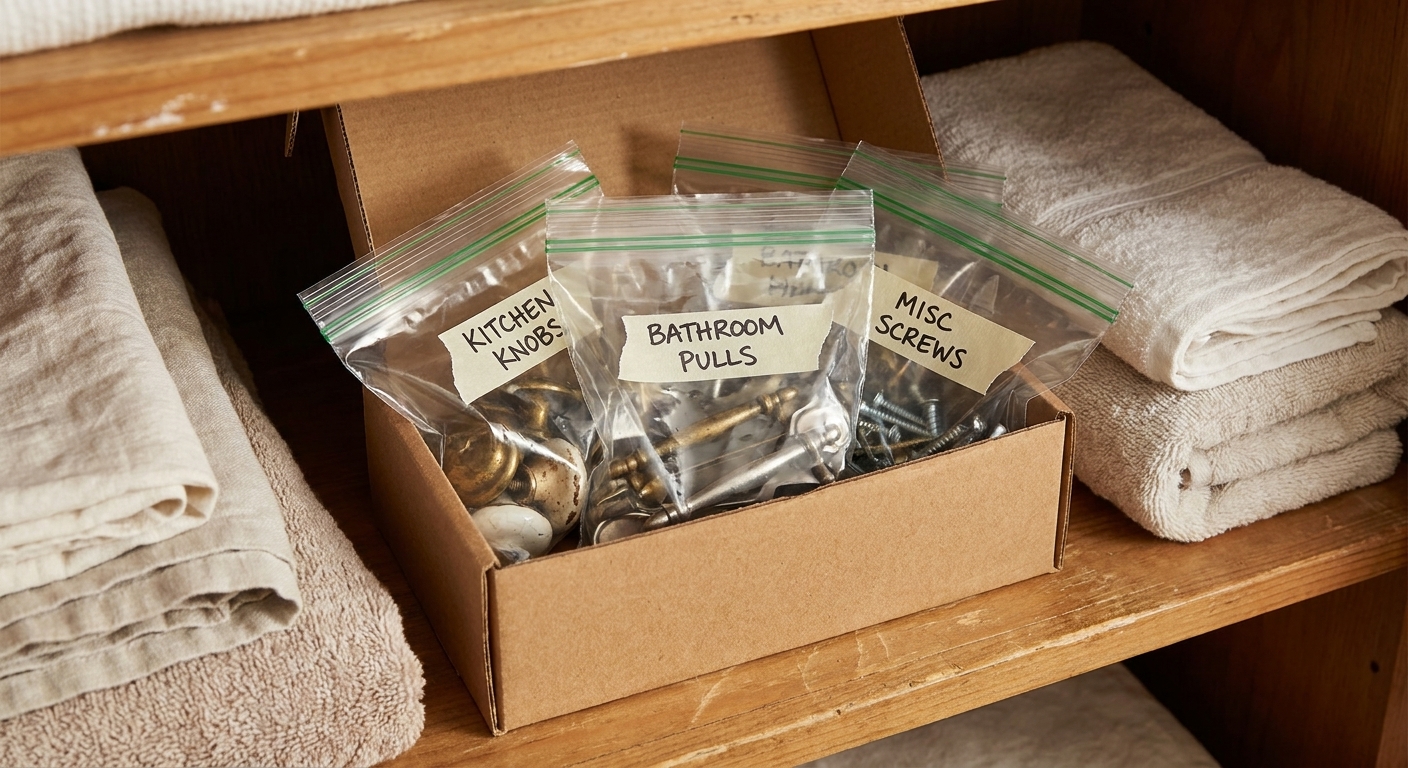
As each knob or pull comes off, drop the original hardware and its screws into a labeled bag. I like labels such as:
- “Kitchen uppers”
- “Kitchen lowers”
- “Bathroom vanity”
Even if everything looks identical now, future-you on move-out day will thank you.
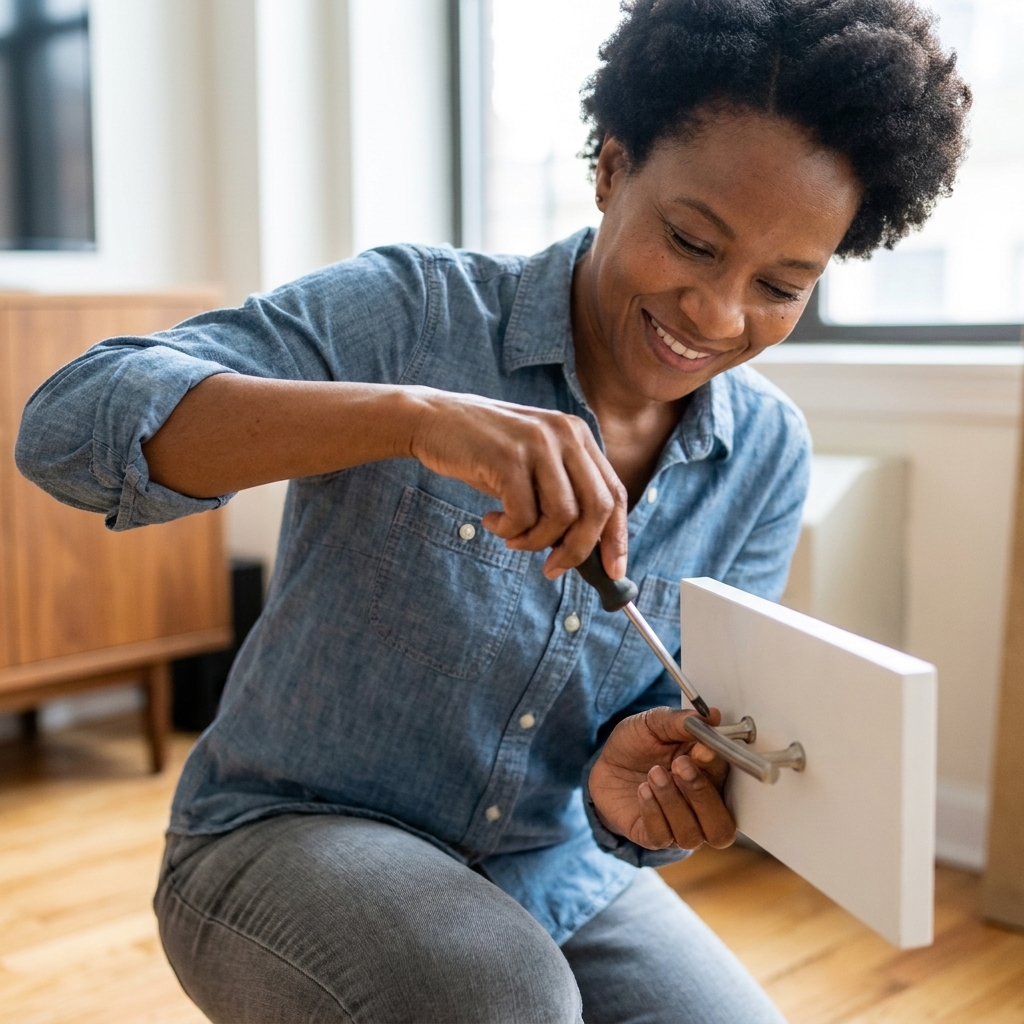
4) Install new hardware
Snug is good. Over-tight is how you crack a cabinet door, strip a screw, or dent a thin metal pull. Tighten until the hardware no longer wiggles, then stop.
5) Align, then tighten
If you are installing pulls, start both screws before tightening either one fully. That helps the pull sit straight and reduces stress on the holes.
Swap a showerhead
If you want the biggest bathroom upgrade for the smallest amount of drama, start here. Most showerheads are standard thread (1/2-inch NPT in many places), but you still want to go gently.
- Protect the finish: Wrap a cloth around the old showerhead or the wrench jaws so you do not scratch the metal.
- Hold the shower arm steady: Use one hand (or a second wrench) to support the shower arm at the wall while you loosen the showerhead. You do not want to torque the pipe in the wall.
- Unscrew the old showerhead.
- Clean the threads, then apply plumber’s tape (PTFE tape) to the shower arm threads, usually 2 to 3 wraps clockwise.
- Screw on the new showerhead hand-tight, then snug slightly with a wrench if needed.
- Turn on water and check for leaks. If it drips at the connection, re-tape and try again.
Keep the original showerhead in your “Rental Originals” box. It is small, but it is still your deposit’s friend.
Swap a faucet
Swapping a faucet is the glow-up that makes a rental kitchen feel instantly more “you.” It is also the one upgrade where you should slow down, read the instructions, and be honest about your comfort level.
Good news: Many sinks use common 1-hole or 3-hole configurations, and plenty of faucets are designed to work with either using an optional deck plate.
Reality check: Faucet compatibility depends on your hole count and spacing, the thickness of the sink deck or countertop, and whether you have extra holes for a sprayer or soap dispenser. Also, under-sink access can be cramped, rusty, and mildly haunting.
Before you buy a faucet
- Count your sink holes. Look behind the faucet base. Common setups are 1-hole or 3-hole. Some sinks have a 4th hole for a sprayer or soap dispenser.
- Check for a deck plate. If you have a 3-hole sink and want a 1-hole faucet look, you will likely need a plate to cover the extra holes (many faucets include one, some do not).
- Confirm spout reach and height. In tiny kitchens, a very tall “pro style” faucet can look oversized and may splash more in shallow sinks.
- Verify supply line situation. Some faucets include integrated supply lines, others require separate braided lines. Either way, confirm you can reach the shutoff valves without stretching or kinking.
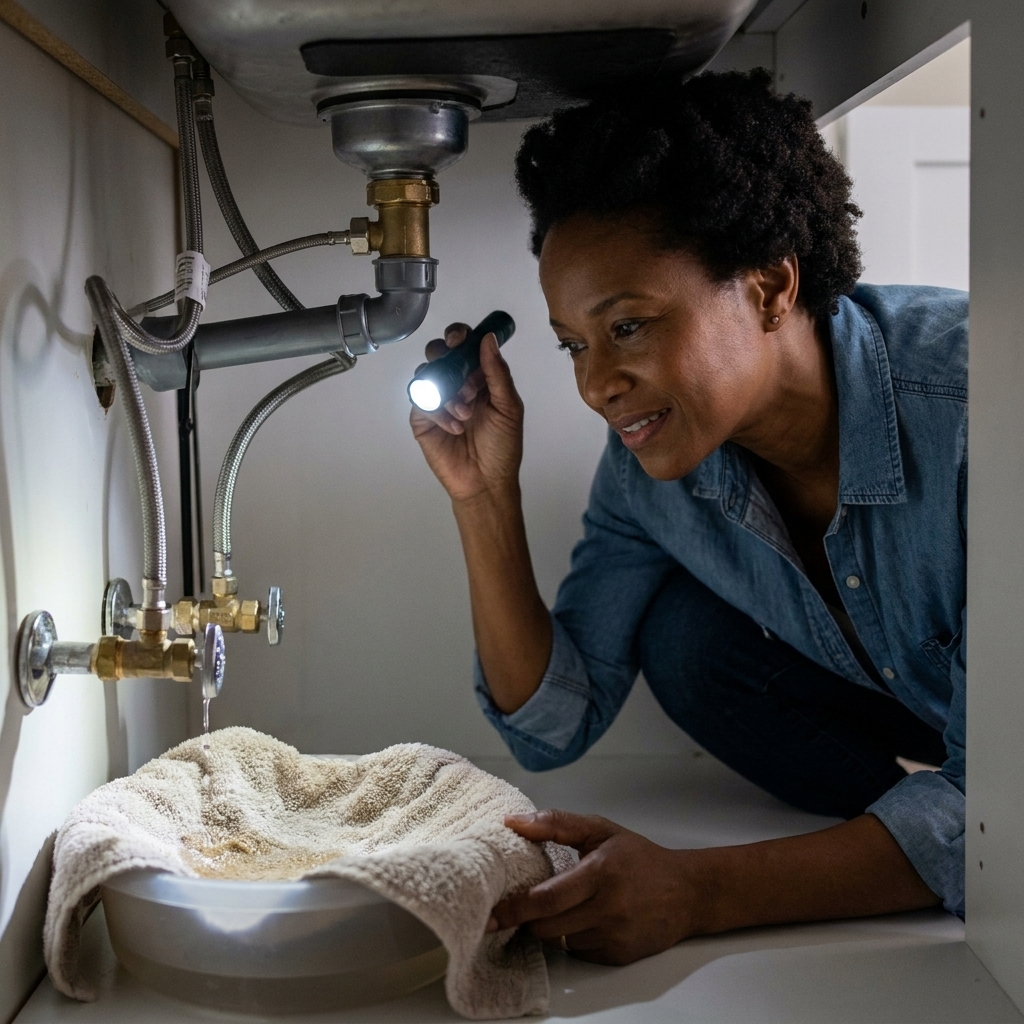
- Check your shutoff valves. Under the sink, you should see hot and cold shutoff valves. If they look corroded or are hard to turn, consider calling maintenance before you start.
Basic faucet swap overview
- Get permission if required. If your lease treats plumbing fixtures differently, do not guess.
- Turn off the water at the shutoff valves under the sink.
- Relieve pressure by turning the faucet on.
- Place a towel and a small bucket under the supply lines for drips.
- Disconnect the supply lines. Use two tools when you can: one to hold the shutoff valve body steady, and one to loosen the supply line nut. This helps avoid stressing the valve or the pipe coming out of the wall.
- Remove the mounting hardware holding the old faucet in place.
- Lift out the old faucet, clean the sink surface, then install the new faucet per its instructions.
- Seal the base only as directed. Some faucets use a gasket, some call for silicone, some call for plumber’s putty. Follow the manufacturer instructions, and be cautious with putty on porous stone since it can stain.
- Reconnect supply lines, turn water back on slowly, and check carefully for leaks.
- Check again later. Put a dry paper towel under connections and re-check after an hour and again the next day. Tiny leaks love to show up once you stop looking.
Two renter-friendly faucet rules I live by:
- Do not modify the countertop or sink. No drilling, no enlarging holes.
- Keep the original faucet, deck plate, and all parts. Store them together so reinstallation is simple.
Pick the right finish
Hardware is small, but it controls the visual punctuation of a room. In a tight layout, the right finish can make everything feel calmer and more intentional.
My tiny-space cheat sheet
- Match what you cannot change. If your sink and appliances are stainless, brushed nickel or stainless hardware looks cohesive and quiet.
- Use contrast for definition. Matte black hardware on white cabinets adds crisp edges that help cabinets feel more designed.
- Warm metals add glow. Brass can make a small, low-light kitchen feel warmer. If you hate the idea of polishing, choose brushed or satin brass instead of shiny.
- Keep it consistent in small rooms. In a tiny bathroom, using one finish for faucet and cabinet hardware reads more spacious than mixing three metals.
Store the originals
This is the part renters skip, then panic about 18 months later.
The foolproof system
- Bag by zone: “Kitchen uppers,” “Kitchen lowers,” “Bath,” “Entry.”
- Include screws with each piece. Screws vary and you do not want to play hardware roulette later.
- Use a small box or bin: One dedicated “Rental Originals” box keeps everything together.
- Store the box where you will not forget it: Top shelf of a closet or under-bed storage. Not the back of a kitchen cabinet where it can get tossed during a move.
- Take quick photos: A phone photo of each area before you swap is your reinstallation map.
Tetris-master tip: Tape the labeled zip bags to a piece of cardboard inside the box. It keeps them flat and easy to inventory.
Common mistakes
- Buying pulls without measuring center-to-center. Measure first, buy second.
- Over-tightening hardware. Snug only. Protect those cabinet fronts.
- Assuming screw lengths are universal. If a pull will not tighten, you probably need a different screw length or thread type, not more force.
- Installing a faucet without checking shutoff valves. If valves do not turn easily or do not fully stop water, pause and get help.
- Choosing oversized hardware for narrow drawers. In compact kitchens, medium-scale pulls often look more proportional and feel better in the hand.
Shopping guidance
You can find great-looking hardware at every price point. The key is prioritizing what you touch constantly.
- Spend more on: kitchen faucet, kitchen drawer pulls (daily use), bathroom faucet (if swapping)
- Save on: closet knobs, linen cabinet knobs, secondary storage areas
For small spaces, I also recommend ordering one sample pull or knob first if possible. Seeing the finish against your cabinet color in your actual lighting is everything.
If you are swapping a faucet, it is also worth watching for practical specs like WaterSense labeling and a flow rate you will actually enjoy. A pretty faucet that feels like a sad drinking fountain is not the vibe.
FAQ
Do landlords allow hardware swaps?
Many do as long as you reinstall the originals when you move out and you do not drill new holes or cause damage. If your lease is strict, ask permission in writing. A simple message like “I would like to swap cabinet pulls and will store and reinstall the originals at move-out” is often enough.
Can I change pulls to knobs without drilling?
Usually no, because pulls use two holes and knobs use one. There are workaround backplates that cover holes, but they can look bulky in a small space. If you want a truly clean result, stick with the same hole configuration.
What if my new pulls are loose?
First, make sure the screw length and thread type are correct. If the screw is too long, the pull will never tighten properly. If the screw is correct and it still loosens over time, a tiny dab of removable (blue) thread locker can help, but use it sparingly so removal later is still easy. If your lease is sensitive about adhesives, skip it and focus on correct hardware and screws.
Is a faucet swap beginner-safe?
If you can shut off the water, follow instructions, and check for leaks patiently, yes. If access is extremely tight, valves are corroded, or you cannot fully shut the water off, hiring a plumber or calling maintenance is a smart renter move. Peace of mind is also an upgrade.
Your small-space takeaway
Hardware swaps are the renter-friendly sweet spot: high impact, low commitment, and totally reversible. Start with cabinet pulls if you want an easy win. If you are ready for a bigger glow-up, a showerhead or faucet can make your space feel brand new without changing a single tile.
Just measure carefully, keep every original piece, and store it like it is a tiny treasure. Because for renters, it kind of is.